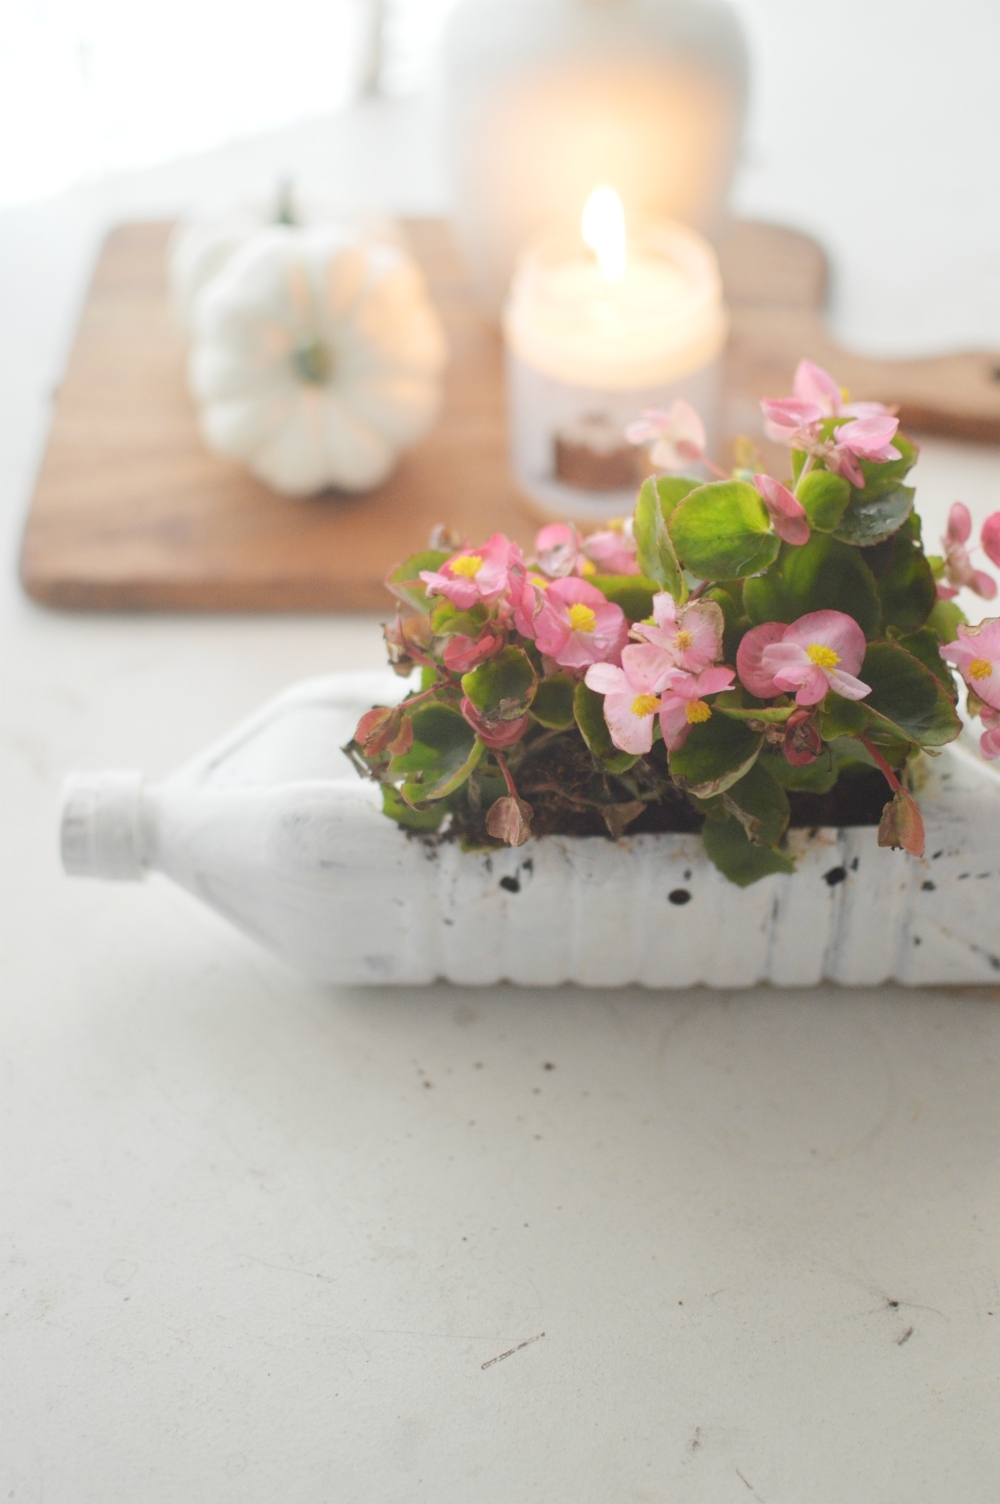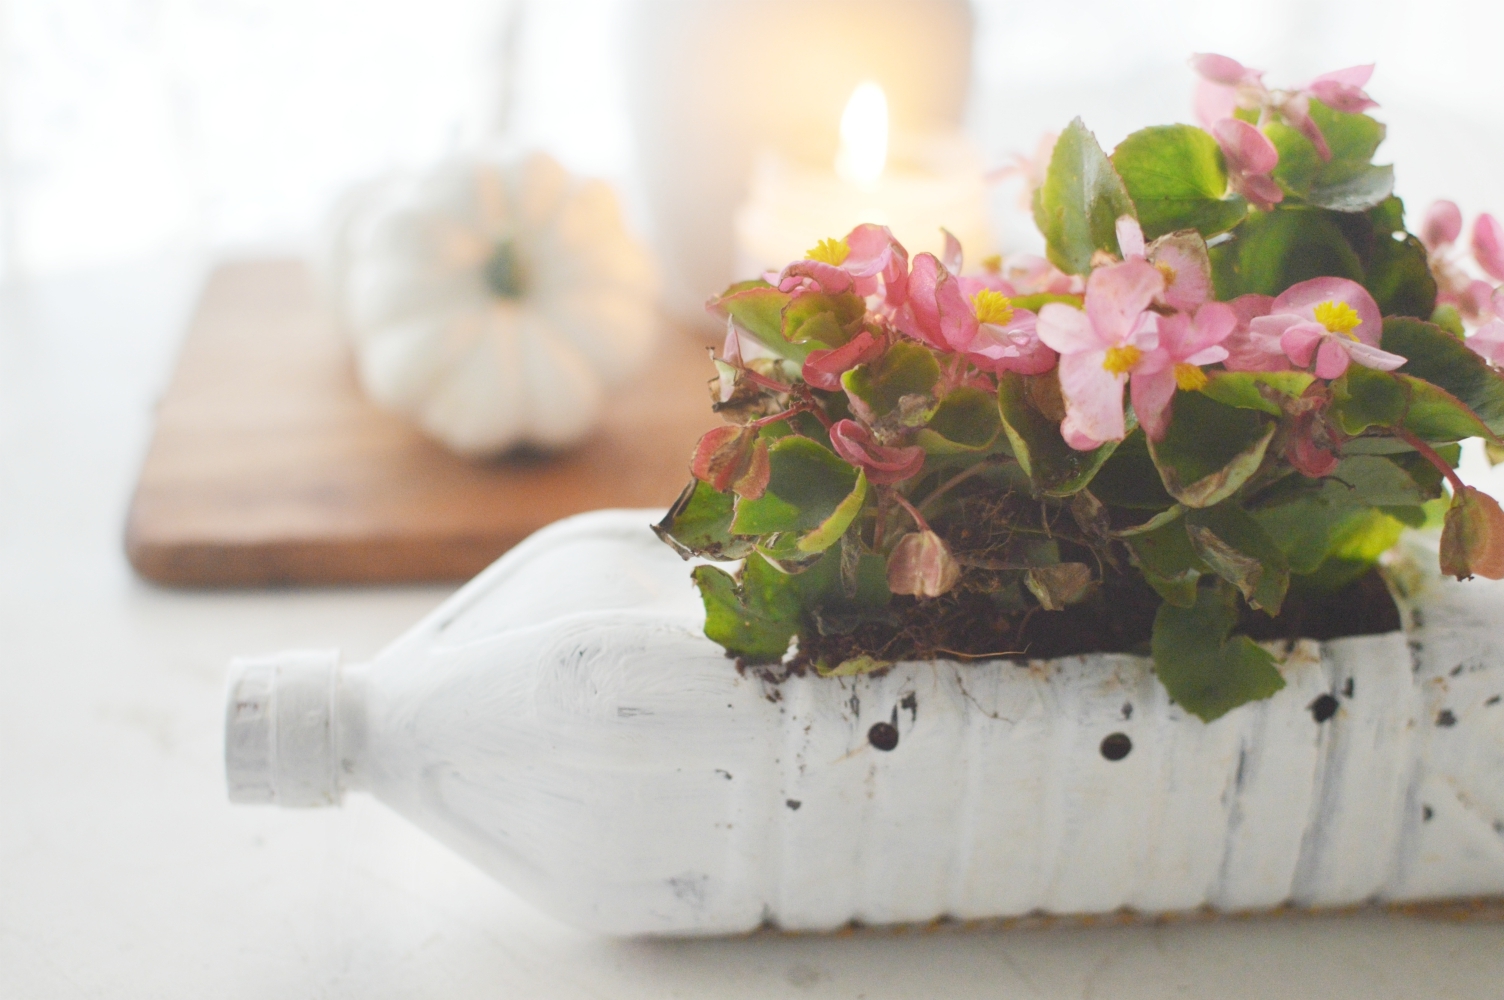
Recycle plastic bottles to planters if you want a quick and cozy weekend project. For the lot, this may be a frivolous DIY project undertaken by some who has not much to do in life. But for me, this is where you start implementing those ideas that’ll leave this world a better place. There is no right or wrong; small or massive. There is just doing and not doing anything to un-burden the earth and you must choose your side carefully.
Not diamonds. Plastic is forever
Most of the recycled plastic that comes branded never gets recycled at all. The mug-lids and paper cups are another business altogether. And we are still not thinking twice about refillable options here. No seriously. I have spoken to atleast 10 people about oil refilling but I am still looking. What also troubles me is how easily we think of throwing the bottles away.
When Pramila very casually asked if she could throw this bottle it made me think of our own conditioning. How easily we can still think of throwing things and we have so many people in India. How are we to reach out and educate. Seems like a very mammoth task. But then if you cannot always do that mammoth task you can start by doing the little you can. No one’s judging the scale. But you will be judged if you do nothing.
Do little. But do it.
Like recycle a plastic bottle to a planter
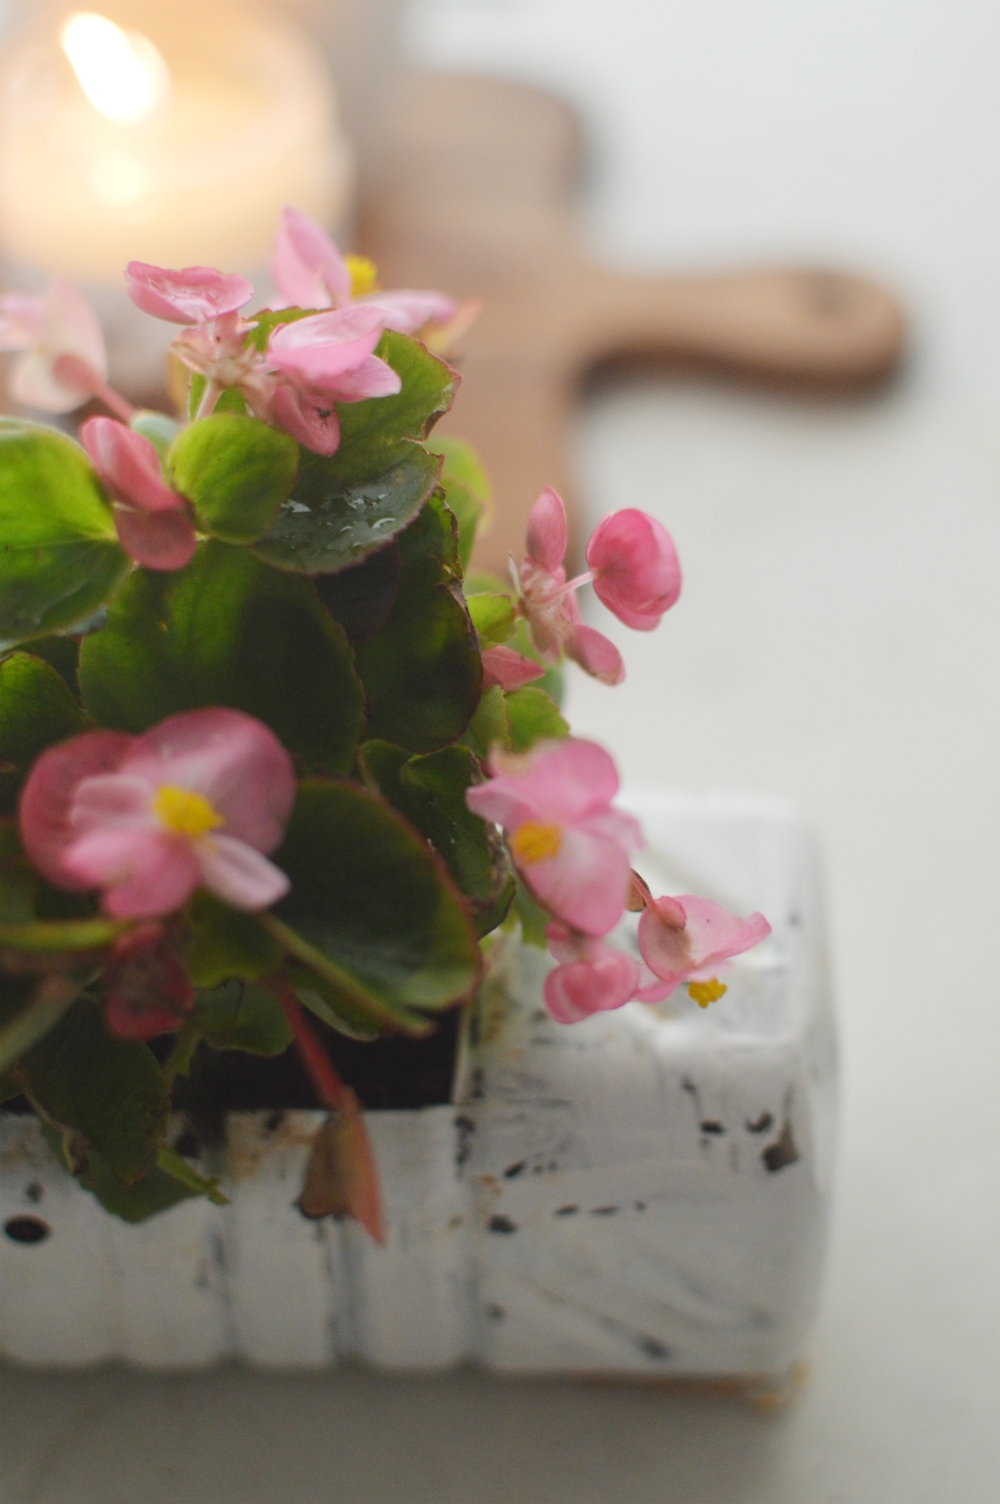
The worst quality of plastic is also one of its best qualities and you can literally pass on a hand painted plastic bottle through generations. So why not utilize that.
Think recycle plastic actively and you’ll see so many possibilities opening up. In our first series of “Leave it better than you found them” this recycle plastic bottle planter is out to steal your heart.
Here’s what you’ll need:
A plastic bottle
A cutter or a sharp knife
Twine or ropeor cords
A plier, a punch, and a nail
Acrylic or wall paint
A Brush
Instructions
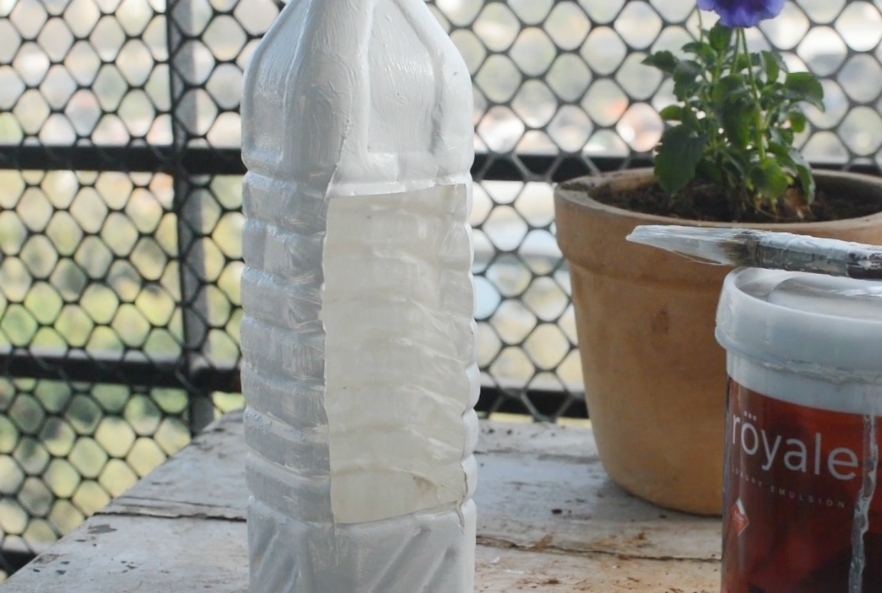
Start by cutting a rectangle on one side of the bottle. This is where your plants will sit.
Next, give it a coat of paint or two. Dry completely.
Now, with a punch, drill 2 to 3 holes on each side of the bottle, 2 inch below the lip of the planter. This is to keep the soil aerated.
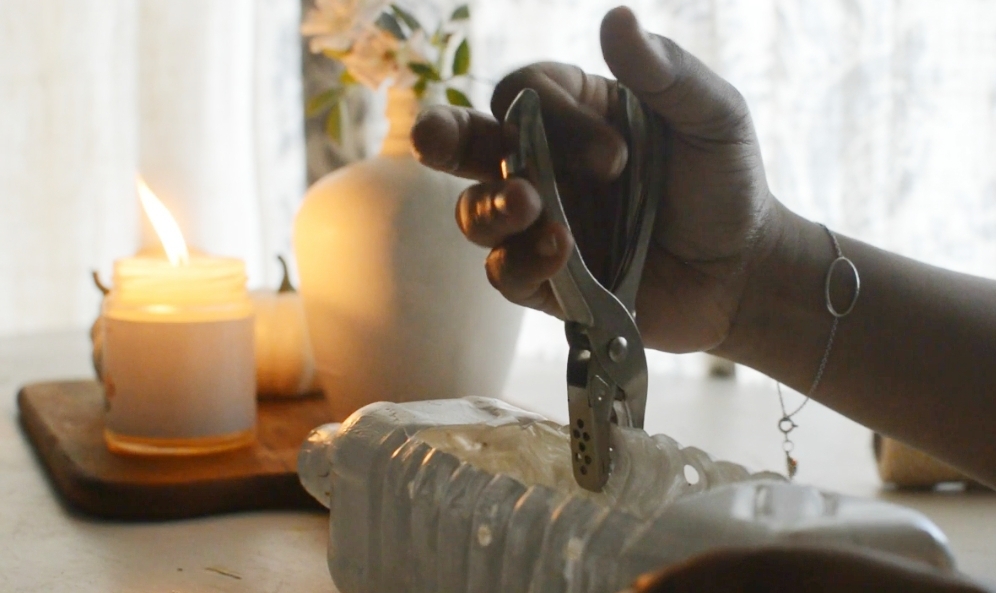
The next set of holes will be for drainage and hanging the planter. This is where you’ll need a nail and a plier.
Turn the bottle lip side down and punch 6 holes by heating the nail in a candle. Keep equal distance. The outer most holes will be for hanging and the ones along the middle of the planter is for drainage.
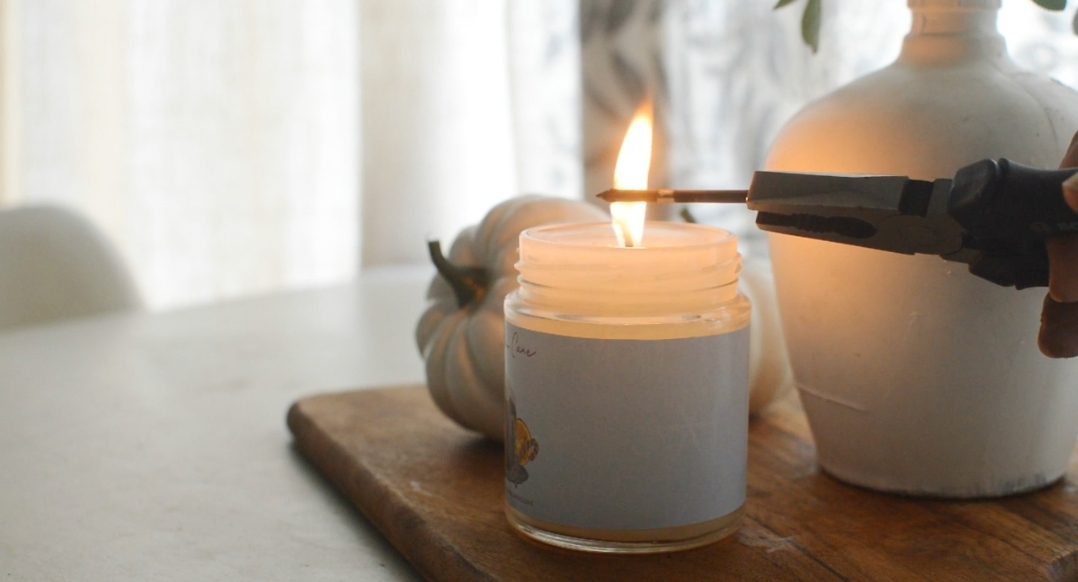
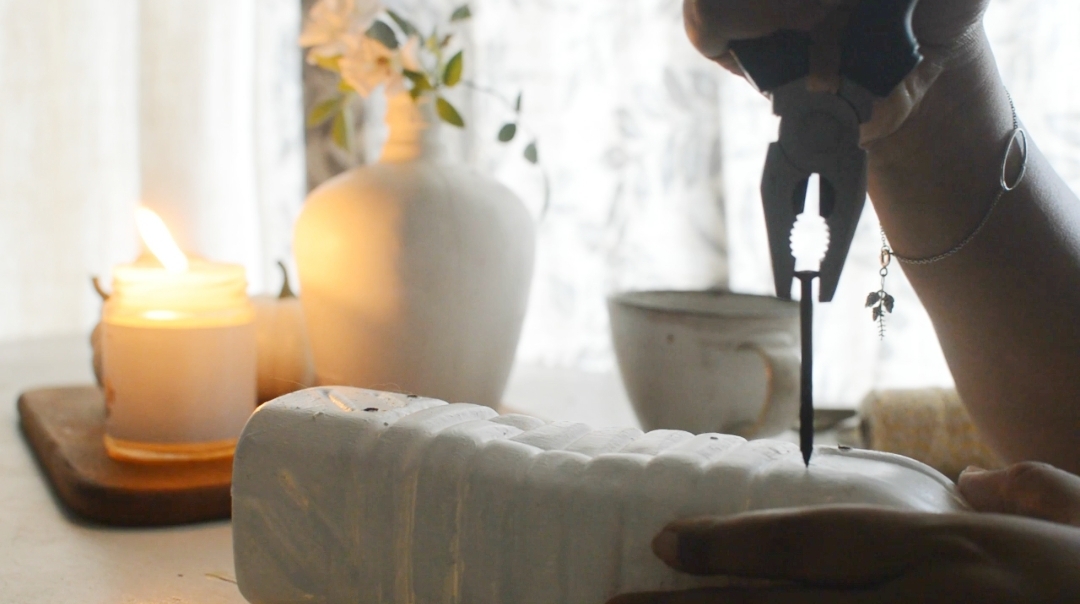
Now run twine from the inside of the planter, tie a tight knot and repeat with all 4. Now bring the twine from outside of the planter, gather them above the center of the planter and adjust the length.
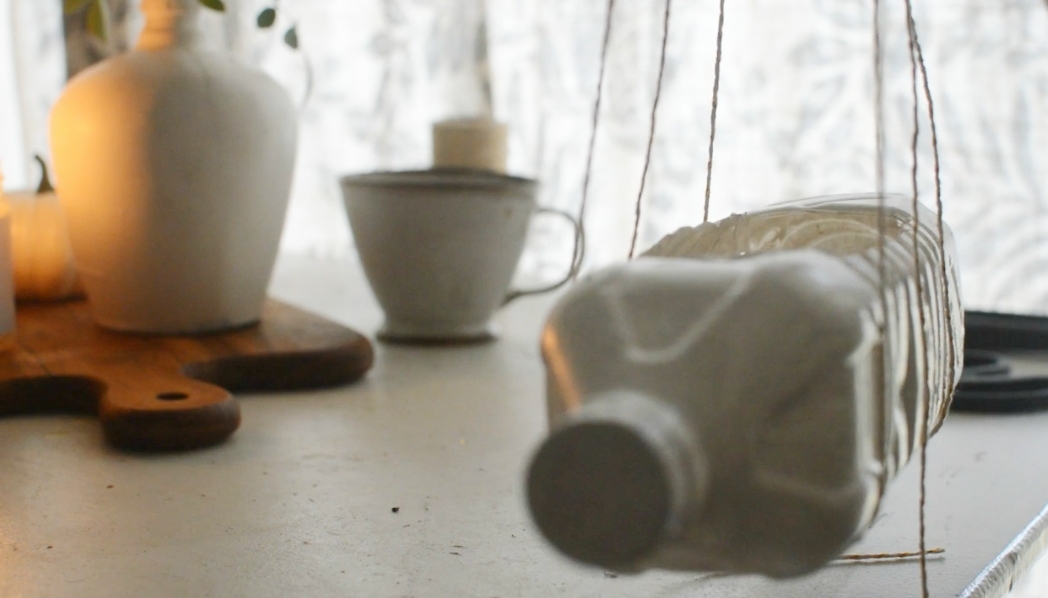
HOW TO ENSURE THE PLANTER IS STRAIGHT: Gather the twines around the center of the planter and lift the planter from the point where you intend to tie the knot. Adjust the twines to make sure the planter sits straight. Then tie the knot. This way it’ll be perfect and you wont have to open the knots again and again.

WHAT KIND OF KNOT: I use an overhand loop knot. That way you can utilize the same twine from the hanging planter and not worry about it falling. Cut the loose ends and add a bit of fevicol if you want.
Ready to hang out with ya and ze plants
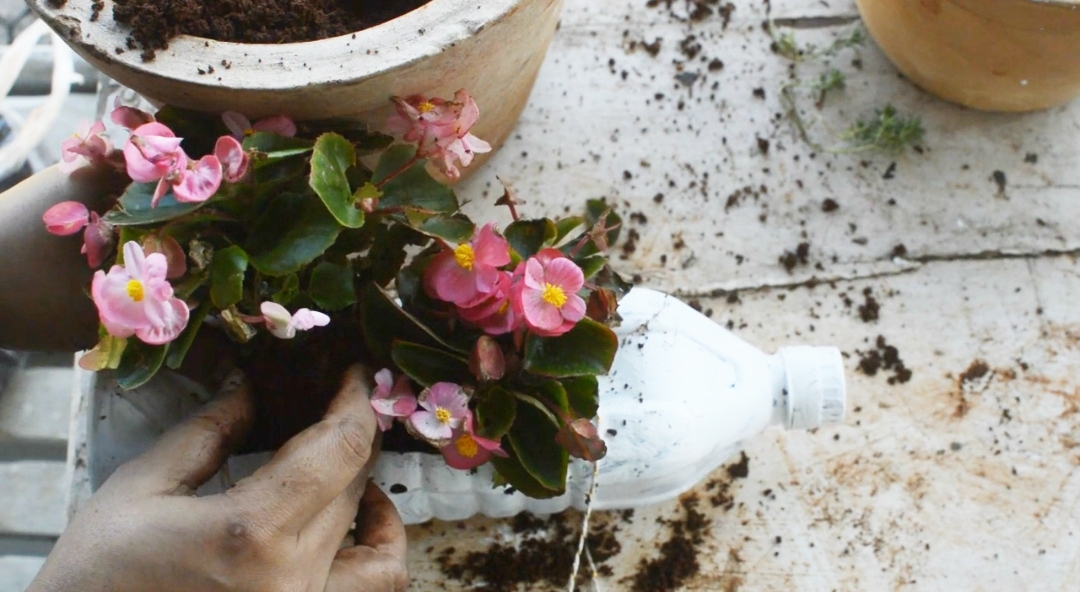
Next, add cocopeat and add your herbs or flowers and you are good to go. I would use cocopeat in this because you dont want the soil to be heavy and be soggy. I want a light soil mix which would retain maximum moisture without being very heavy and also soggy.
What kind of plants can you use in here
Choose a plant that does well with little water and does well in partial shade. Begonia, succulents, cactus, pothos, African violet- they all do well in partial sunlight and less water. Don’t choose a plant that reuires a lot of sunlight and water to grow. It’ll die.
You can also grow mustard greens and wheat grass if you like. They’ll grow well.
