Well, morning ladies and gentlemen! How have you been holding up? November is in its dying days, I have woken up to a beautiful morning- full of crisp chill and a flooding, wintery sunshine- and it’s starting to feel a lot like Christmas in here! Thanks to a couple of Christmas feature stories I am working on {yes, that’s something I’ll share once its up} that I am feeling quite springy and thought it would be the perfect day to get you in the Christmas cheer as well with these easy Scandi inspired DIY tealight holders. Made from plaster of paris, these make for the perfect handmade Christmas gift, and can I tell you that I am wrapping some myself!
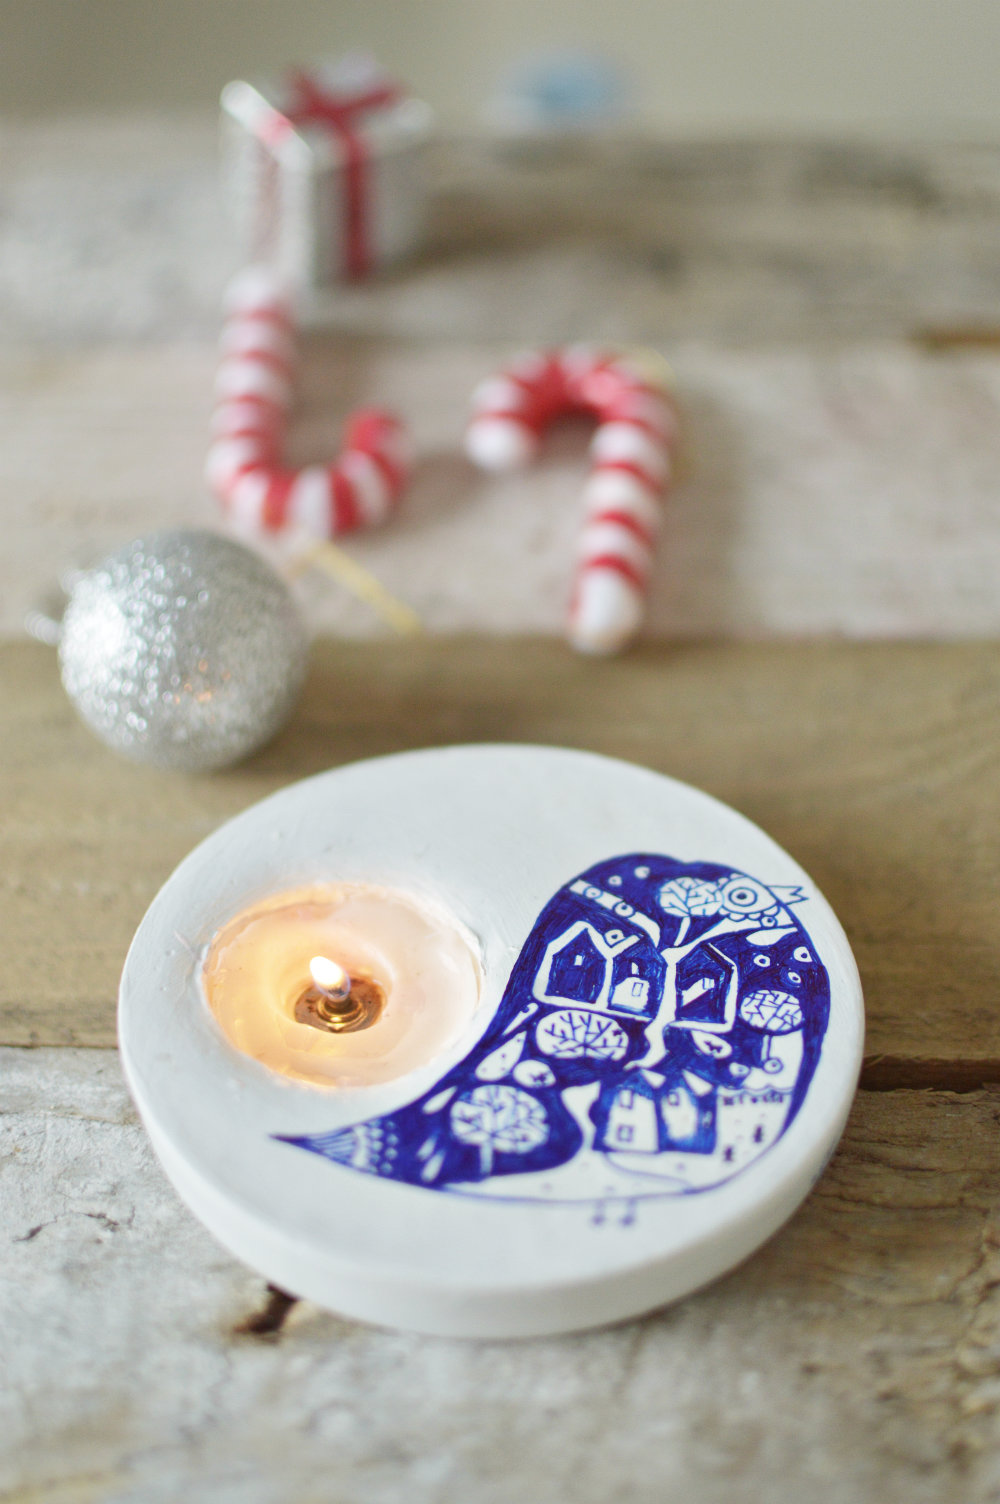
Working with plaster of Paris has been on my list for long! I mean how can I not want to work with the same material that’s earned my grandma quite a fame among her peers 😉 Oh, you should meet her and ask her about her crafts with plaster of paris. She would go absolutely gaga about how she bought it off a store for 5 cents and reused old things and how it got all the appreciation there was and how she lied about things being bought from somewhere simply because she didn’t want to do them for free: well, much like this blog! (Digression alert) So anyway…back to the point. I have been dying to work with the granny-certified material and I am very, very pleased with whoever discovered Plaster Of Paris. {RESPECT}. Quick to set, easy to maneuver, easy to figure out and great to paint on, P-O-P is my material of choice this Christmas.
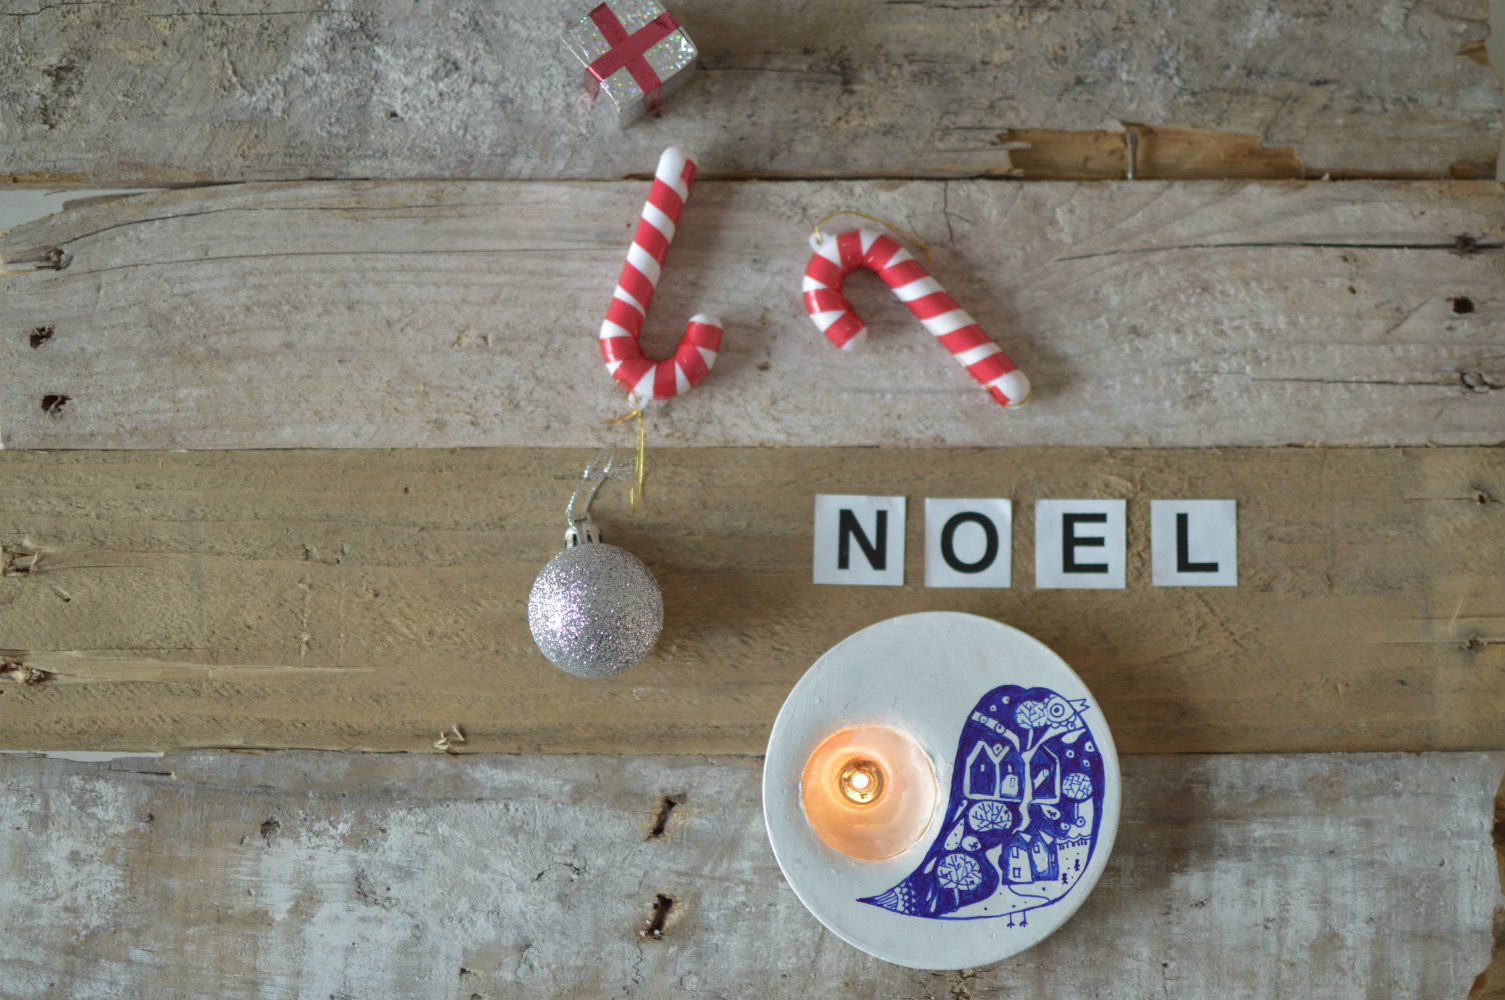
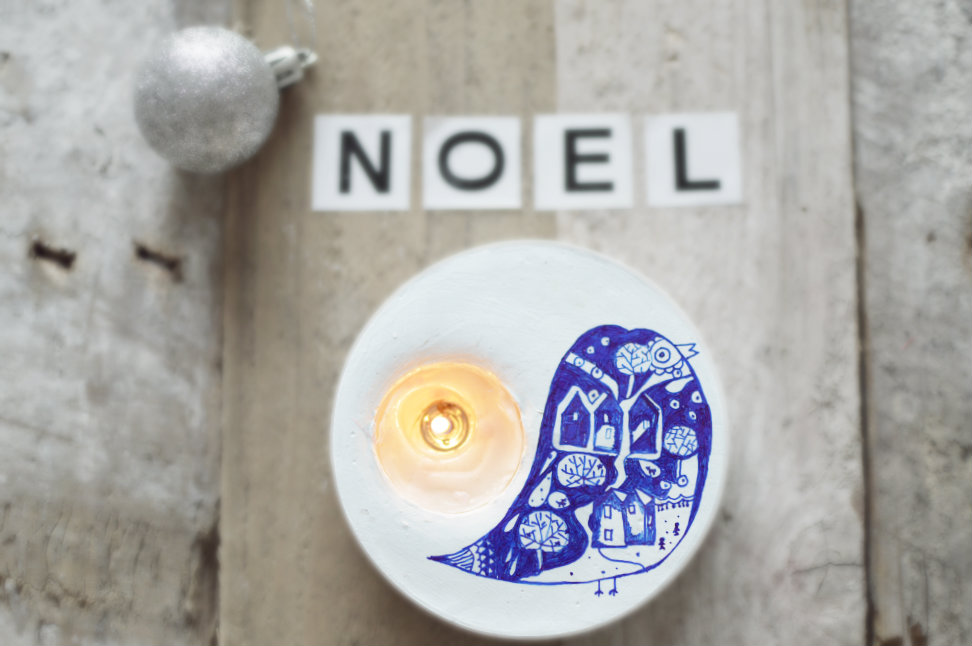
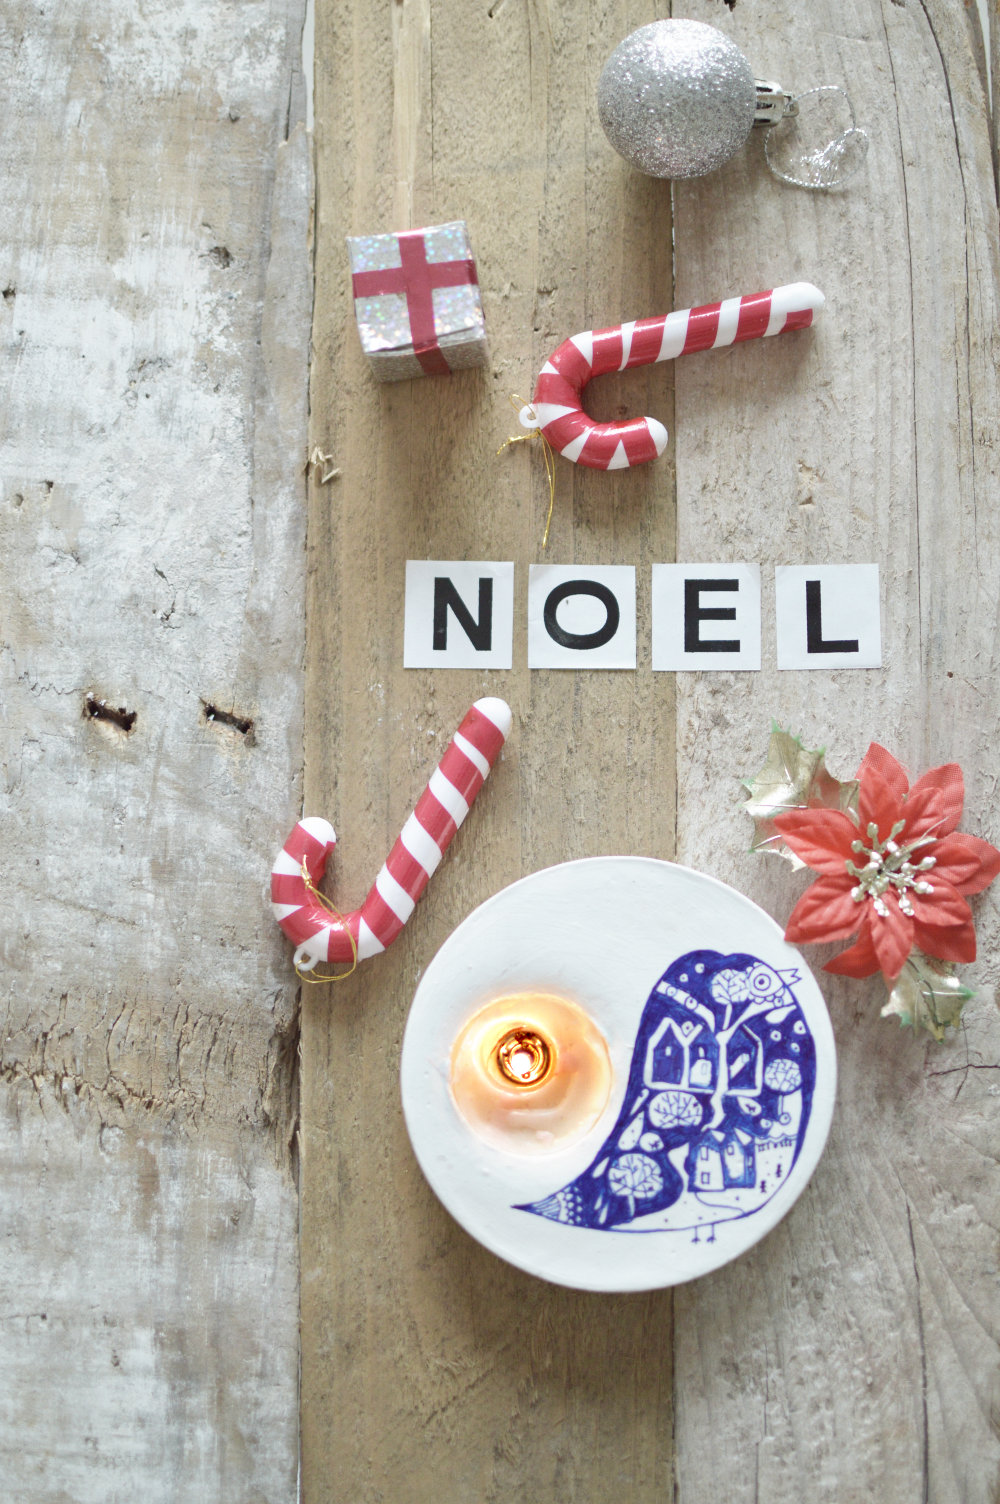
This tealight holder is part of a series I am working on called “The Snowflake” {We will have a small shop starting on the 7th if anyone’s interested yada yada yada…} and I absolutely love how this turned out. Played around with shades of ice-blue, royal blue, white and black, with designs being Scandinavian art form inspired. This wee thing is called ‘Winter came flying’
And now, to the tutorial:
You’ll Need
Plaster of Paris
A plastic bowl to mix
A deli container – I chose a 5″ deli
A tealight candle
Sanding paper
Sharpie
ModgePodge and a Brush
How To make Tea-light holder from plaster of Paris
Mix plaster of paris and water in the ratio 1:1. This worked for me. The consistency should be creamy. Not too thick and lumpy and not too runny like milk either.
Fill about 1/2 an inch of deli with pop mixture. Tap to put out the air bubbles.
Once all the bubbles are out, press the candle on one side. Just enough to make a dent.
Let it dry for 10 minutes before you take the cast off and let it dry out.
At this stage the plaster will be enough set to come out and not enough to harden completely. An easy way to get it out is by simple pulling the deli from all sides. You’ll see it leaving the plaster cast. Very carefully invert the deli and the cast should be in your hand.
Next, pull out the candle from the cast. You should have a defined place for keeping candles by now.
Let dry for a day.
How To Finish Tea-light Holder made from plaster of paris
Once the holder is completely dry, sand it with a fine grit and smooth any uneven corner, if there is. You might want to sand the place for candles a bit more so you can easily place and remove them.
brush it with a coat of modgepodge and let dry for an hour before you paint on! I painted them with a sharpie and gave it another coat of modgepodge to seal. Voila!
So what do you think? Made my granny proud?
sharing at
Wednesday
http://www.savvysouthernstyle.net/2014/11/wow-us-wednesdays-197.html
Thursday
From My Front Porch To Yours – Treasure Hunt Thursday
Friday