 Welcome!
To yet another blog full of rambling, Country chic DIY and white love affair. This time, a bit of fabric love affair that has modge podge in it, an empty glass of cuppa’ Ramen and a DIY that you can do with your eyes closed.
Interested?
 Just in case you are wondering where this gets to stay!
Look at those grey hand prints on the upper right. I will clean that tom. Promise. I don’t even know why they are there…maybe ghosts 😛
Anyway, my father in law is into textile and he keeps filling me in with a lot of ideas and swatches. So when last week we were talking about opening a boutique shop over beer, he told me about fabric covered pots. Again, this is something I wanted to do for quite sometime now but my plants are of the outdoor variety and I keep them on the railing outside my kitchen. I don’t see a point in covering them with fabric- they are in perfectly aerated clay pots and I better not block this. Till the time I get home some small coffee table, houseplant I don’t see this happening.
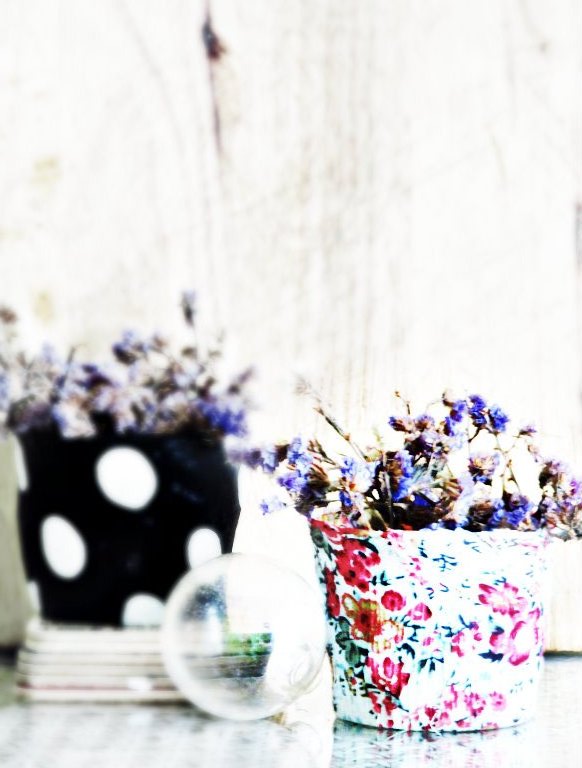
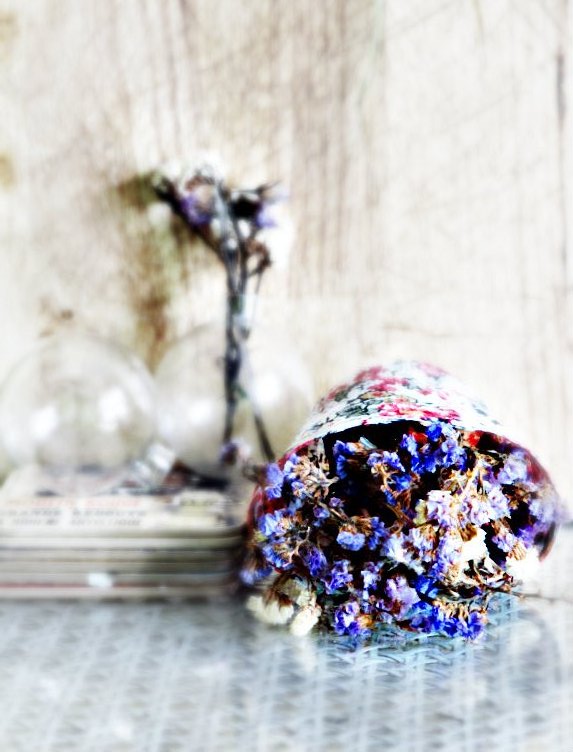
So instead, with some swatches I thought of making fabric vases.
 You can call them fabric holders or votives or baskets or keepers or whatever you want to- the idea was to have a holder for my dried flowers. This craft is very close to how you’d make paper glass with strips of newspaper and glue. (Btw, do you know that? ) Just that instead of paper, you’ll use fabric on a plain surface and dowse it with modge-podge and leave for a week to dry.
 I used an empty Ramen glass here and Im guessing you can use any- but preferably plastic. ‘Coz when it dries you’d need the back of a spoon to slightly loosen up the fabric from the rim for it to come out. Like you’d take a cake out by running the knife on its sides. Plastic of this sort is fairly soft which makes the process a lot more easier.
So, what do you do:
Take a glass of your choice and measure its circumferences. If you want the fabric vase to be long, you can start from the top. I wanted a small one and hence I left some space. Now double it.
For eg. if the top circumference is 2 and one down is 1, you’d cut the fabric in 4:2. Gat it? Simple maths yo!
As for the length: Keep enough fabric below to cover the base of the glass, completely. This would mean a lot of overlapping fabric and no visible glass bottom.
Next, mark the measurement in the fabric you’d like to make a vase from.
With a generous helping of modge podge, attach the fabric to your glass.
Leave it for a week!
 Once dry, run the back of a spoon and take the cast out.
Simple!
Likey?
Sharing at:
Monday
http://www.the-chicken-chick.com/
Tuesday
My Uncommon Slice of Suburbia – Tuesday’s Treasures
Coastal Charm – Nifty Thrifty
Vintage Wanna Bee – Talent Tuesday
Wednesday
Primp – Primp Your Stuff Wednesday
Wow us wednesdays- savvy southern style
Thursday
From My Front Porch To Yours – Treasure Hunt Thursday
The Vintage Farmhouse – Creative Things Thursday
Friday
The Shabby Nest – Frugal Friday
Looks very pretty. I don’t know the modge podge product – When it is completely dried can it be washed?
Modge Podge is a glue. It dries clear and is very strong. Very like Fevicol but dries with a lot more hold- rather plastic-y if I may. I think all major shops has it.
And yes, this can be washed 🙂
Oh, that looks so pretty! I like the fabric you’ve used 🙂
This reminds me I should cover another few of my plant pots soon. Getting around that time when I need to repot some of them.
Thanks Es. Oh btw, I am covering one today. Inspired by yours!
Nice! *reaches neck – I wanna see, I wanna see*
😉
This is so creative. I love the look , it adds so much character to the plants. . I would love for you to link to my Inspire Me party that is ongoing. http://www.astrollthrulife.net/2013/07/174th-inspire-me-tuesday.html Hugs, Marty
Why thank you 🙂 So kind of you
What a pretty idea! It looks lovely!
Jennelise
Thank you Jennelise 🙂
What a great idea, I likey !
I find photos-hopping easier than cleaning 😉
Well, that is indeed a simpler thing to do. I am a bit proactive when it comes to making things I guess.
Very pretty! Love the fabric pattern! Thanks for sharing and for visiting me the other day! I like planting impatiens in containers…they do wonderfully in the shade:)
Thanks for letting me know 🙂 I’ll google them now.