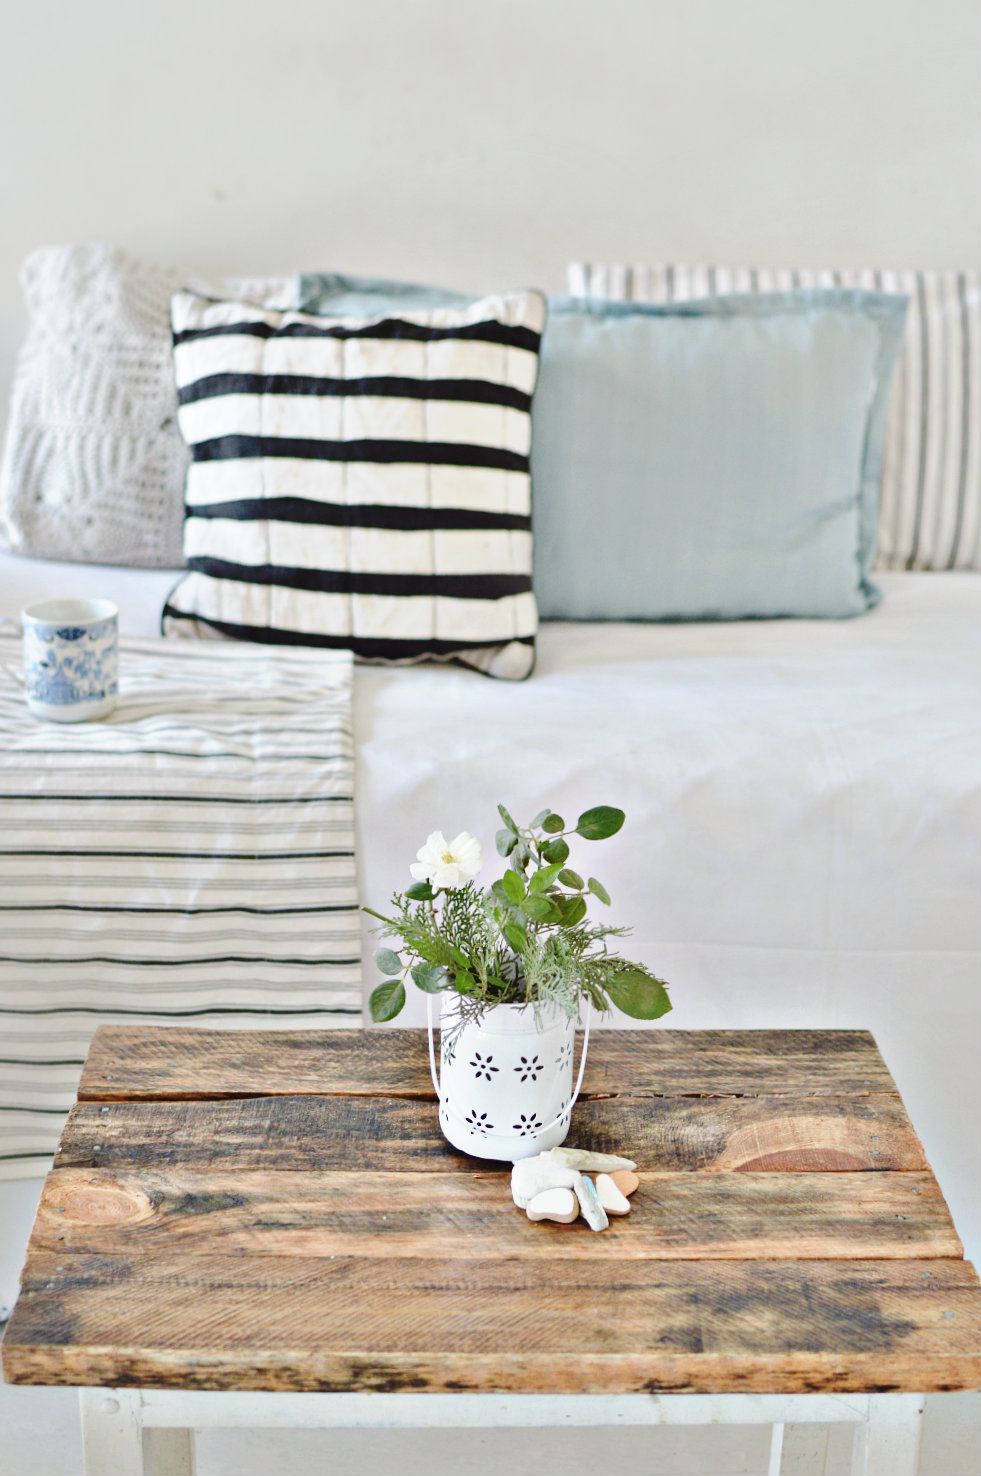
That’s right! We have a DIY barnwood table in the house and it is doing quite well in this coastal decor. Man! How I always wanted a barnwood table- you know the pub-y look done chic, a movie and a beer glass on top, just to get them feels. Finally, its here! A day in the garage and a quick visit to the local barnwood supplier sorted me out for a lifetime. This table is staying as is for another 100 years. I have finally found the best garb for it, and no I shall not paint it white! I promise.
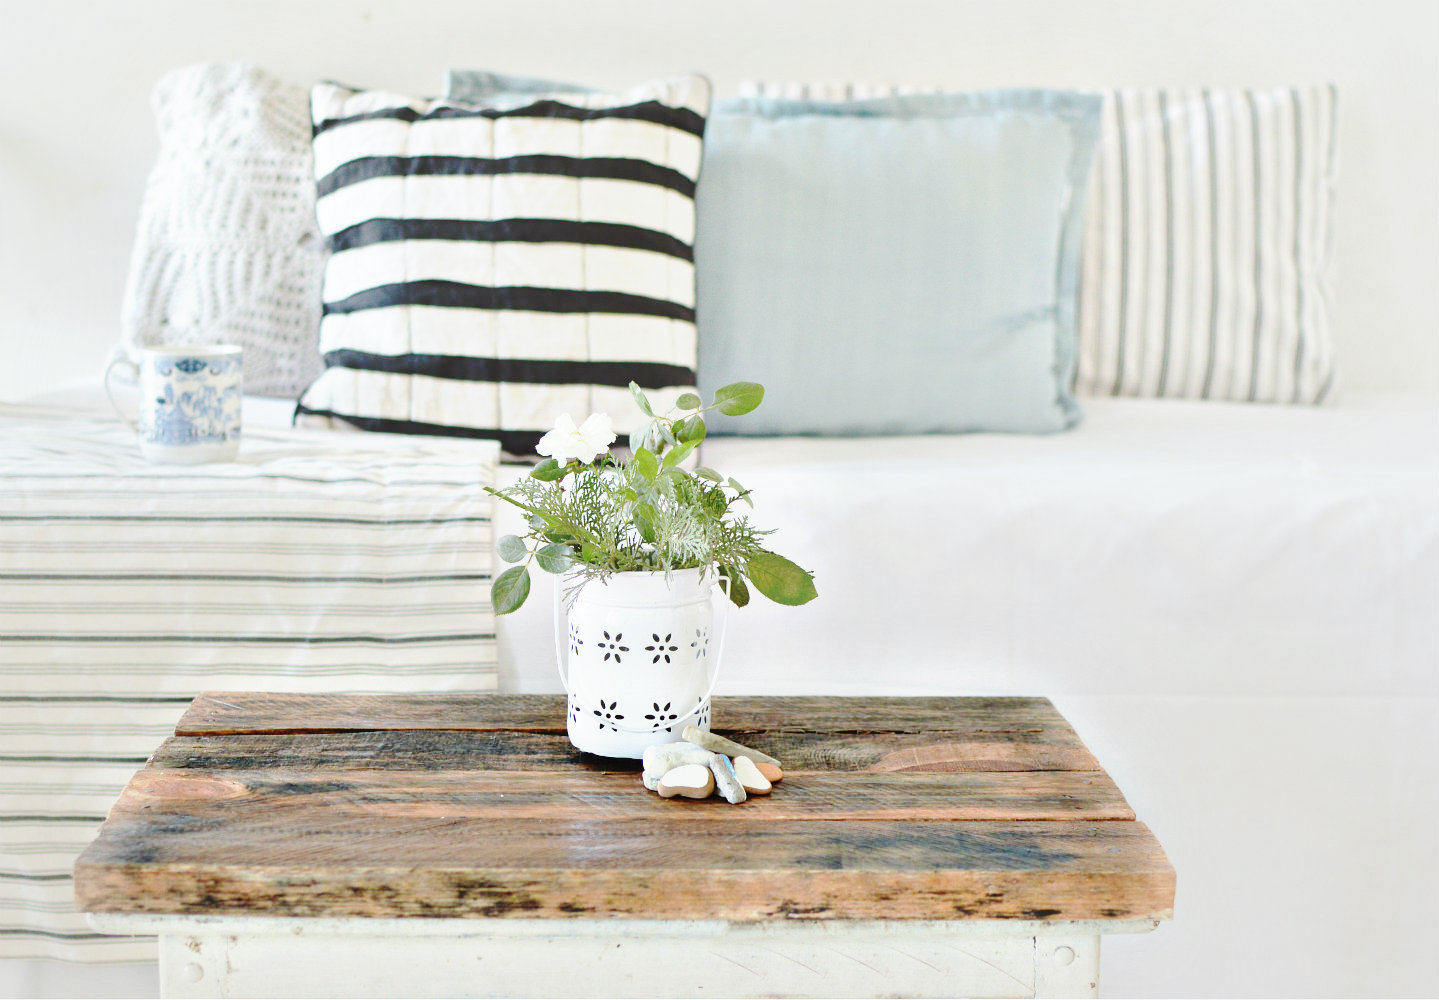
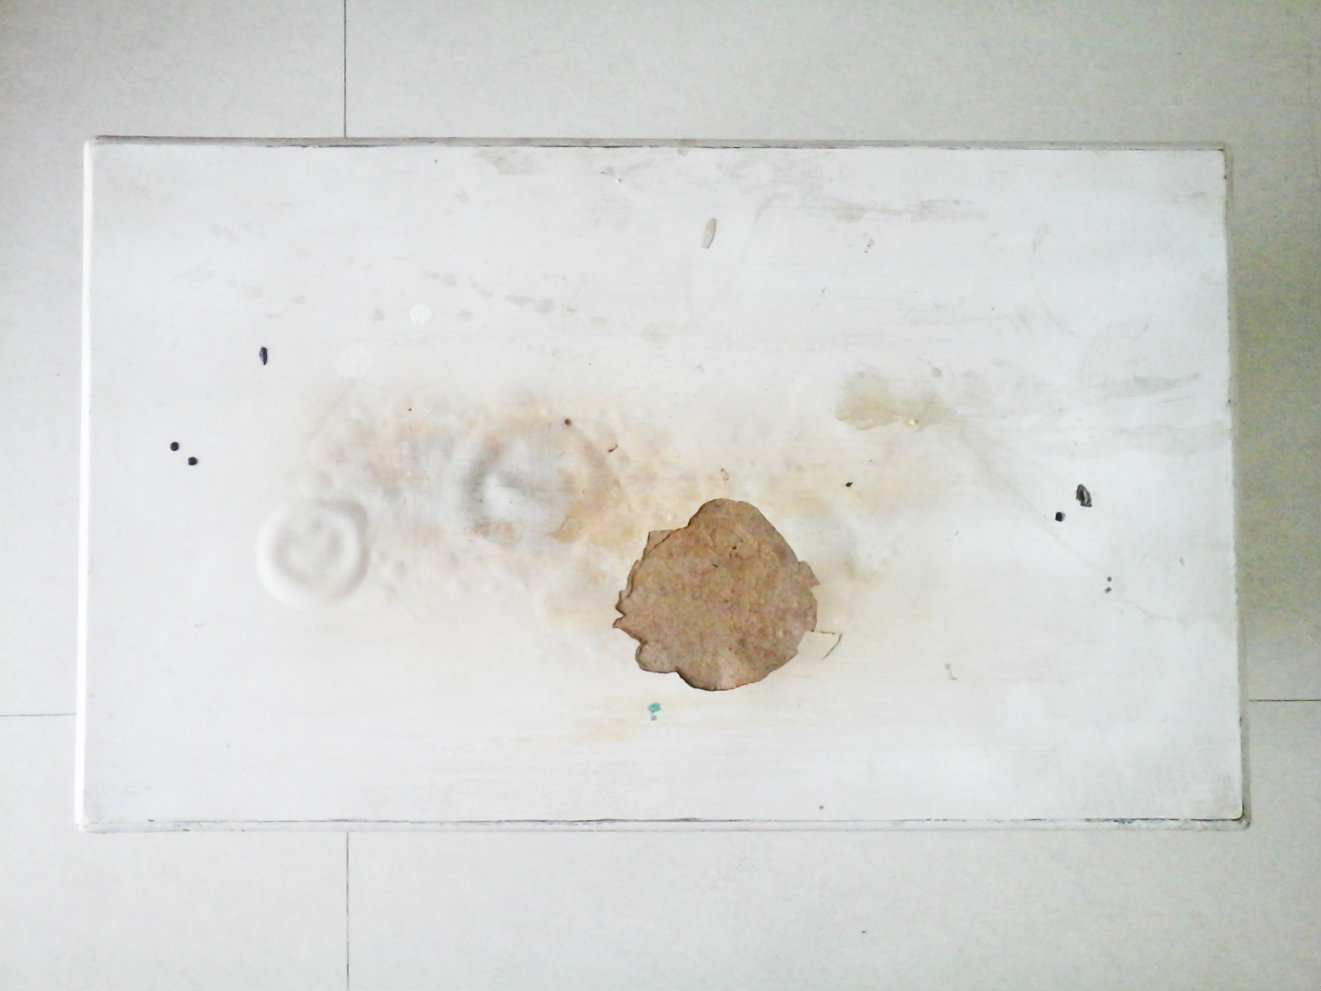
You know, ever since I saw Sarah’s living room barnwood table in abeachcottage I wanted one of my own. I love how she does natural coastal with pretty whites and I find the style very appealing. A bit of jute, a bit of sea float, sometimes foraged flowers or a book or two: this girl does it fantastic, a barnwood table. When my old white faithful blistered because I kept a barbecue on top of it {yeah, I am very capable of doing things like that} I saw the disaster as a possible opportunity.
Rohan’s father passed this coffee table to me about a couple of years back and I, very, very predictably, colored it white on top of the laminate. It held well without chips or pulls and I was very happy really. But this is definitely better. This is what happened to the poor table.
 Underneath the laminate its solid wood, is what I found out when I tried to take the laminate off. The wood is sturdy, beautiful and is definitely one for keeps, which ruled out another laminate option. I’ll be honest: I hate laminates. It reminds me of the 90’s and Madhuri Dixit and freaking ABBA maybe. No, I am not going back to an era I left behind. Laminate is a complete NO!
My first thoughts revolved around stripping the table off its laminate, give it a good sanding and ducco {ducco is coloring the wood with paint and not varnish it}. But it was all getting a little too boring.
Sarah’s table is pretty large and I wasn’t of how a small coffee table will look with barnwood top but sometimes, you gotta wing it b****** 😉
So I put on my crafter’s pants, armed myself with a hammer and nails and off I went to the garage to give this beauty a barnwood makeover. Step one was choosing the timber.
 There is a barnwood supplier 2 minutes from my house-lucky me-who makes pallet crates and containers for export and shipping. I can tell not many women frequent this place: when I walked in with my table, there was this surprised look on their faces. I mean of course, which lady would walk with her table, wearing dirty, paint laden pants and walk in a commercial timber shop? But they got used to my raid.
I pulled out many a barnwood pallet and mixed and matched ash with browns to get the look I wanted. Now, in a commercial timber shop, you’ll find two kind of pallets.
a) Old wood, which is generally ash-brown to dark brown in colour and is beautifully weather worn. These come from old barn doors, roofs, railway sleepers. For shabby chic and coastal decor enthusiasts, this is manna.
b)New wood, on the other hand, comes from factory, unused, is light golden in colour and doesn’t have the weather worn look. It’s uniform in colour. If you are trying to get that Early American, Polished wood lake house look.
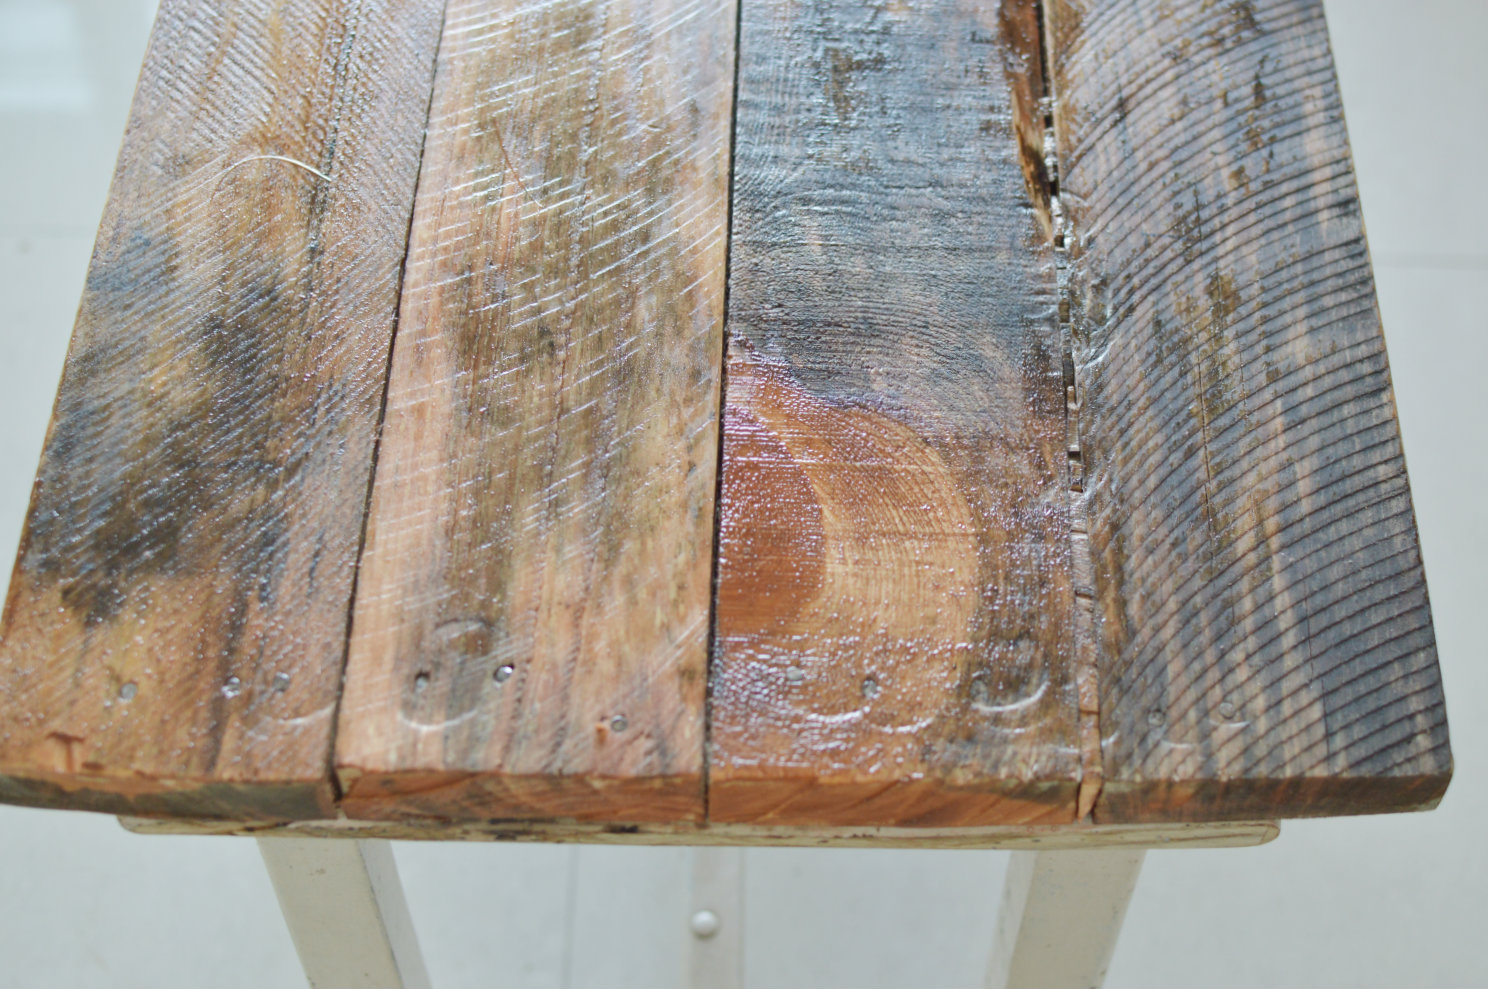
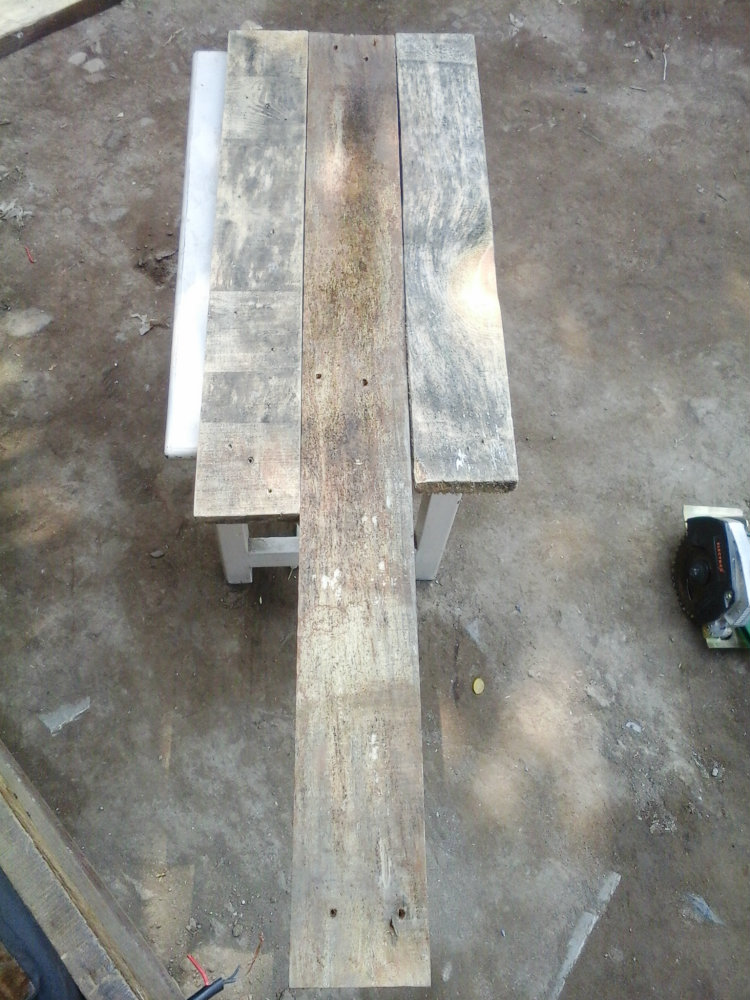
I rooted for a, as you can see! I placed my choice of timbers and got it cut from the store itself considering I don’t have an electric saw. This is how the final thing looked, after I attached the screws. I used 2 screws per timber on each side for added stability. For all you know I might be dancing on it someday with a DIY-gone-good. It better be strong.
Swwooooooonnnnn! How I love them wood knots. It gives that whole pub-ey, barnhouse-y flavour so effortlessly.
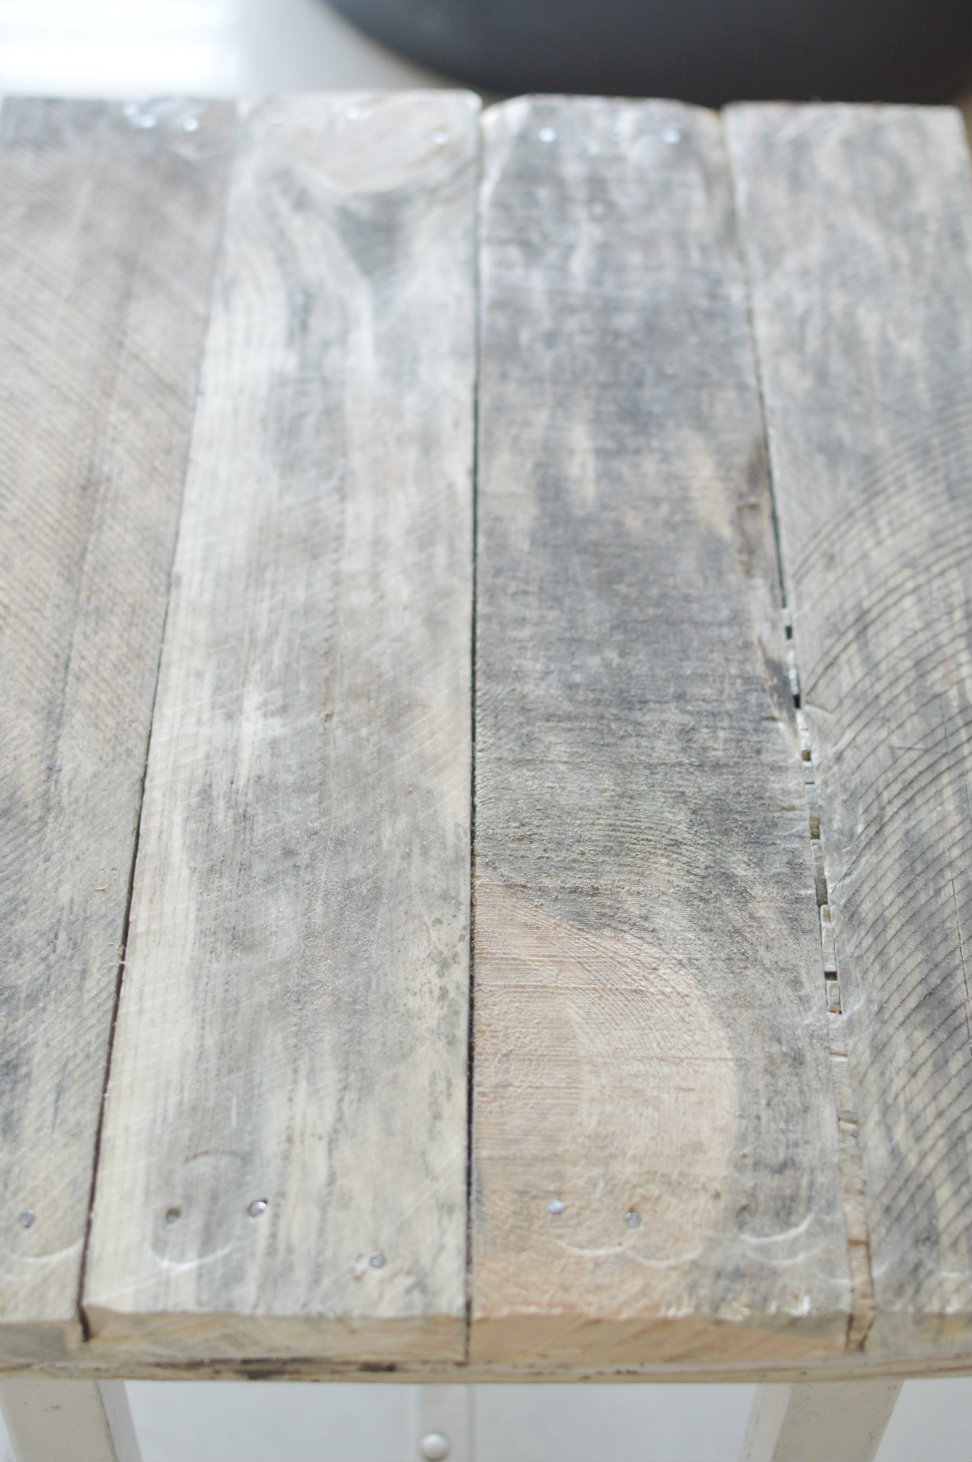
Next, I sanded it down with a fine grit.
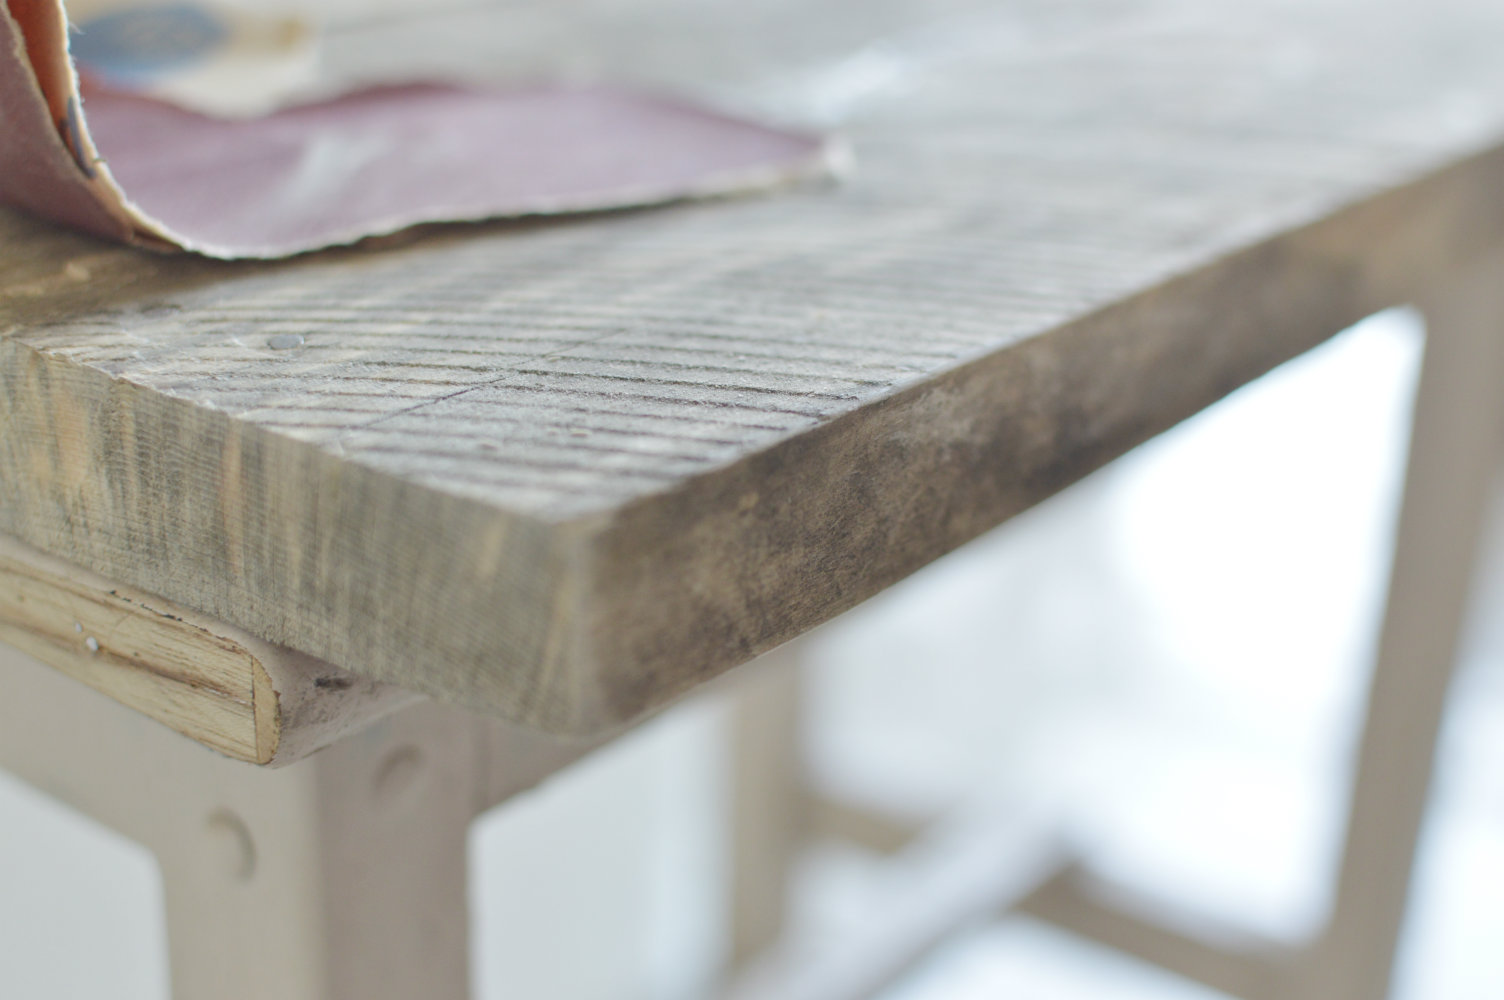 Sanding is very, very important. Firstly, because you do not want to get hurt by those unwanted splinters. Secondly, it lends a smooth-to-touch finish when you’ll complete it with varnish. If you don’t sand and skip the step, you’ll have a rough to touch table and you won’t love it at all. Trust me, if there was a shortcut i would be the first one to try it out. I love cheats. But in here, there is no cheating.
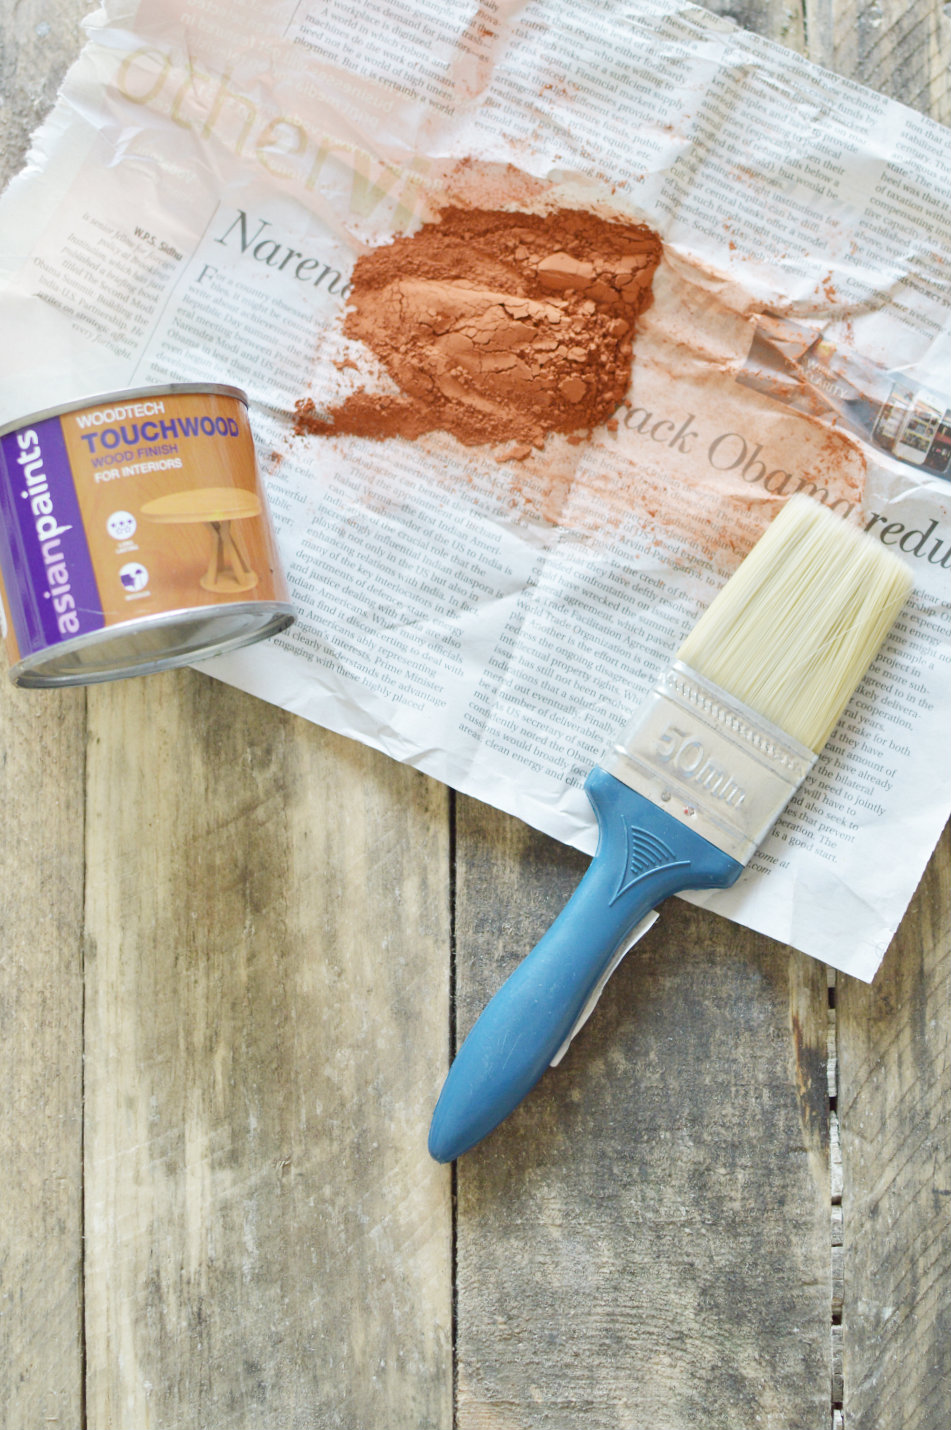
Step umpteenth, prepare the stain for your varnish. You can use plain varnish and stain, which comes in the form of powder or you can use Asian Paints Touchwood varnish, specially crafted for wood. I chose Asian Paints because it comes with a natural wood finish anyway to augment the look of any wood surface. But again, I trust the company. I have been using Asian Paints for ages now and I wouldn’t change my brand. In addition I have found that Touchwood tops varnish in several ways:
a. Touchwood can be applied on wood quickly, simply by using a brush. It is great for touch-up jobs.