
Hello from me and my gorgeous urn planter! Welcome to Episode 1 of Make It Monday- an episode 2 may or may not be up and running next Monday because hey, a girl can only do so much! Haha. But I promise I will try and rope in simple DIYs every monday so you find all the motivation you need through out the week to create something beautiful.
By the way, I feel so guilty about not blogging regularly! It’s something I totally want to do but somehow always end up missing. And it’s really not all me. Since April I have had something almost every month and the medicines would make me all tired. Last week I took my second shot of the vaccine and since friday I developed some sort of sinusitis. Its all so back to back that all DIYs took a back seat. Yesterday however, I tossed all the medicines in the garbage and said fuck it. Let’s see where it all goes. I mean I am sure my body is equipped to fight this.
Out went the amoxicillin. In came the wax! A good swap if you ask me.
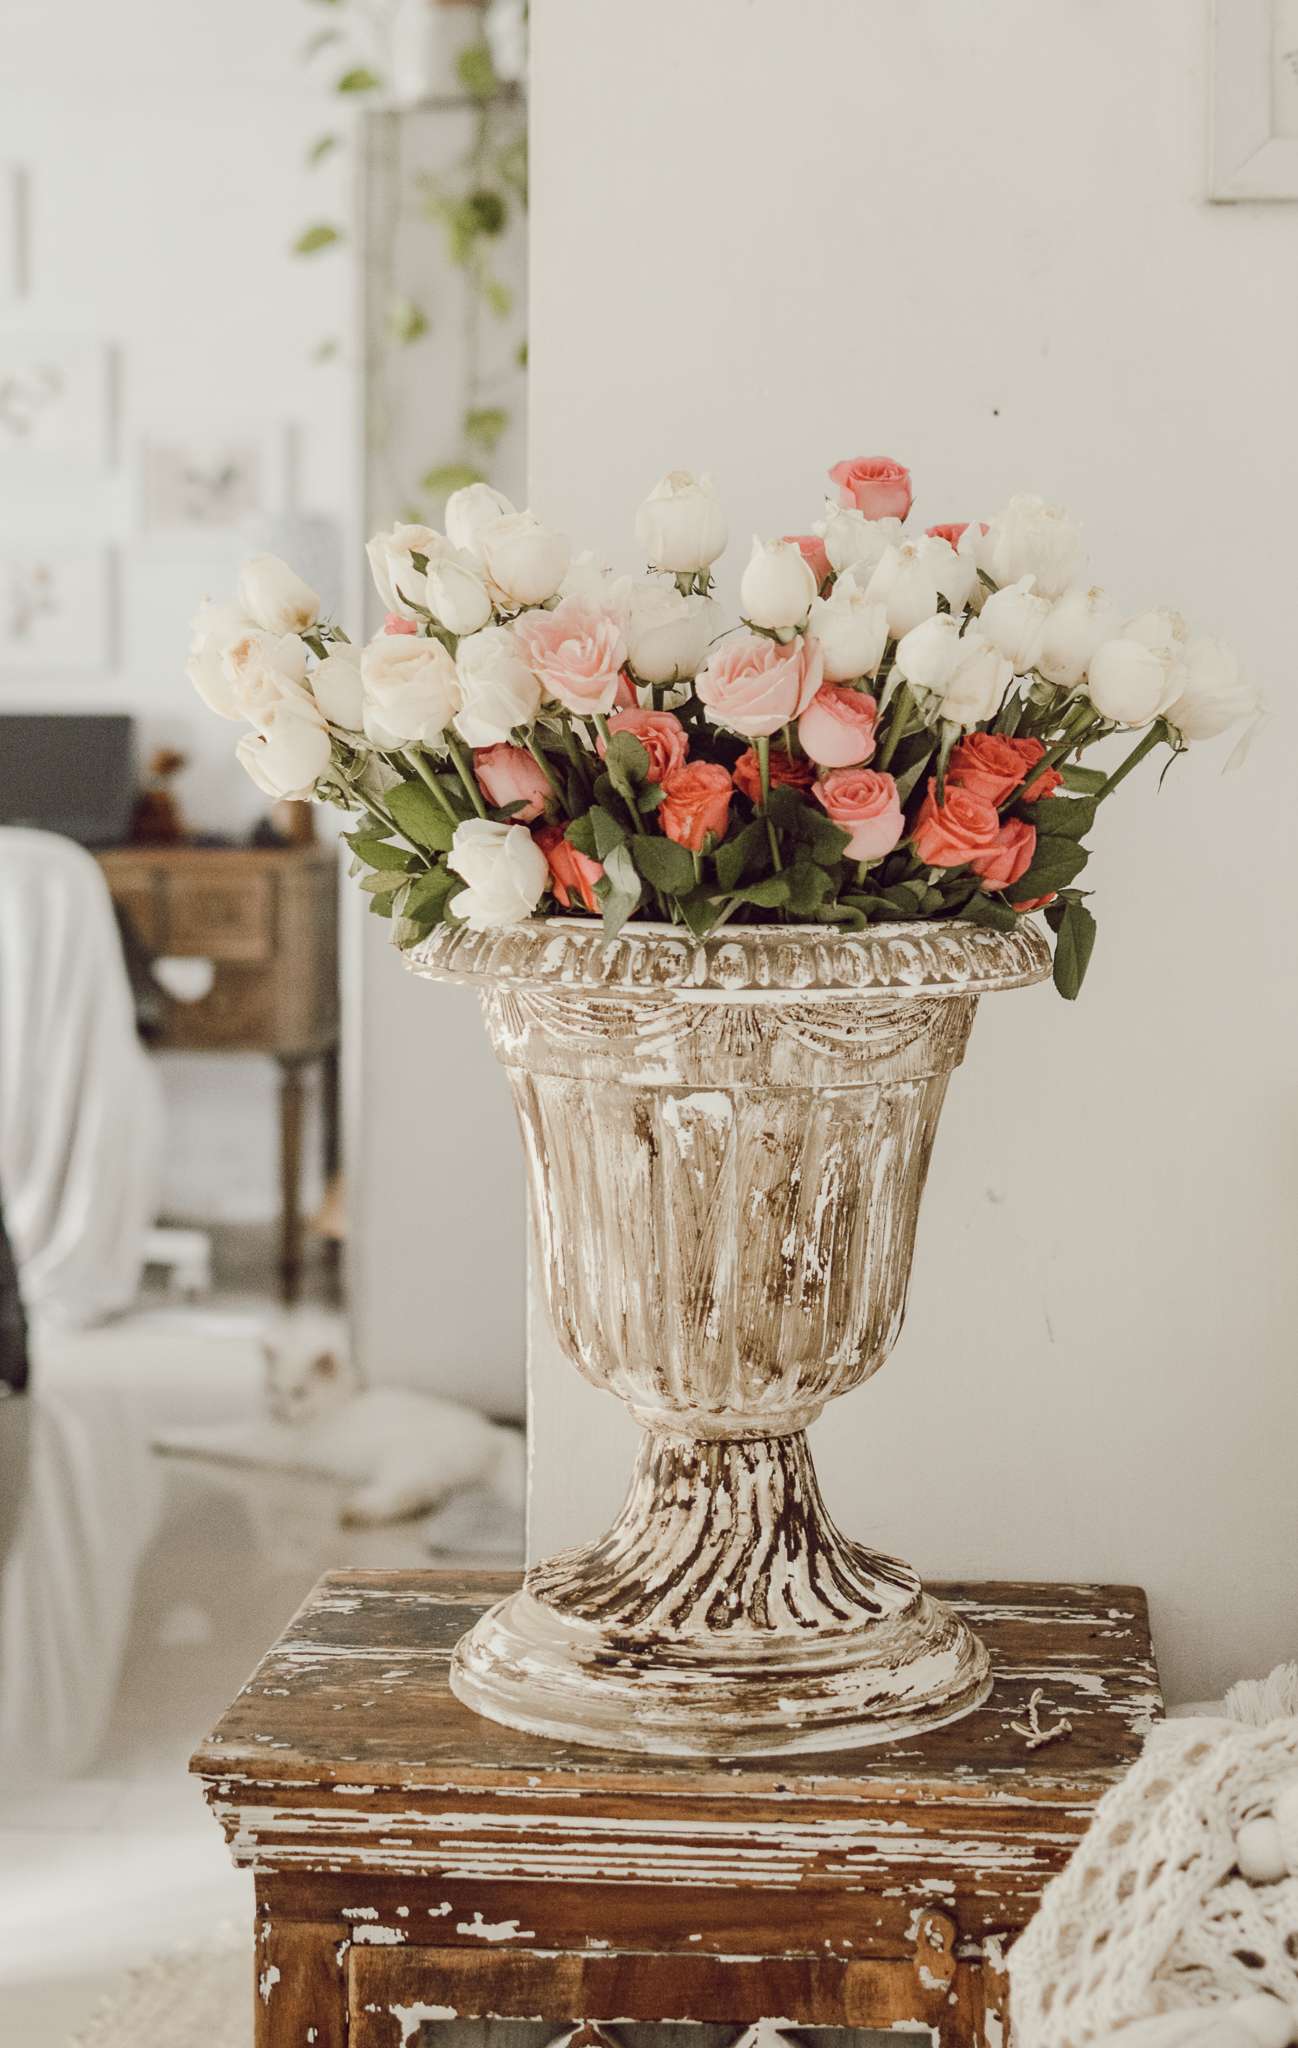
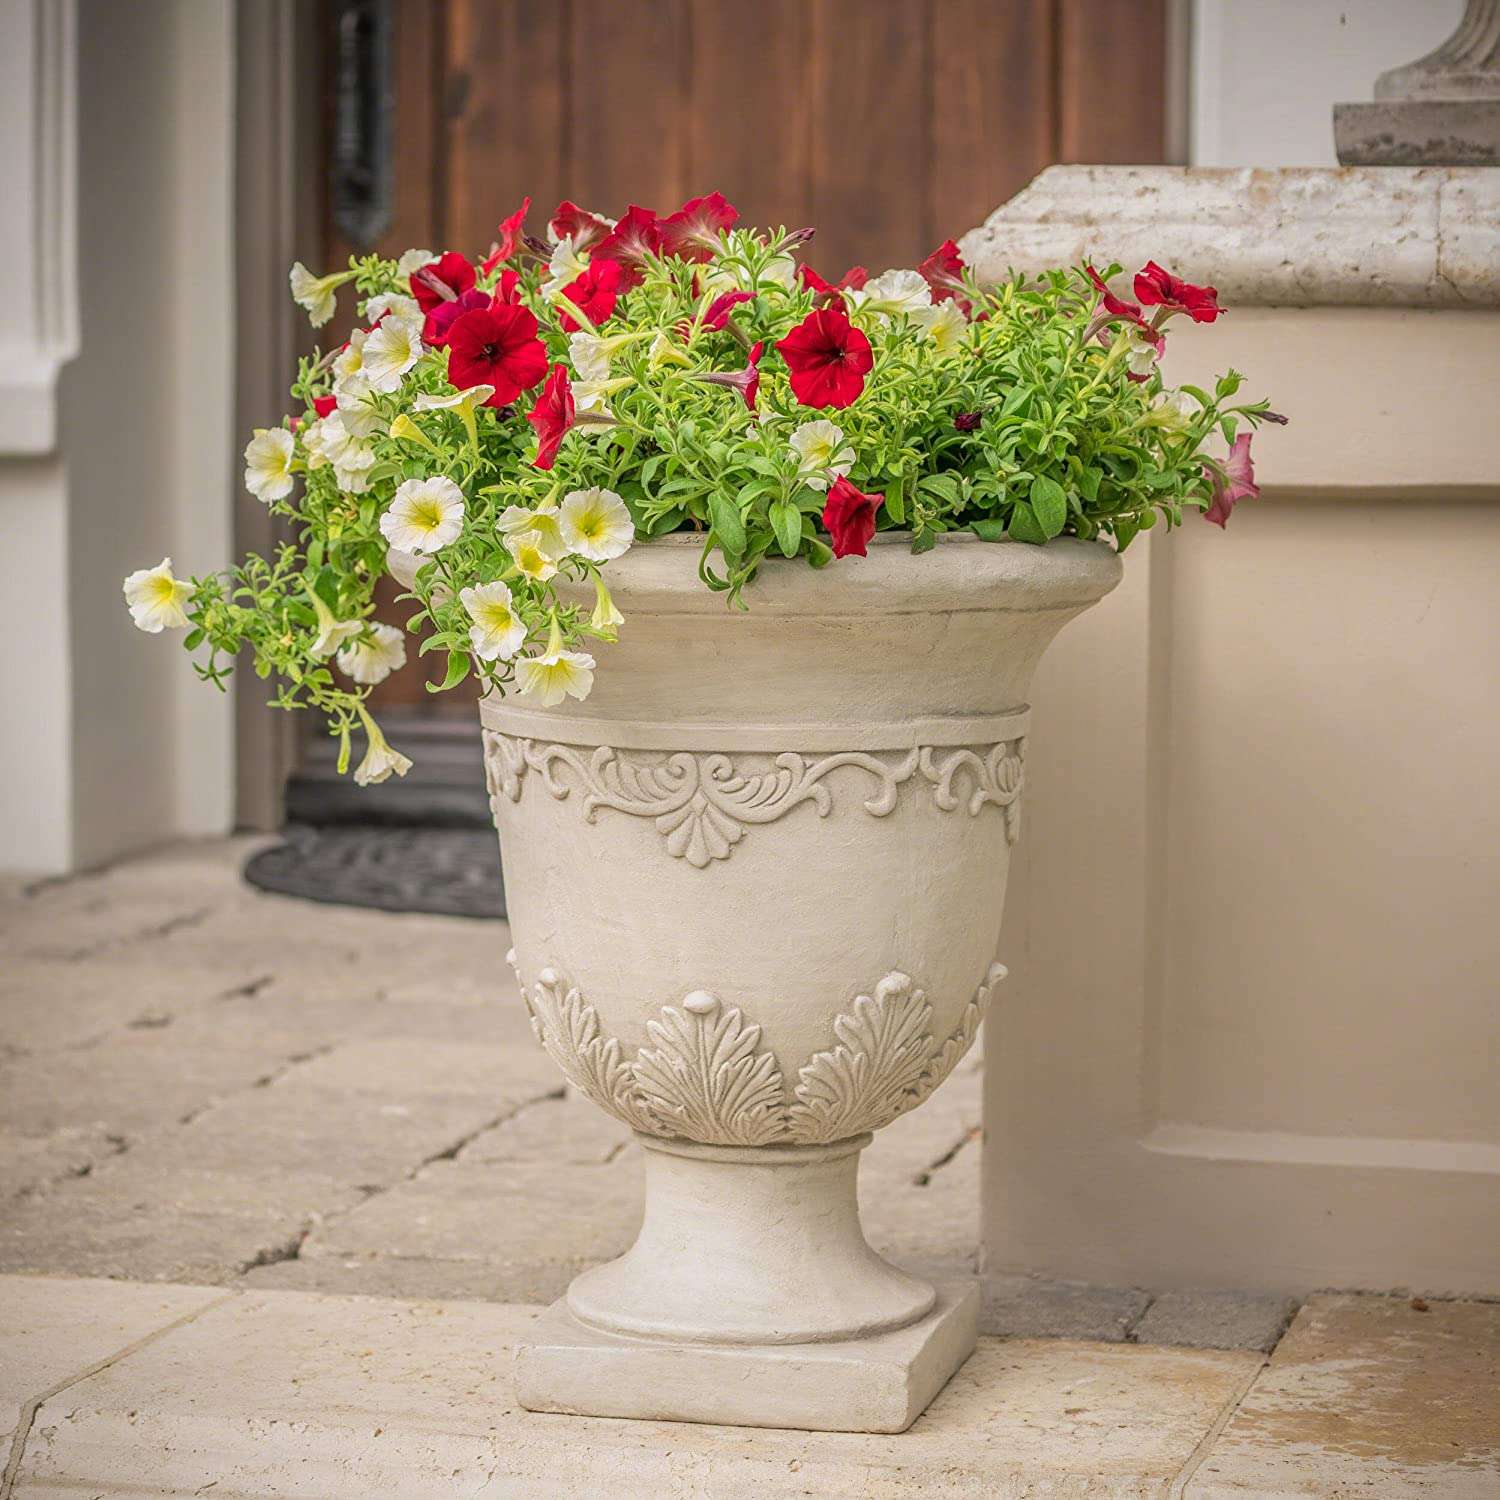
A cozy, farmhouse-ey planter after my own heart
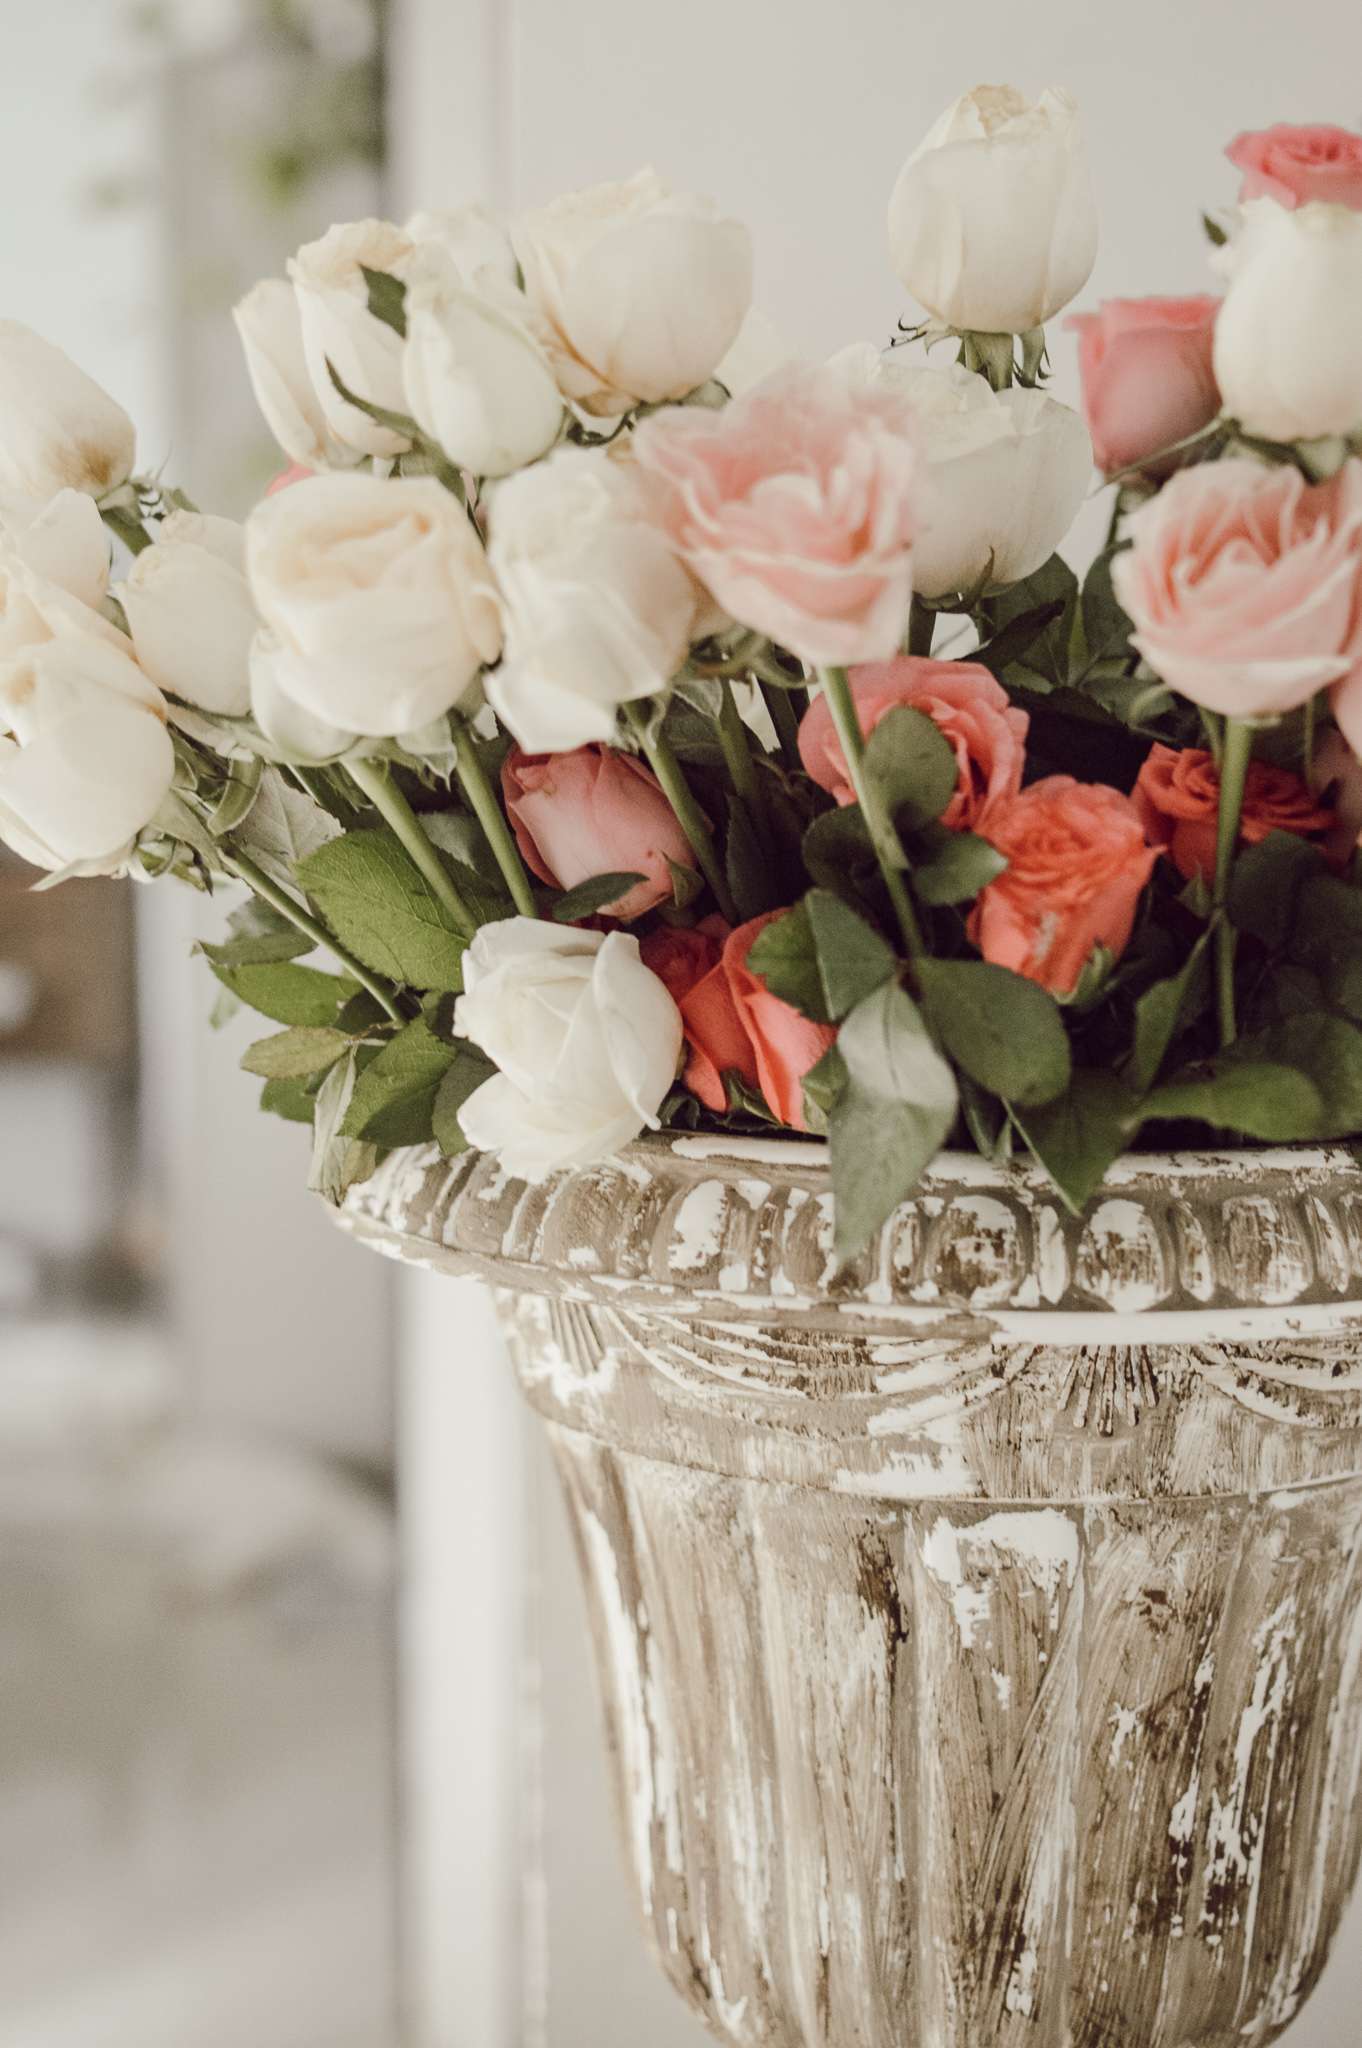
I always wanted a cozy, farmhouse-ey urn planter/vase but I am not a big fan of heavy cement ones because I stay on rent. I wish I could keep big urns in my backyard which would weather beautifully in rain and sun but im a city dweller. So I had to turn to something light, transportable and versatile.
I found a set of beautiful plastic planters on Amazon and I DIY’d a bit to make it look like a weathered, clay urn vase.
What you’d need: Chalk paint, dark wax, a brush. Alternatively, you can mix 2 tbsp white cement to 1 tbsp water and add your acrylic colour of choice. This will also work like chalk paint though id recommend using a chalk paint over the later. Why? Because if you don’t work quickly it forms lumps. I chose the later because I ran out of chalk paint. Sigh!
How to do it: First, clean the plastic planters and add a coat of paint. Let it dry for about an hour. Then give it another coat and wait. Next, with a semi-rough dry cloth, rub the paint to slightly distress it. When you do it with a dry cloth you generally tend to rub off paint from the surfaces that are plain and paint remains in the creases which gives it that weathered, old look.
Next, with a smooth cotton cloth add dark wax. I used Annie Sloan Dark wax which gives it a beautiful vintage look. You can use black wax for a more modern, noir look too. I personally prefer the dark wax. Make sure to rub the wax in those grooves and creases.
Now dry over night and there you have it!
How to style urn planter
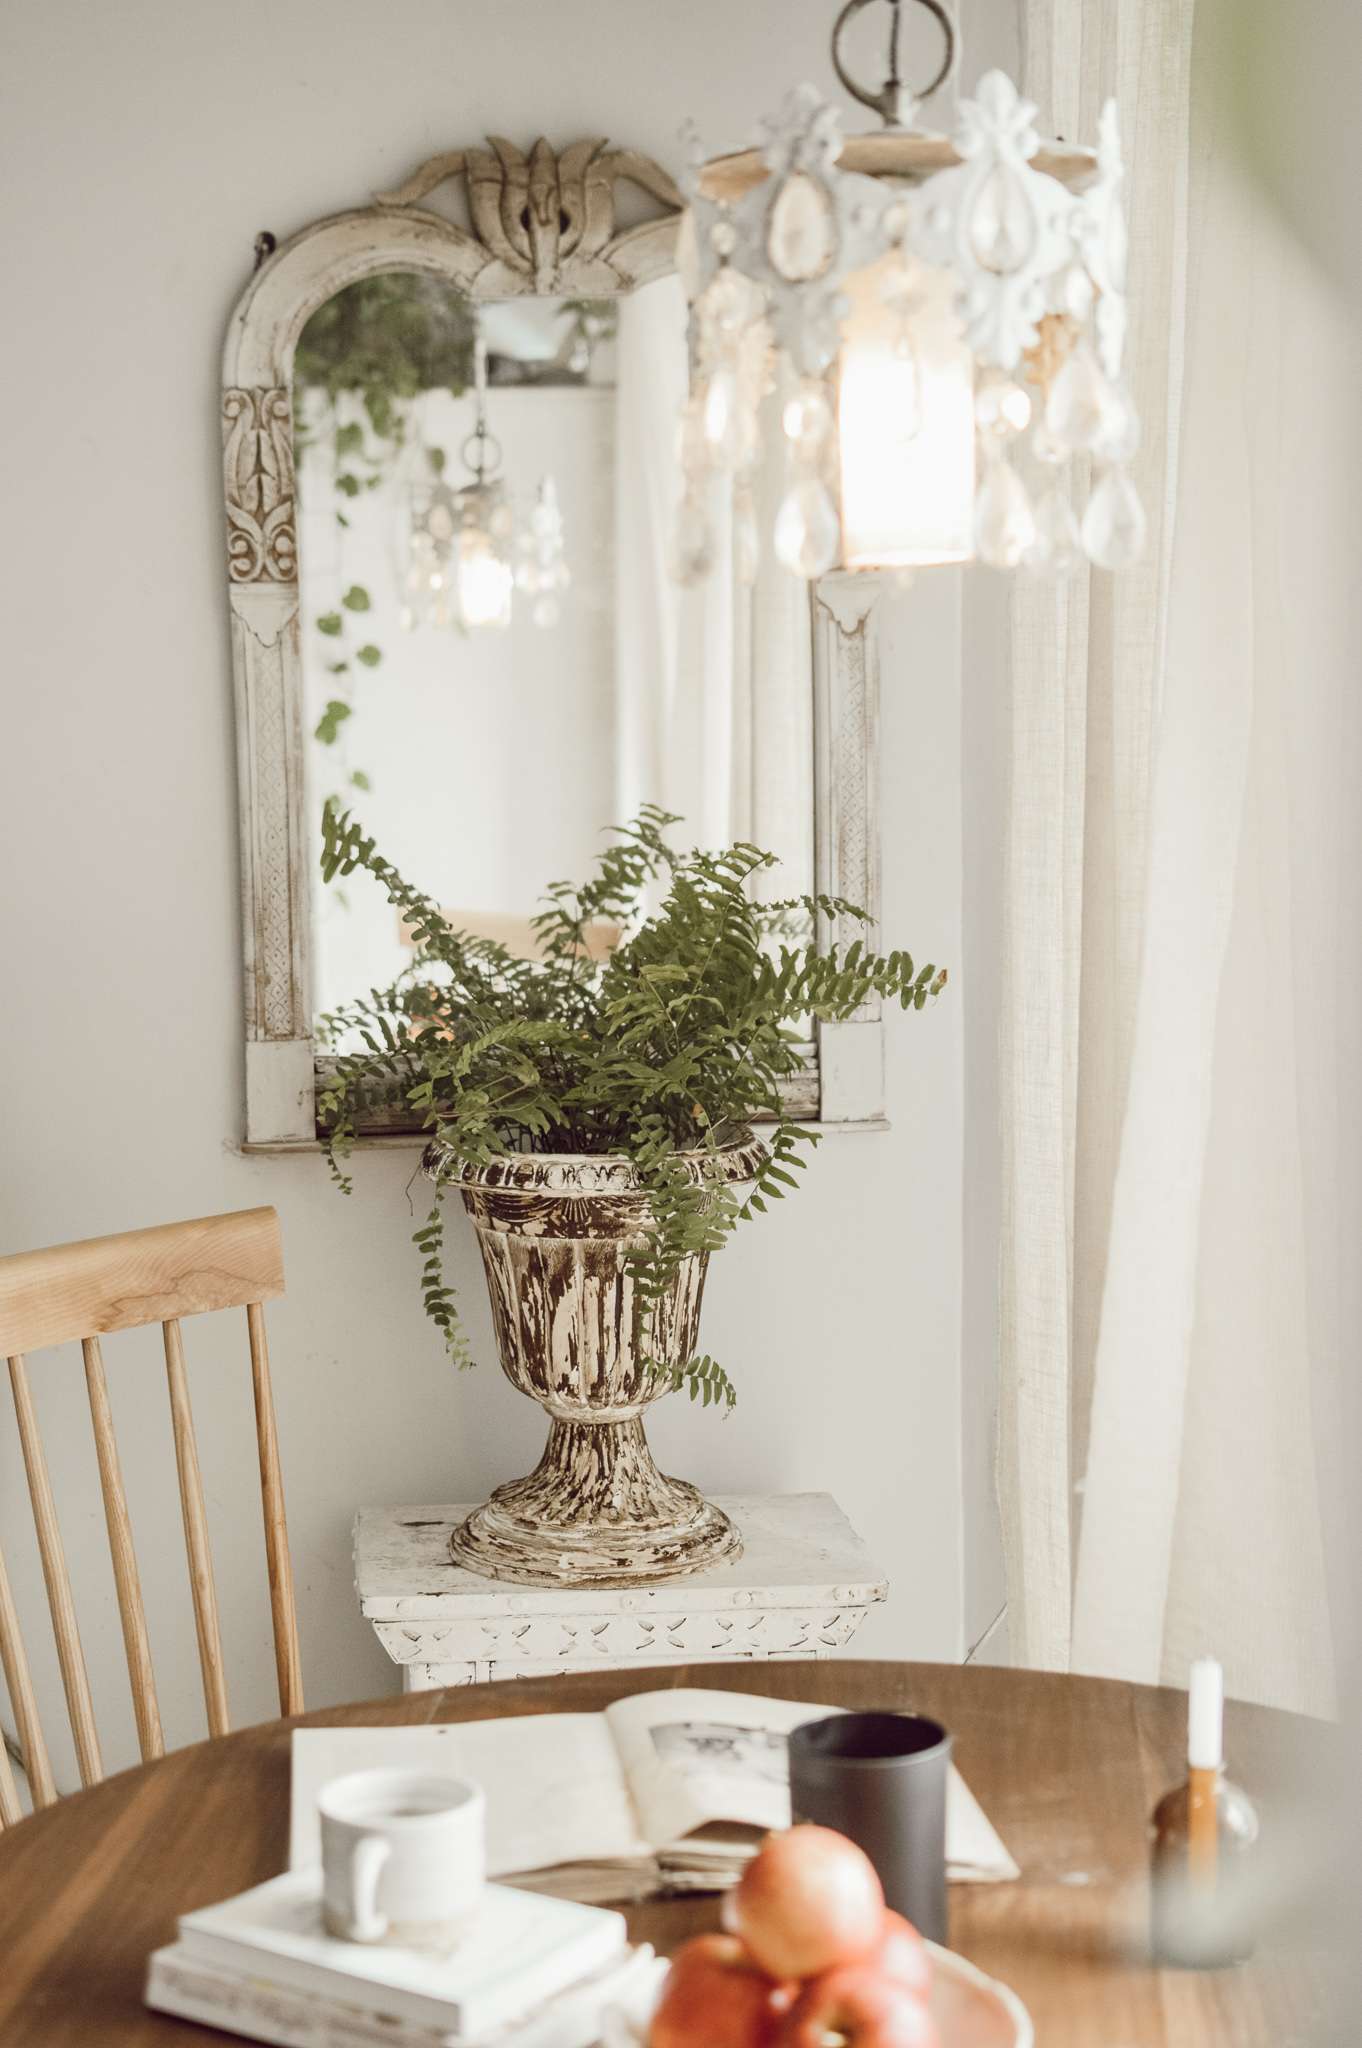
Two of my favourite ways to style them is either as a vase or as a planter for plants that trails or has long slender leaves. For example, a fern. Or a Creeping Charlie. It’s my all time favorite! Here’s a side by side comparison of how I style it in my home.
I also like them on side tables and keep them without anything around because they are very dramatic on their own.

Links to everything you’ll require to make this urn planter
Planter: Buy Here Chalk Paint: Buy Here Dark Wax: Buy Here
Total cost: 700/piece approx
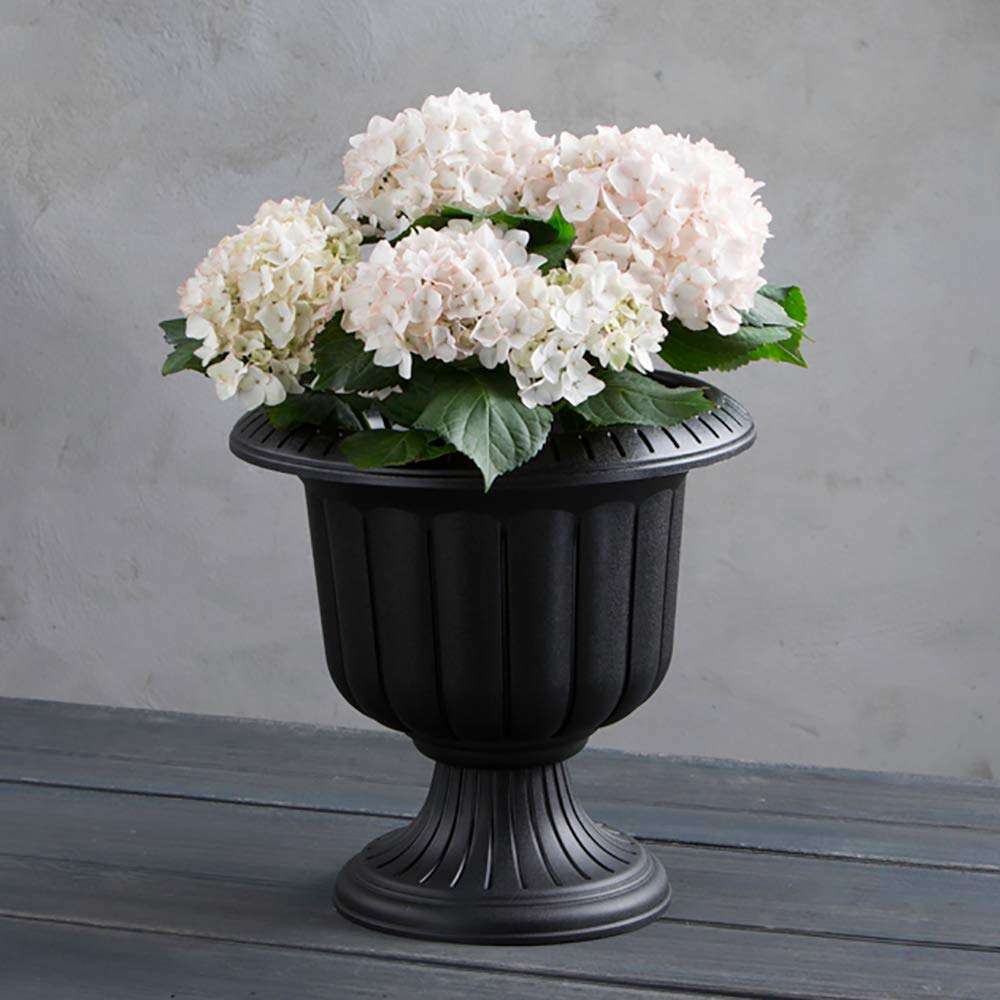
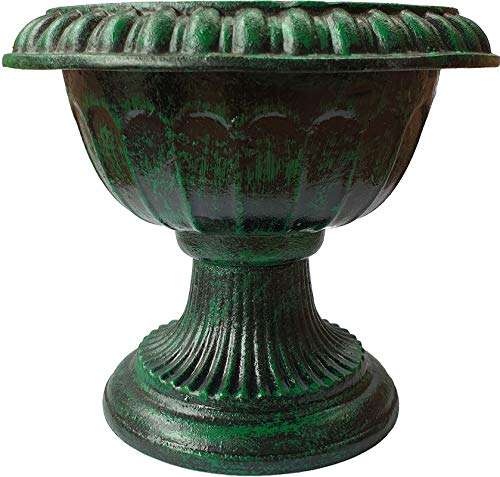
Here are a few options that we loved and their prices


Here’s a little before of our planter:

And I do think, if I say so myself, that we have won through and through with this DIY. What do you think?
700 a piece, man I can live with that!
Off to pat my own back and make some coffee. You all stay crafty and inspired. K?
Rukmini XO