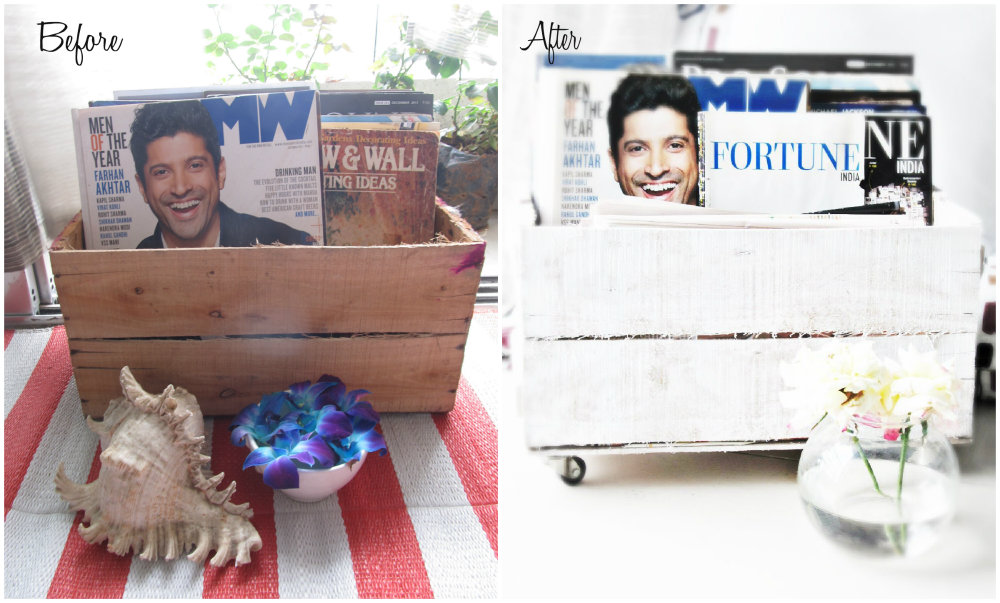
 Goodmorning Sunshine and honey and sugarstars and beachcombers. Very excited I am this morning to share this DIY Book Cart or Book Trolley as I would like to call it, and its made from an unwanted, weeping, curb side fruit-crate which once brought goodness and mangoes to someone I don’t know. That man just loved them mangoes and had no love for this wee old crate and he threw her away on the sidewalk: She had some snails comforting her when I found her. Poor girl! She is now the little star of my favorite spot by the window and the apple of my eye. It’s got me the rustic, industrial chic love that I have always been in love with. A cup of tea, poor-turned-beauty (lets call her Cinderella) and me: The universe is right there. And oh, the whole thing costed me about $8!!!
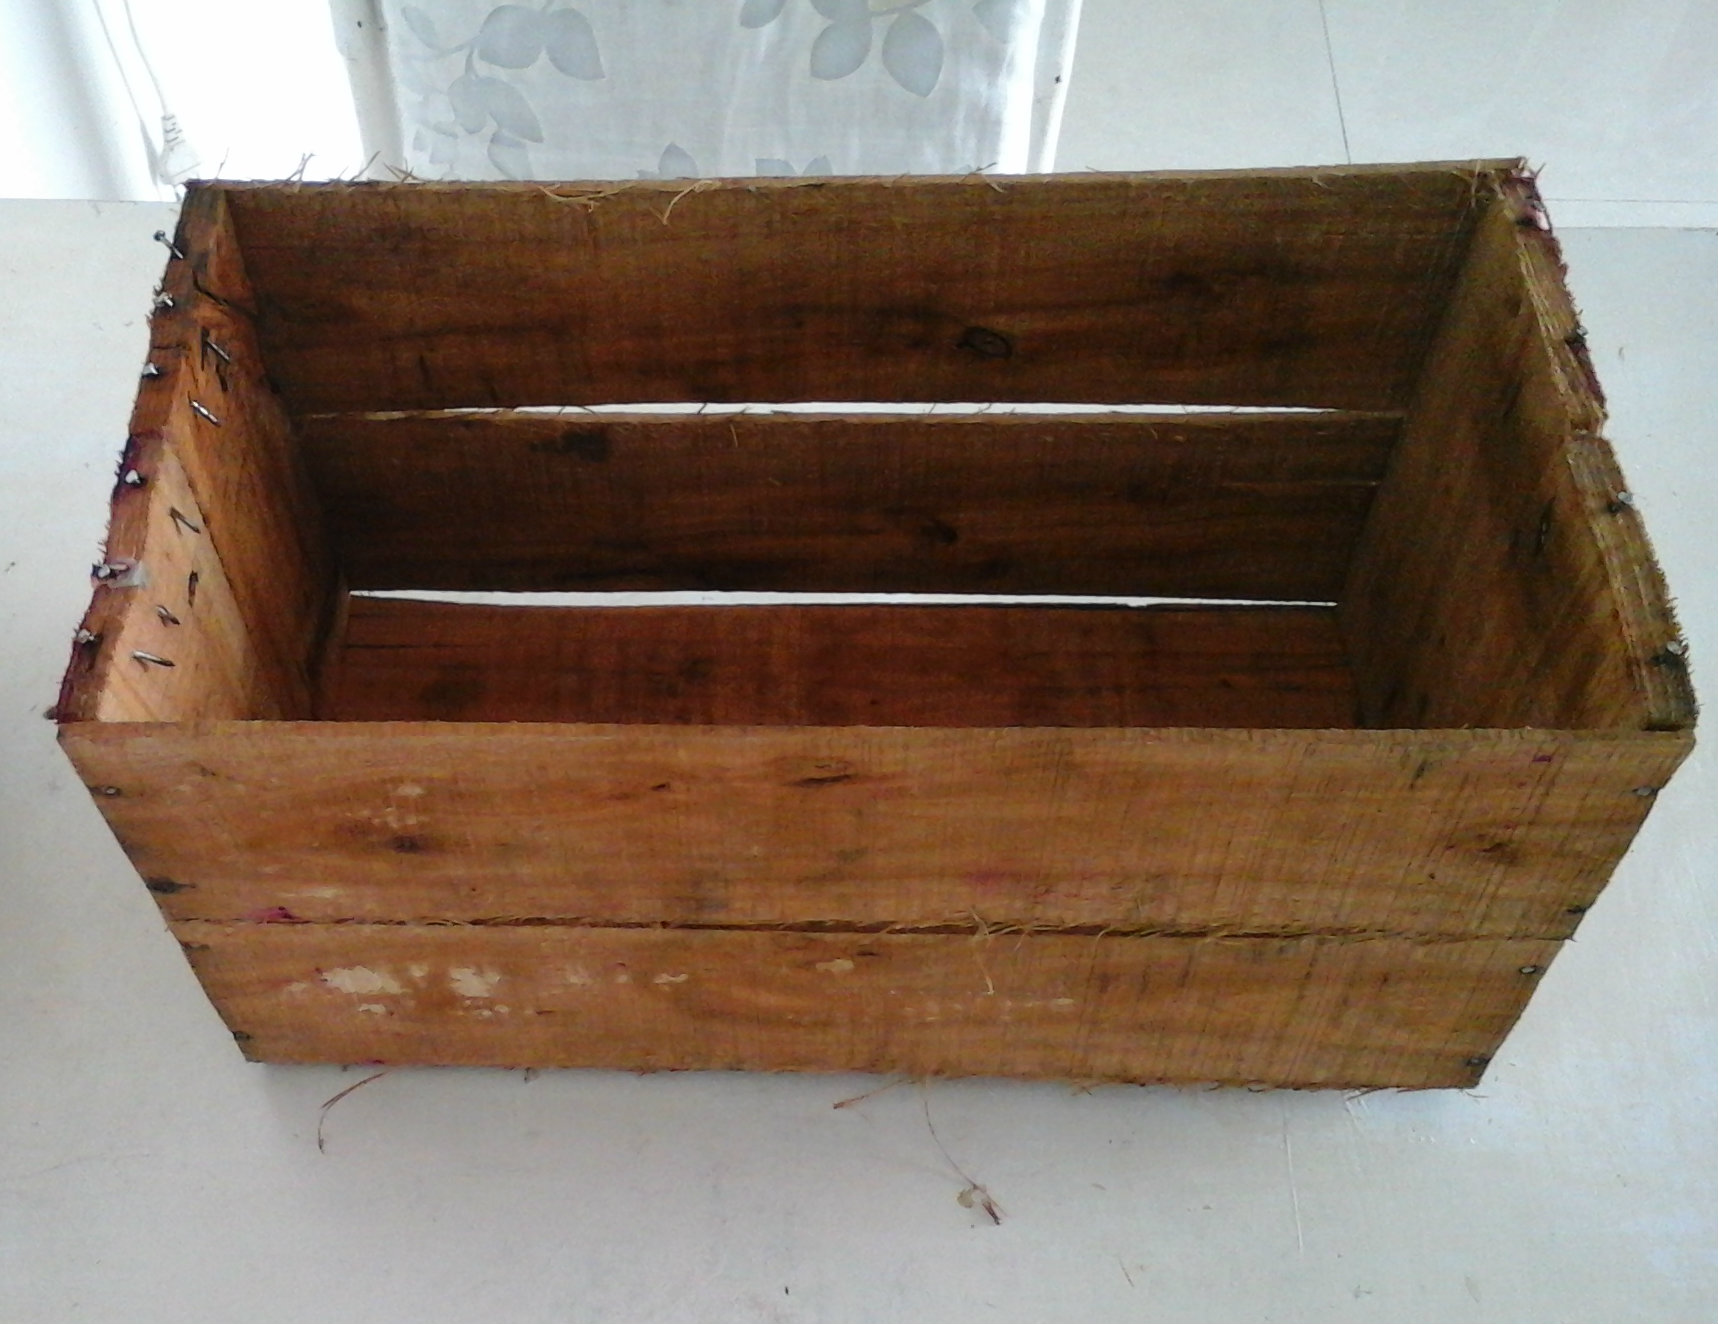
It’s been a while I did a decor post you know! I’ll blurt it out: My cam poofed. It just blew one day and never got back to life until last Friday. You can’t do much with a borrowed cam now, can you? So last week with its delivery I got home my hardware supplies too 😉 Guess you’ll be seeing me and my crafty side a lot henceforth, like before. I have a couple of projects lines- one which concerns a wall, one which concerns the guest bathroom and ofcourse a bit of curtain love too- which I am gonna tackle one at a time and I’d love for you to be with me and tell me if the moolahs are worth spending on what I decide. For now, here’s a peak at the crate, how I found it!
Ugly nails and stray splinters. This is your hand’s worst nightmare. I’ve had uggs scratches and a bandaid wrapping marathon with this one. But it finally succumbed to the decor rehab and turned into one beautiful little crate. Sand it a bit (or leave a bit of splinter where it would not hurt you to keep its rustic charm intact) and spray paint it.
I love my brush and paint, really, but because the air is full of moisture here (yes, the monsoons are still on) I decided to go with a spray paint. It takes a lot less time to dry and works evenly too on uneven surfaces like this.
Got home some tiny wheels from the hardware and fixed them at its corners. Here’s a collage too if you’d like to see. Honestly, I love blogposts that explain things to me. So I like to give as much info as I can. If you have figured already, just skip it homey 😉
Pretty simple. Just place it in four corners. Mark the nail points and fix the screws.
These wheels are the ones that are used industrially and revolved 360 degrees. You also get the straight moving variety. I prefer these ones though!
All you need to do next is keep your favorite books or two, a vase and wheel it around like a little child would. I’m wondering if I should tie a rope to it and carry it with me all round the house 😉 Let’s go 100 insane.
Here’s what it became!
Here’s a before and after:
 So yeah! That’s it from the sunny house this morning and more to come.
Have a crafty week ahead of ya!
Sharing at:
Monday
Tuesday
http://www.tinysidekick.com/makers-link-party-34/
Wednesday
http://www.savvysouthernstyle.net/2014/09/wow-us-wednesdays-186_10.html
Thursday
From My Front Porch To Yours – Treasure Hunt Thursday
Friday
The Shabby Nest – Frugal Friday


