How to decorate a Christmas tree. Firstly, there are no rules to this because its your tree and you can decorate it the way you like. Because Christmas and your tree is certainly much more than just an aesthetic addition. And yet if you are like me, who enjoys to decorate and would want a Christmas tree that’s a total stunner- here are a few points on How to decorate a Christmas tree that’ll make your ordinary tree shine.
How To Decorate a Christmas Tree- Buying guide
Many of you will buy a tree this week so I thought of putting a few words down with regards to buying a tree. Now, if you are fortunate enough to be living in a country where you can avail a real Christmas tree- well! Boom shaka laka. Get to a farm, choose your tree and voila. But. If you are in a place like India where you have too stick to an artificial tree make sure you are looking at these points:
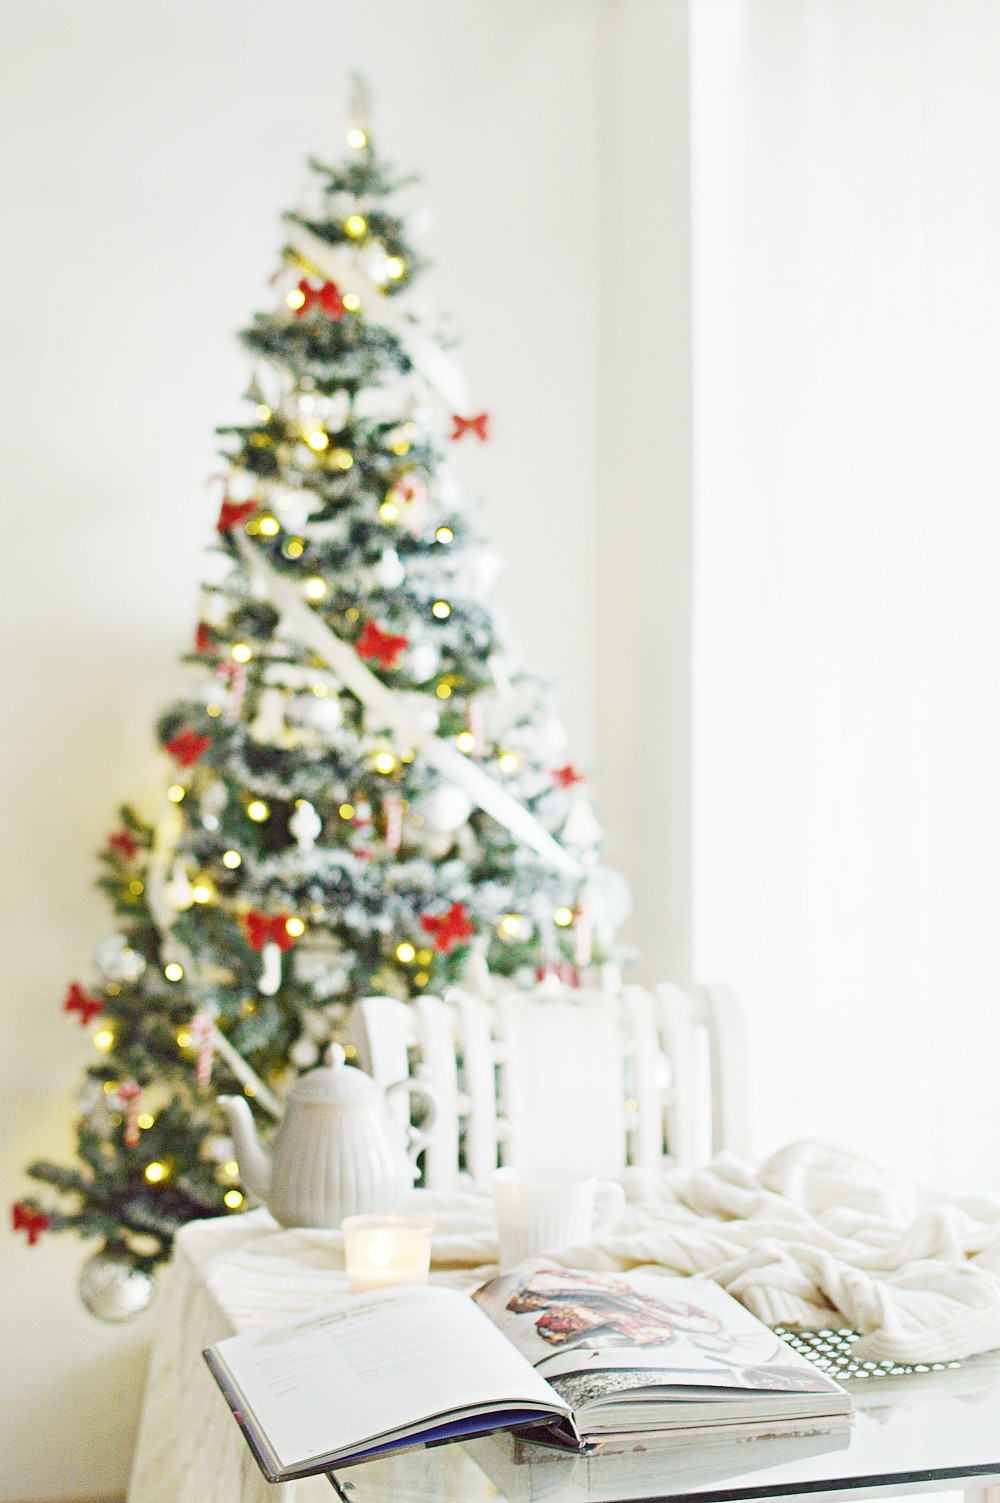
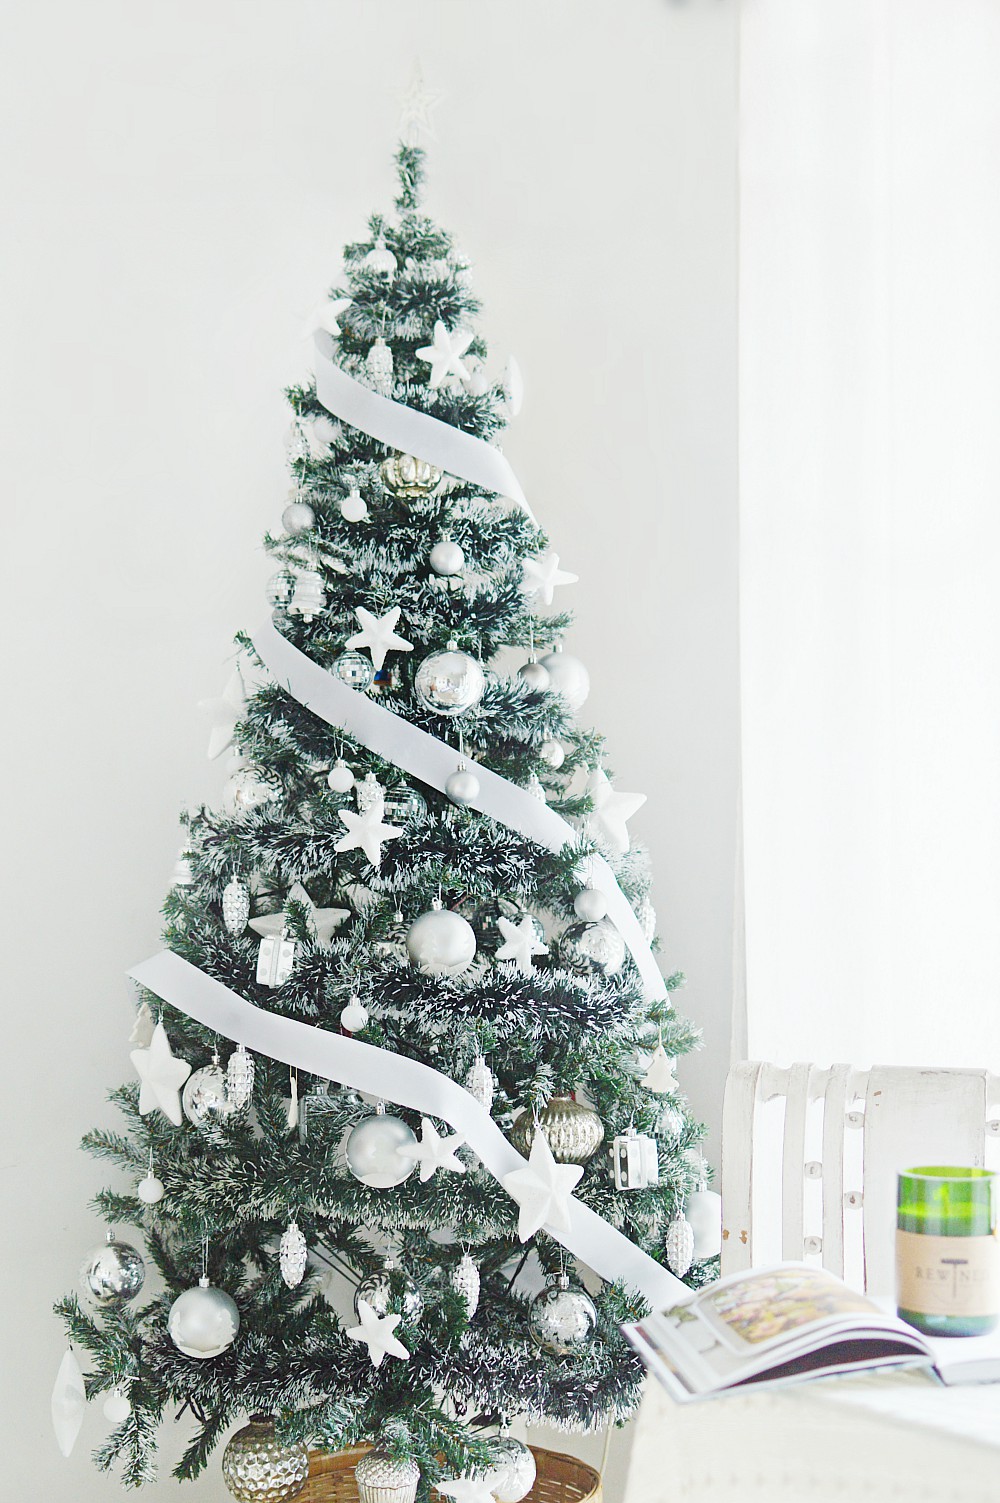
1. Spruce or Pine: Spruce is the one that has singular needles attached in small twigs and the twigs are attached to the main stem. While Pine has needles that are attached in clusters making it look bushy. The one that I had used for our living room before {and which got featured in this month’s Annual December issue of GoodHomes Magazine} is a 5 ft pine. The branches are really bushy.
On the other hand the image on top of the post is a 6 ft spruce. So decide on the kind of look you want.
2. 1000 needles: Please buy a good tree. If you can or want. More the needles, closer the look to a real tree.
3. Plain or flocked: If you want a nice, rich warm feel go for a tree that’s plain and not flocked. Floked means added snow. But if you want a snowy Christmas tree you could either buy a pre-flocked tree {which looks drop dead gorgeous} or flock it your own with flocking powder or paint. I did paint because I couldn’t get my hands on a focking powder here in India.
So that sorts our tree buying guide. Also, both my trees are from eBay, and I try and buy them around October when the price is a little low.
How To Decorate a Christmas Tree- Decorating Guide
In the decorating guide, I’ll take you through two looks-
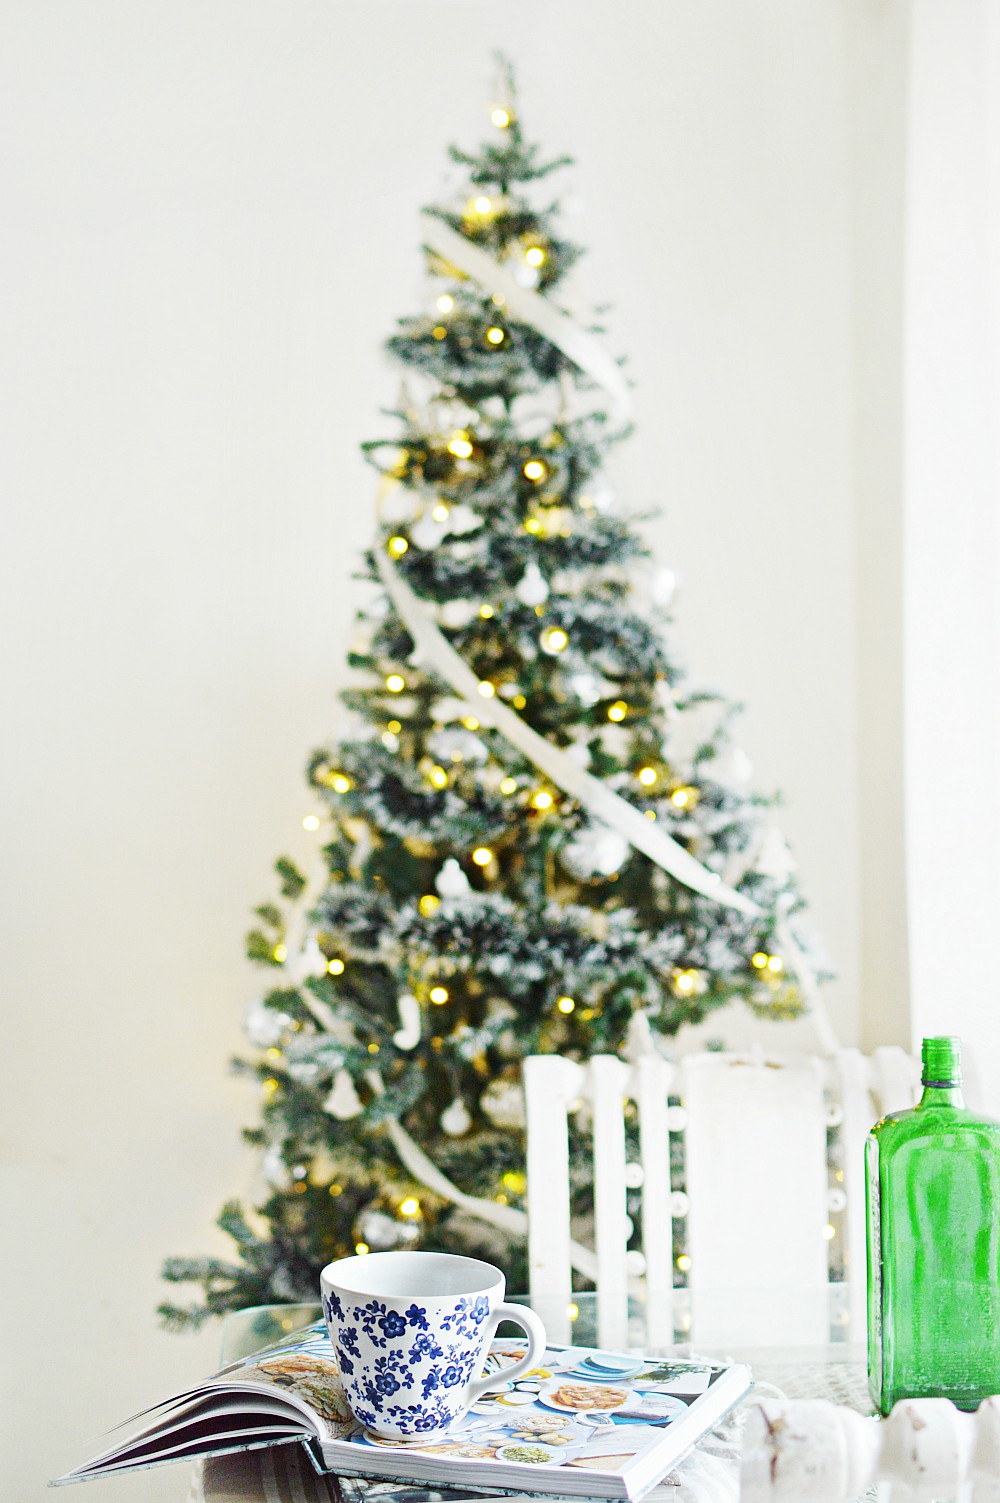
a. A simple, Scandi, monochrome, classy tree with lots of white elements as you see above. This is me. If the tree was just mine I would do it this way. Add a chunky knitted blanket as skirt and I am done. All good for Hot Chocolate! Seriously though- love myself a simple white tree.
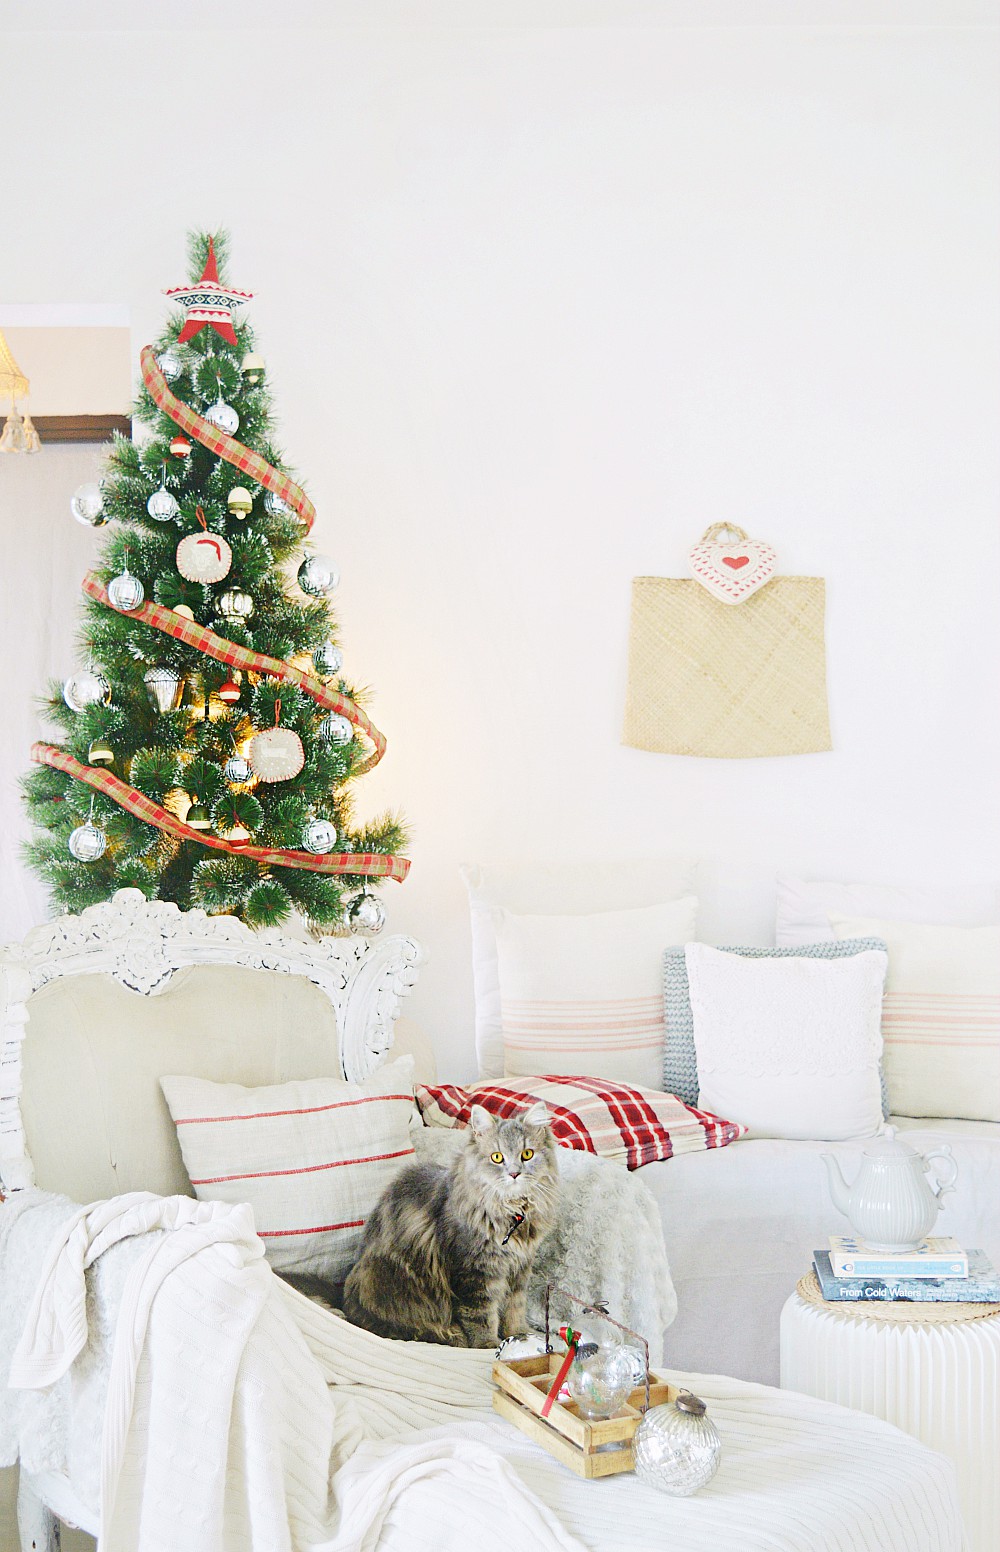
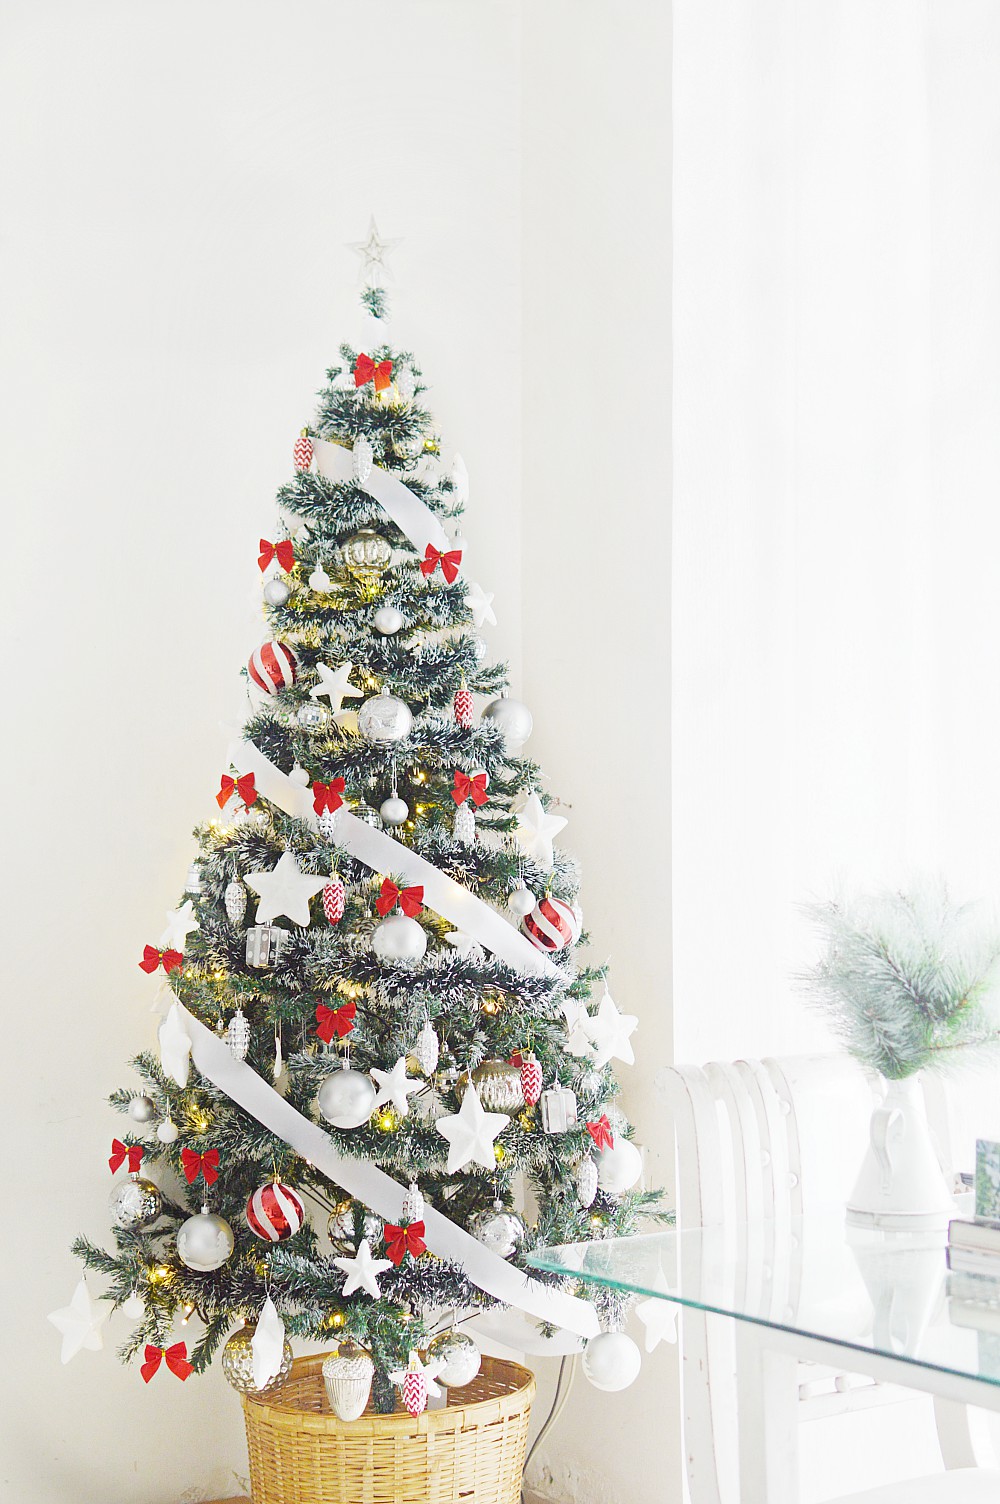
b. A traditional Red and white tree with silver and green accents. Because not everyone share my ethos and Christmas looks a bit incomplete without a touch of traditional and cheerful Red.
However, the key decorating points remain the same.
5 instant ways to a gorgeous tree
1. Decide the colours. You can go minimal and simple with one or two colour schemes or go all out and eclectic with all the colours in the world. Once you have decided, stick to those colours when buying ornaments and also ribbons if you are using.
2. Start with one ornament. Once you are done adding the same kind, add the next. This will ensure every part of the tree gets its share of ornament.
3. Go all the way. Don’t crowd just the front with ornaments because the ones at the back will also show through. So go all the way while decorating.
4. Add garlands on the outside and lights inside of the tree. If you are adding garlands or ribbons, add it at the periphery of the tree. garlands when added in this fashion gives the tree a fuller look. While the lights are concerned, do not add it just to the periphery but also to the inside of the tree near the stem. This will ensure depth.
5. Choose a nice tree holder. While you could do tree skirts, my personal favourites to display the tree are crates and wicker baskets. They look amazing and I have been doing wicker for ages now.
These are the most basic 5 steps. Once you are good with these, the possibilities are endless. You could use thick ribbons and thinner garlands, you could arrange the ribbons in a spiral fashion or let it casually fall from the tree. Then ofourse there are tree toppers which can range anything from a large bow to an angel to a star {most common} and a skull. {This one’s totally new to me but somehow looked amazing} All you need to do is just play around.
Oh, and before I leave, one very important thing.
After each step, go a bit of distance and take an overall look. You’ll instantly be able to figure out which parts need ornament or which is too crowded. This is probably the most important step in How to Decorate a Christmas tree. Stand back and review after every step till you’re satisfied
I hope this quick blog helps you and you get to deck the halls like a dream.
Towards Christmas we charge.
Merry pre-Christmas Ladies and Gentlemen! Tis’ the season!