Distressed furniture? Why would someone want to put their furniture to distress? In the decor world, the word doesn’t have it’s more like destress and is a way to lend a weathered, chippy look. And why on earth would one distress a perfectly painted piece of furniture? Because imperfections are beautiful.
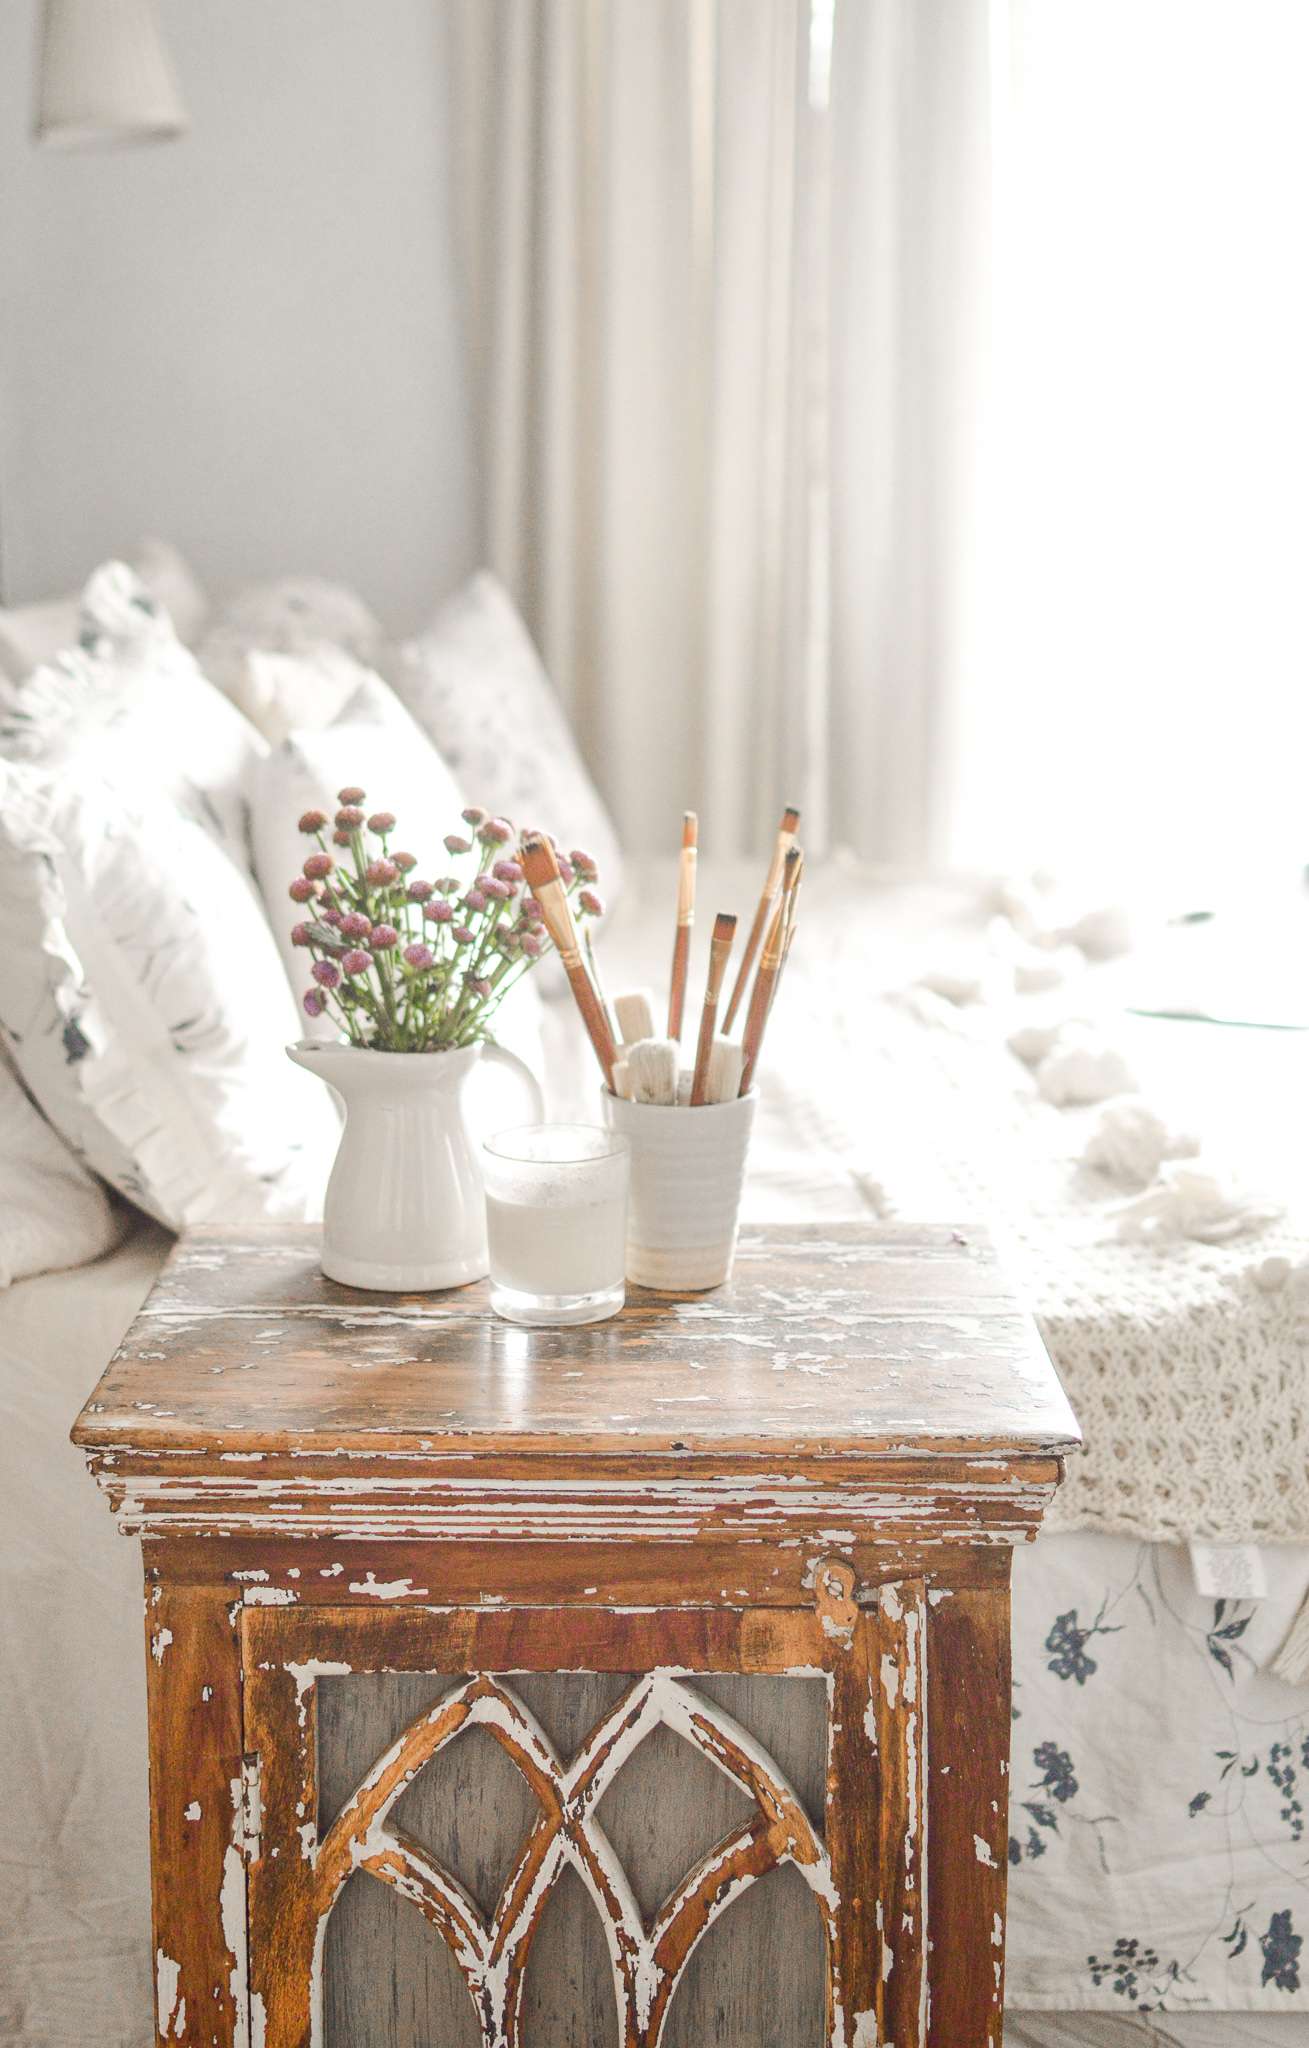
It is imperfections that lend character to an otherwise mundane piece of function, tell stories and define a piece for what it is, for what it’s endured. Plus, if you are the kind (like me) who loves farmhouse style or cottage style decor with all its mellow romanticism and beautiful weathered furniture, this hack is a keeper.
Distress by definition
Now before we jump on to our distressed furniture DIY, let’s quickly tell you what distressed mean in decor world. Distressing is a technique which makes a piece of wood appear aged and older than it actually is, giving it a time-worn and weathered look. Ironic how its treated as a refinishing technique when the fact is, a weathered furniture is anything but “finished”. In simple words, it is a technique to make a new piece of furniture look old, weathered and beautifully aged through times.
Chippy, weathered, gnarled
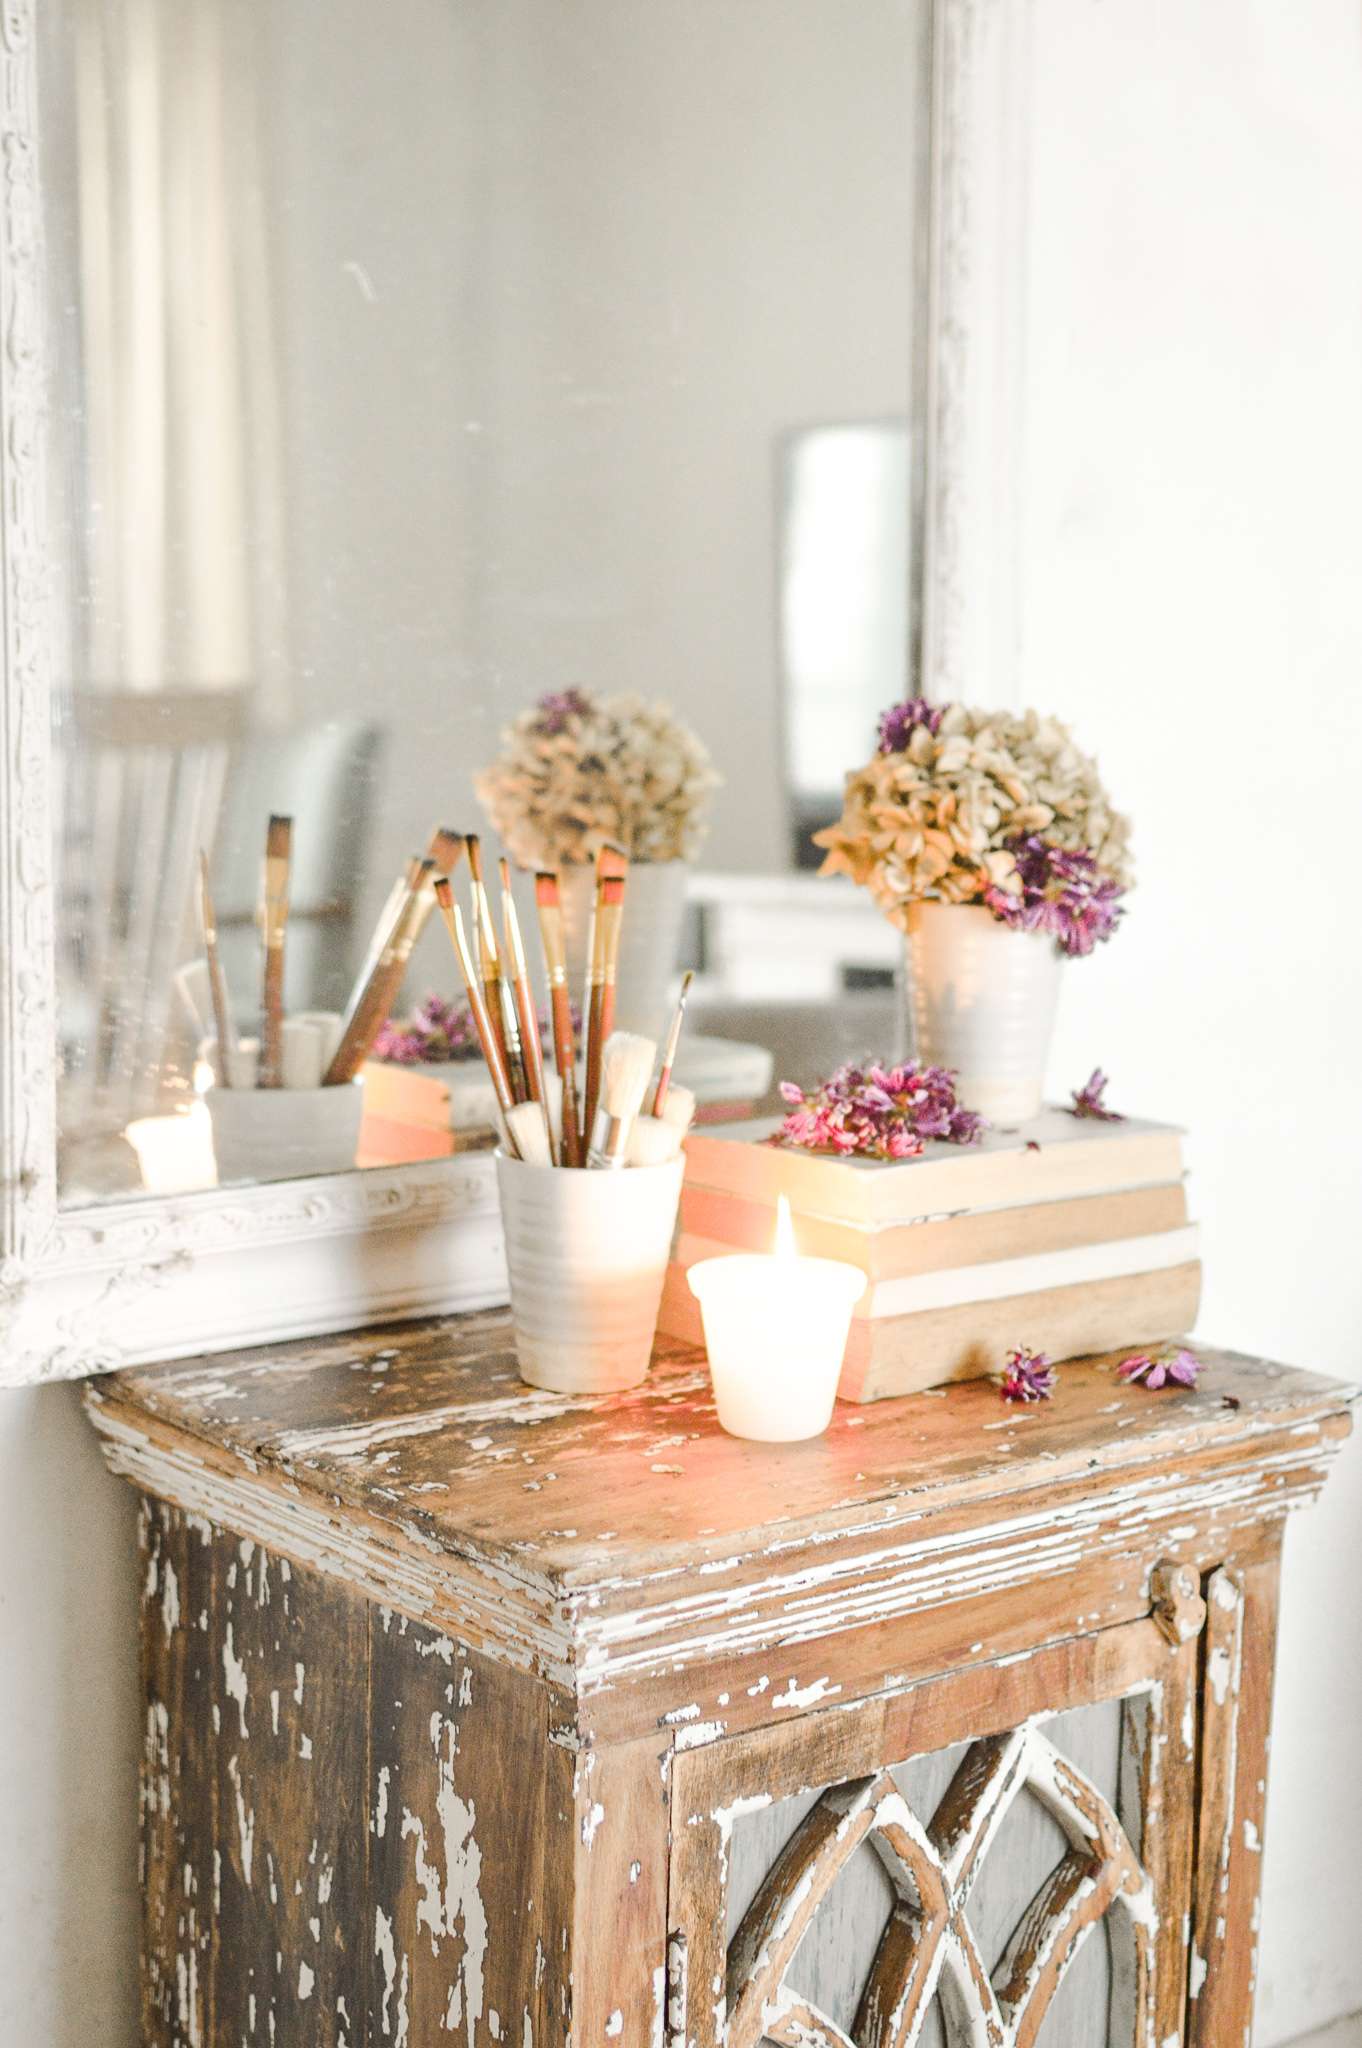
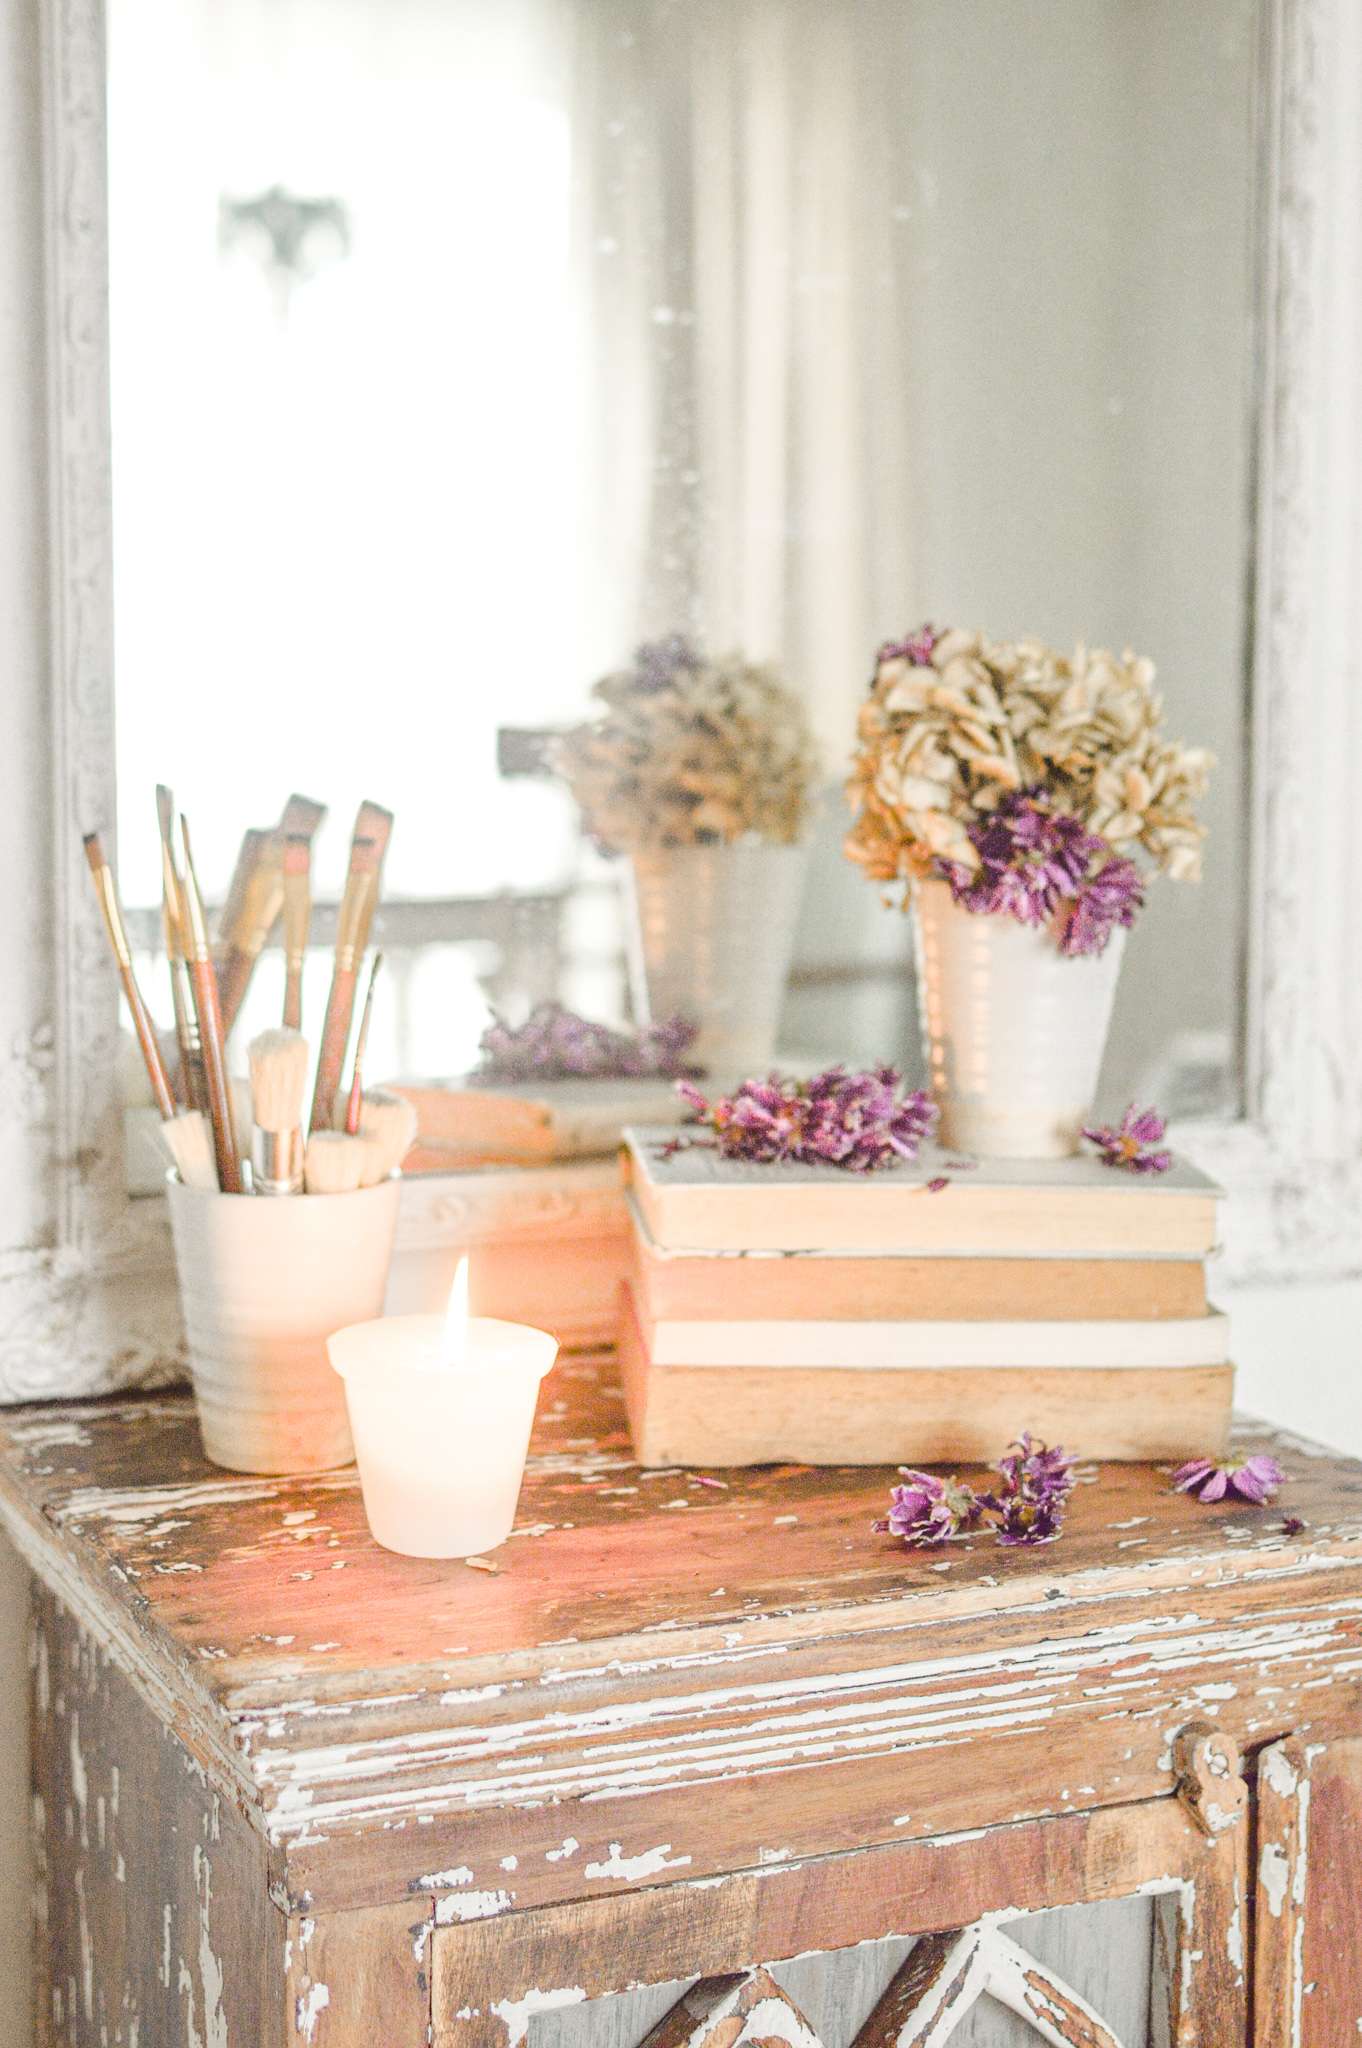
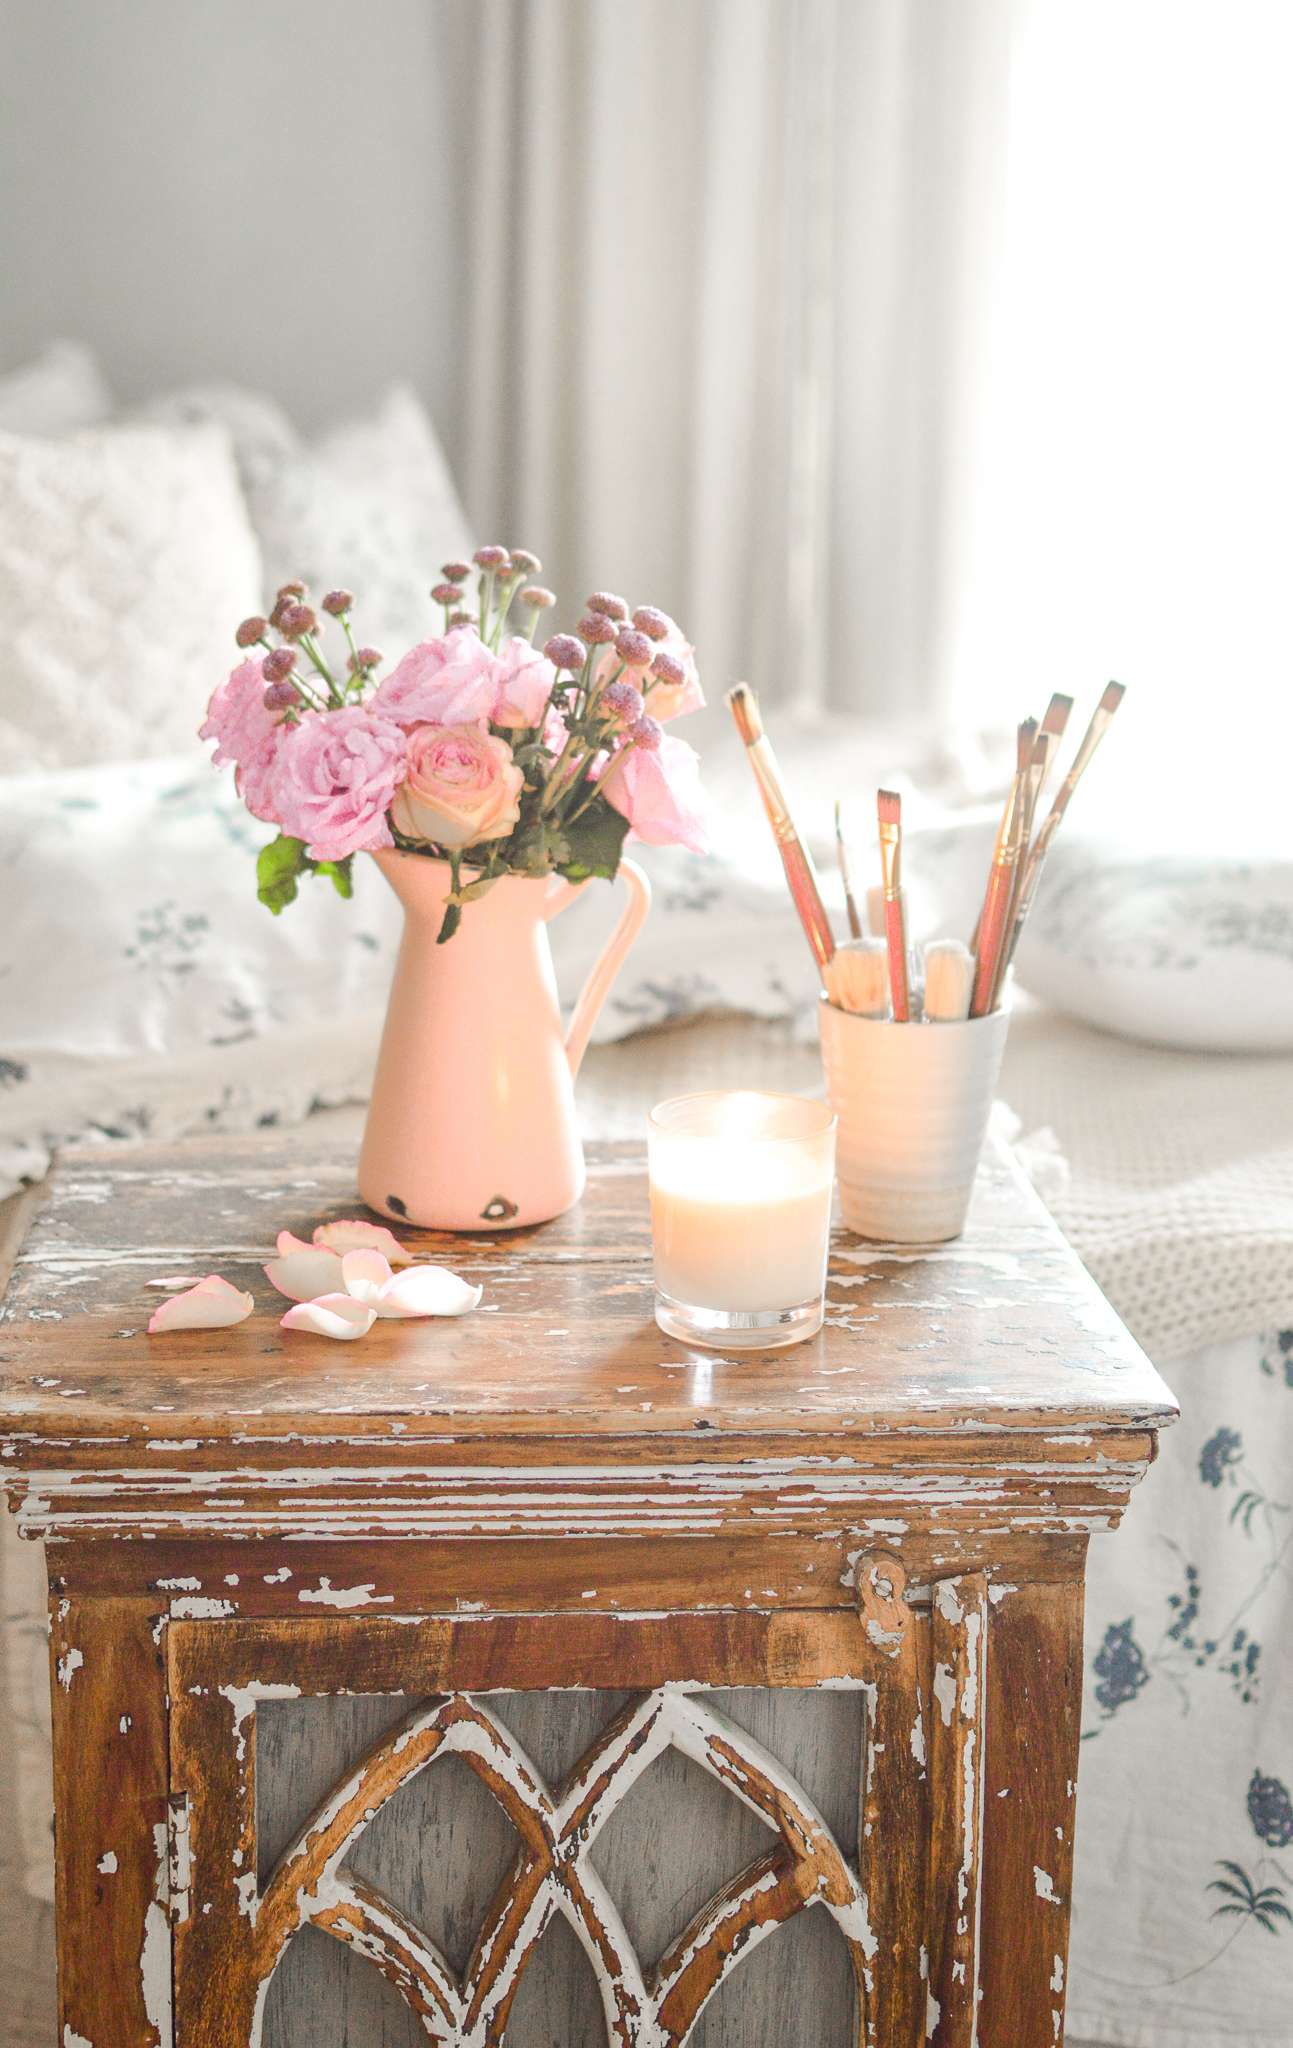
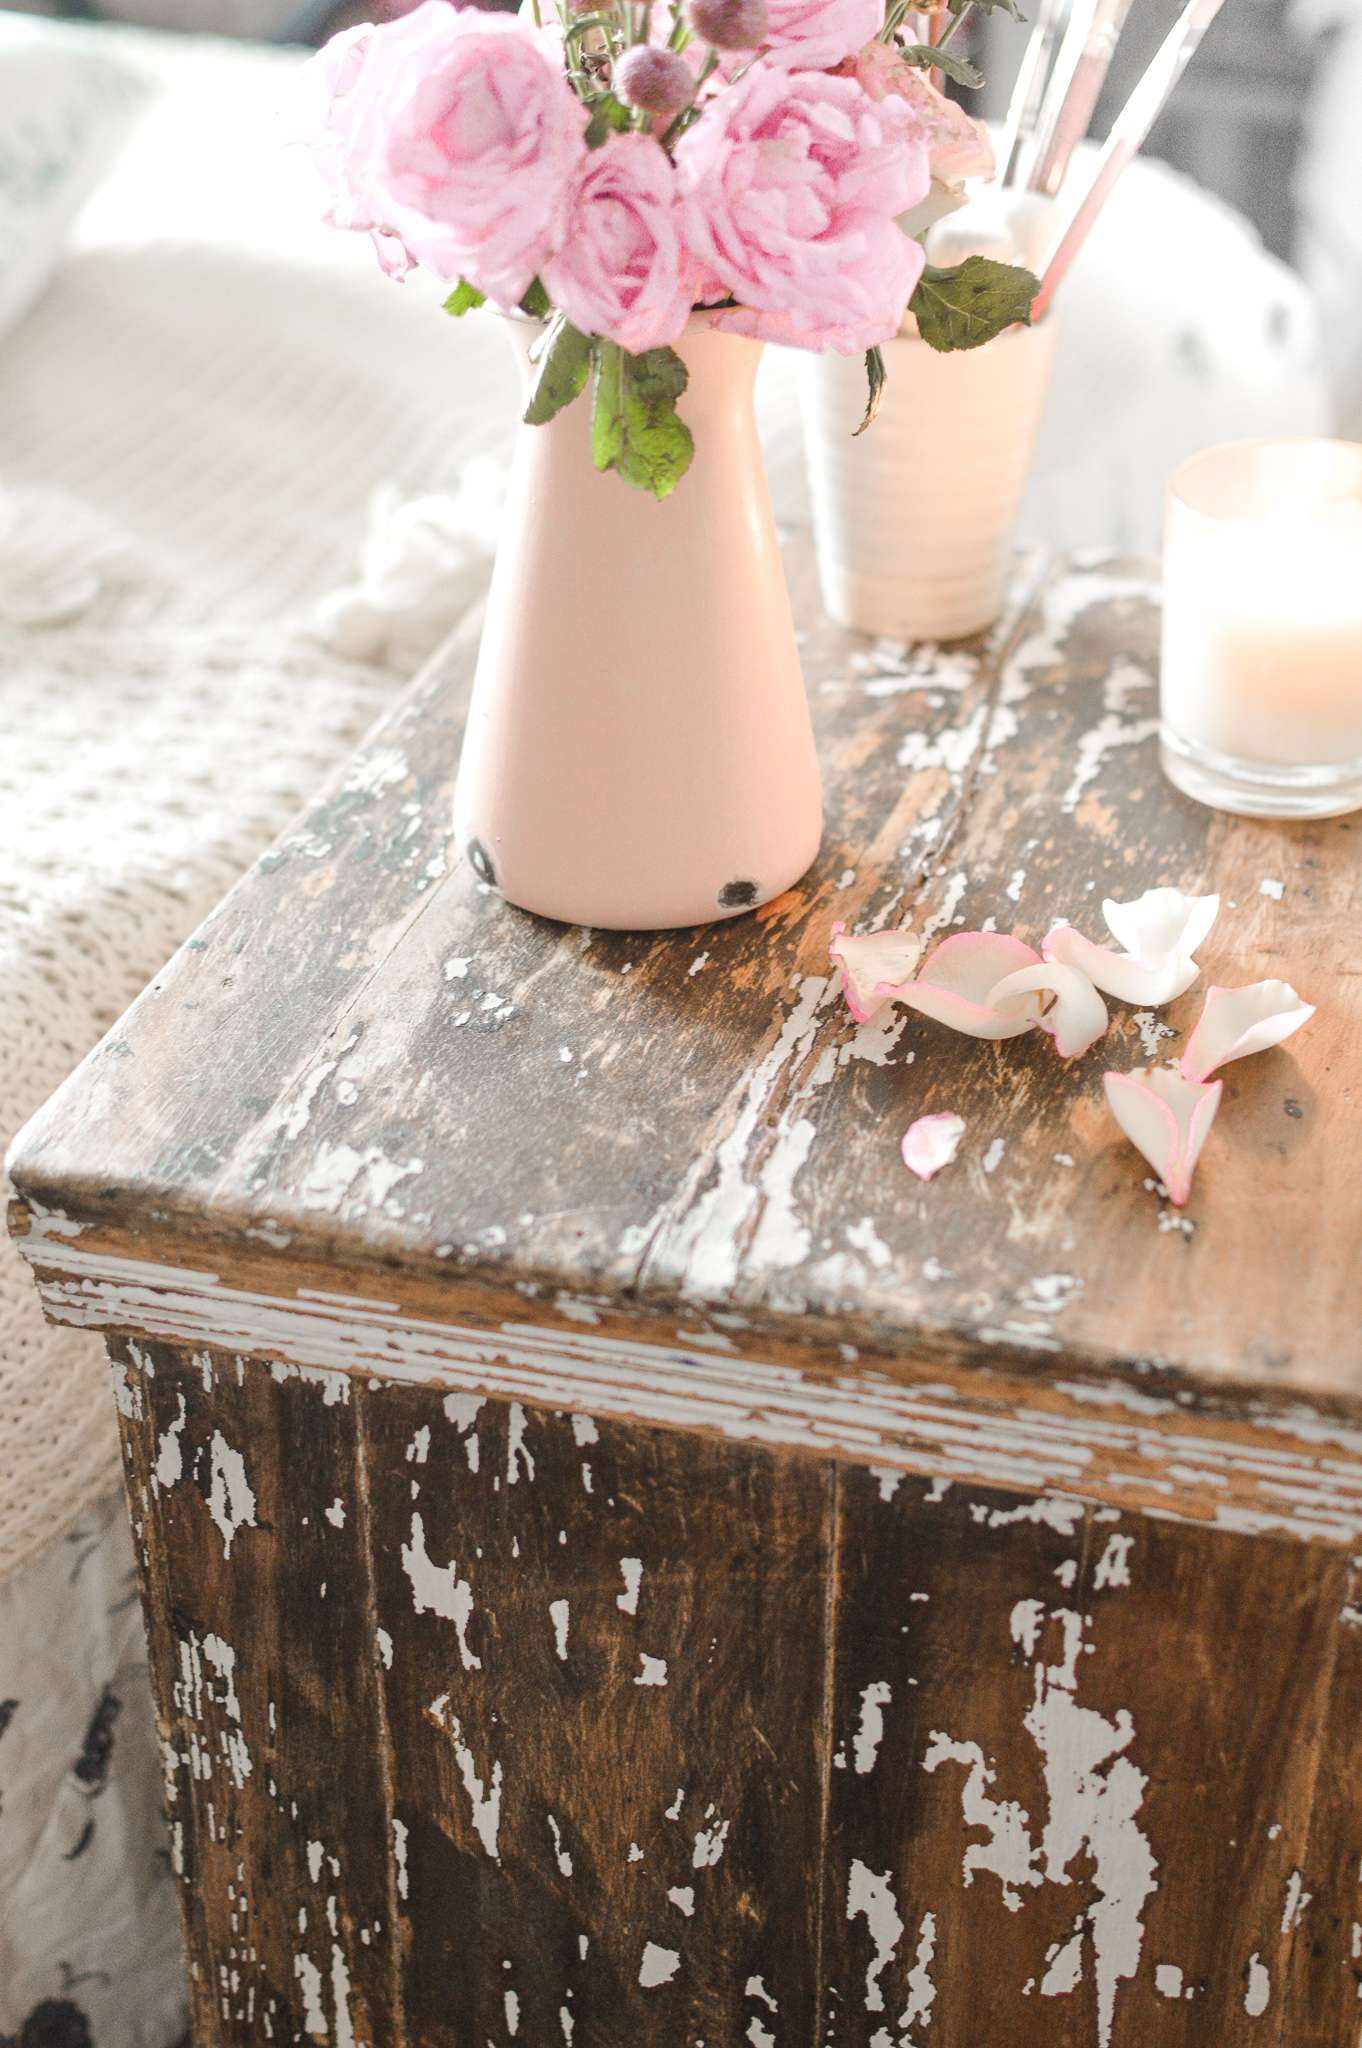
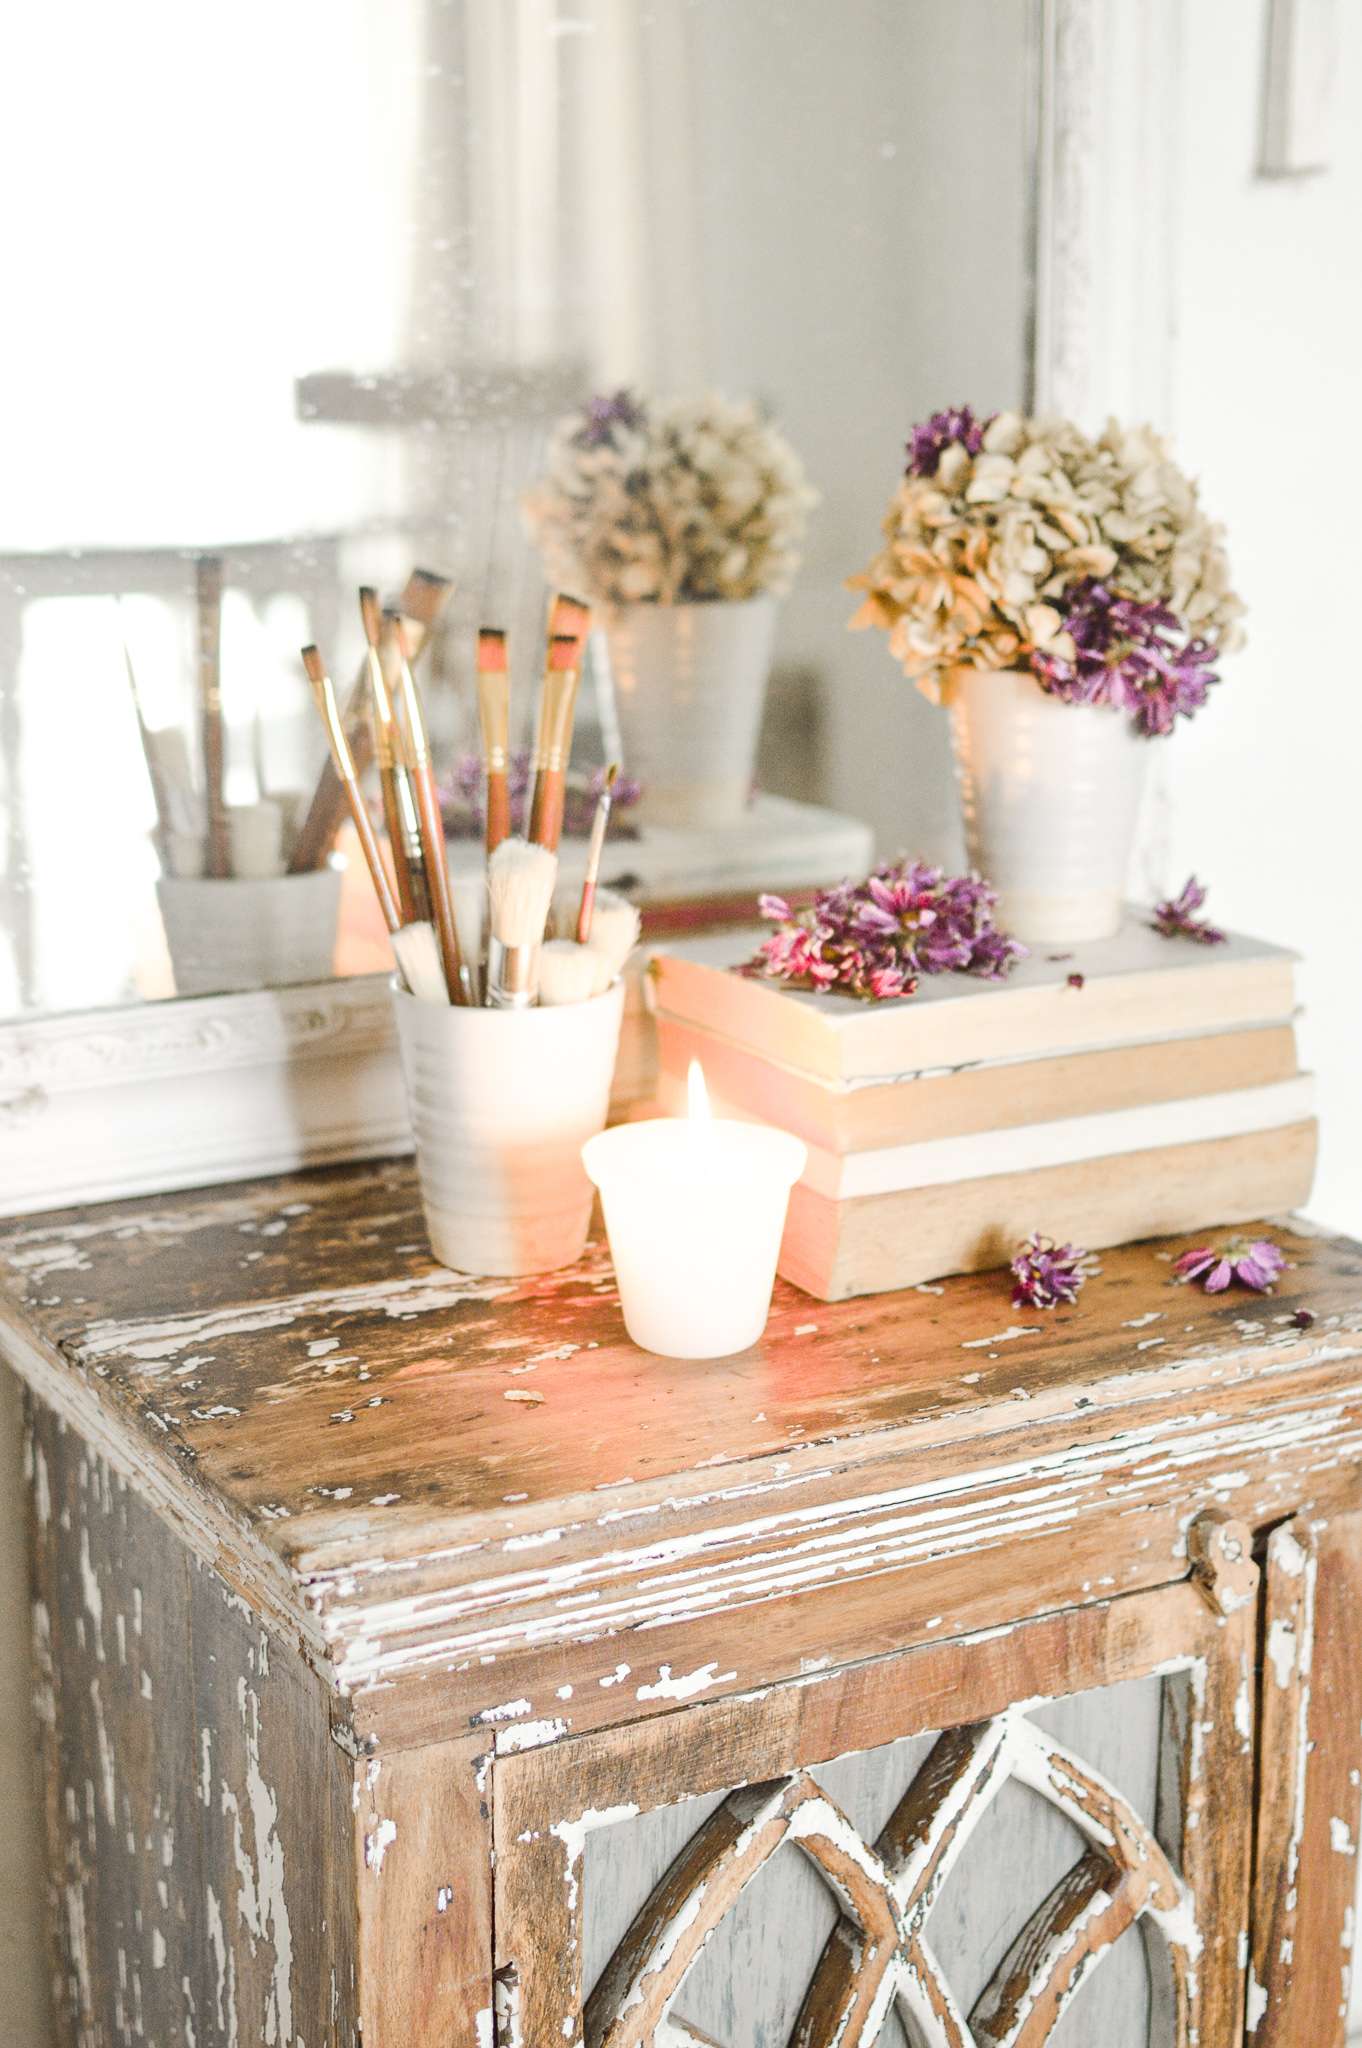
A typical characteristic of distressed furniture is that you will find some of the paint removed from certain areas but not all. It is carefully sanded down at certain places to expose the wood grains beneath the paint, and also to showcase the several layers of paint speckled over wood underneath. The entire process gives it a vintage look which can be further styled according to your decor style, and there is an entire gamut of distressed look to choose from- from mild distressing around the edges and corners and crevices to a heavily distressed look, as in mine. The choice is totally yours.
My grandmother will go bonkers on this, but it is true that distressed furniture is in vogue today, and has become a popular design style: take a look some of the fabulous international home decor blogs and you’ll see how chipped and distressed furniture is taking the world by storm.
Oh and btw, the final finish is also called “patina”.

And now, How To Distress
Now there are many ways to distress really. We will discuss two cases- existing painted furniture and new unpainted furniture.
Tools required: Putty knife, 150 grit sandpaper or a sanding block and top coat/wax
Case 1: If you have an existing piece of furniture
where paint is naturally peeling, distressing for you should begin right there. With a putty knife, gently peel away the paint. You can also make tiny slits on the paint with a putty knife and peel more. I’d say peel less and see how you like it and then do more. The areas where there are paint bleed or extra drops are also likely areas for you to start chipping because they’ll peel faster.
Once you are happy with the chipping, sand the furniture with a 150 grit sandpaper to smoothen. Add sealing wax on top or a top coat. I’d suggest something matte and not too glossy.
Case 2: If you want to paint and then distress a new piece of furniture
If you have a new furniture that you’d want to distress:
If using water based emulsion: first prime and paint the furniture with a water based emulsion. I’d suggest a water based apcolite such as Asian paints royale or chalk paint. Oil based paints are a bloody mess. Please refrain.
Once it has dried completely- use a sander or a fine grit sandpaper to sand away some of the paint from the surface of it, with emphasis on the edges. Very gently remove some of the paint to let the underlying wood show through. Or if you want a heavily distressed look, follow case 1 instructions.
If using chalk paint: No need to prime. Paint your furniture with chalk paint with 3 or more coats. Then gently with the back of knife, tap in areas for the paint to chip! Then use technique in case 1.
Few commonly asked questions about distressing
Do you want a bare wood look or partially bare look
Distressing includes a wide range of patina- from shabby chic and chippy to slightly distressed – just around the edges and edge of drawers and embellishments to heavy distress like the cabinet I did. Choose a look that goes with your overall theme.
If I want a slightly distressed look, where should I sand To Get a Distressed Look?
Definitely on the edges or at places which you think will be subjected to more wear and tear. The edges, top of a carving if any, near the back rest and so on. Never sand on flat areas unless they are near the edges. And just in case you think you would like some distressing on a flat surface, make sure it’s well sanded off.
Can I do more than one colour and then distress?
Yes you can. If you want a bit of wood and another colour to show through from places, you can
What should I do after distressing?
For a vintage look, you can add wood stain on top. For a rustic look, keep it as is.
Where can I buy chalk paint online?
Buy Annie Sloan chalk paint and wood wax online at ArtsyNest. You can also buy chalk paint from amazon. Putty knife is available in amazon.
I use an Asian Paint 10mm brush for furniture and a TruStar 150 sand paper. Sanding blocks are available in Amazon.in.
Well, that’s it! Simple, easy to do and looks drop dead gorgeous too! There are many outfits that sell distressed furniture but I’d say DIY. The fun is doubled when you do it yourself!
Have questions? Leave a comment and I’ll answer!
XO, Rukmini
One thought on “How You can Distress Furniture Easily at home”