Flatlay photos. You know all about it, you have seen them in your Instagram feed a hundred times, they look oddly satisfying and they are so much fun to create and shoot. But how does one get the perfect Flatlay that makes you stop in your thumb marathon? What makes a simple overhead shot a great Flatlay? Here are 5 things that you must know if you are a Flatlay enthusiast and would want to click scroll-stopping Flatlays, every single time.
Choose your Subject
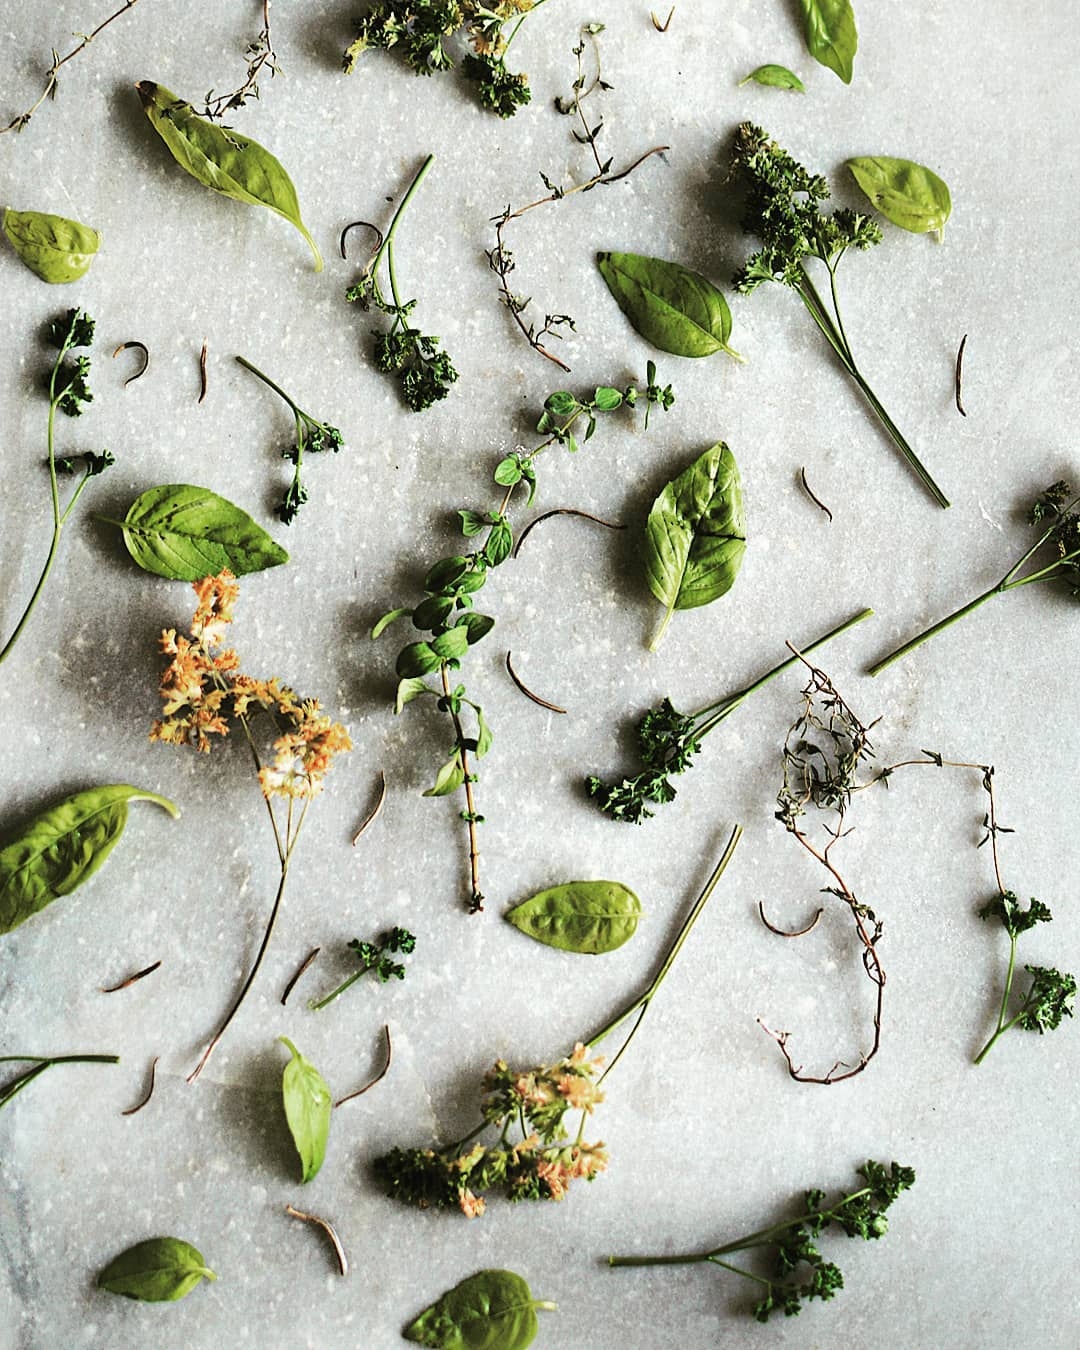
Before shooting your flatlay, identify what your subject will be- both in terms of product and storytelling. For example, in the above photo the hero or the subject are herbs from my garden and I want to talk about the freshness and joy in growing herbs. I included a bit of every herb I want to show and also arranged them aesthetically (will be discussed later)
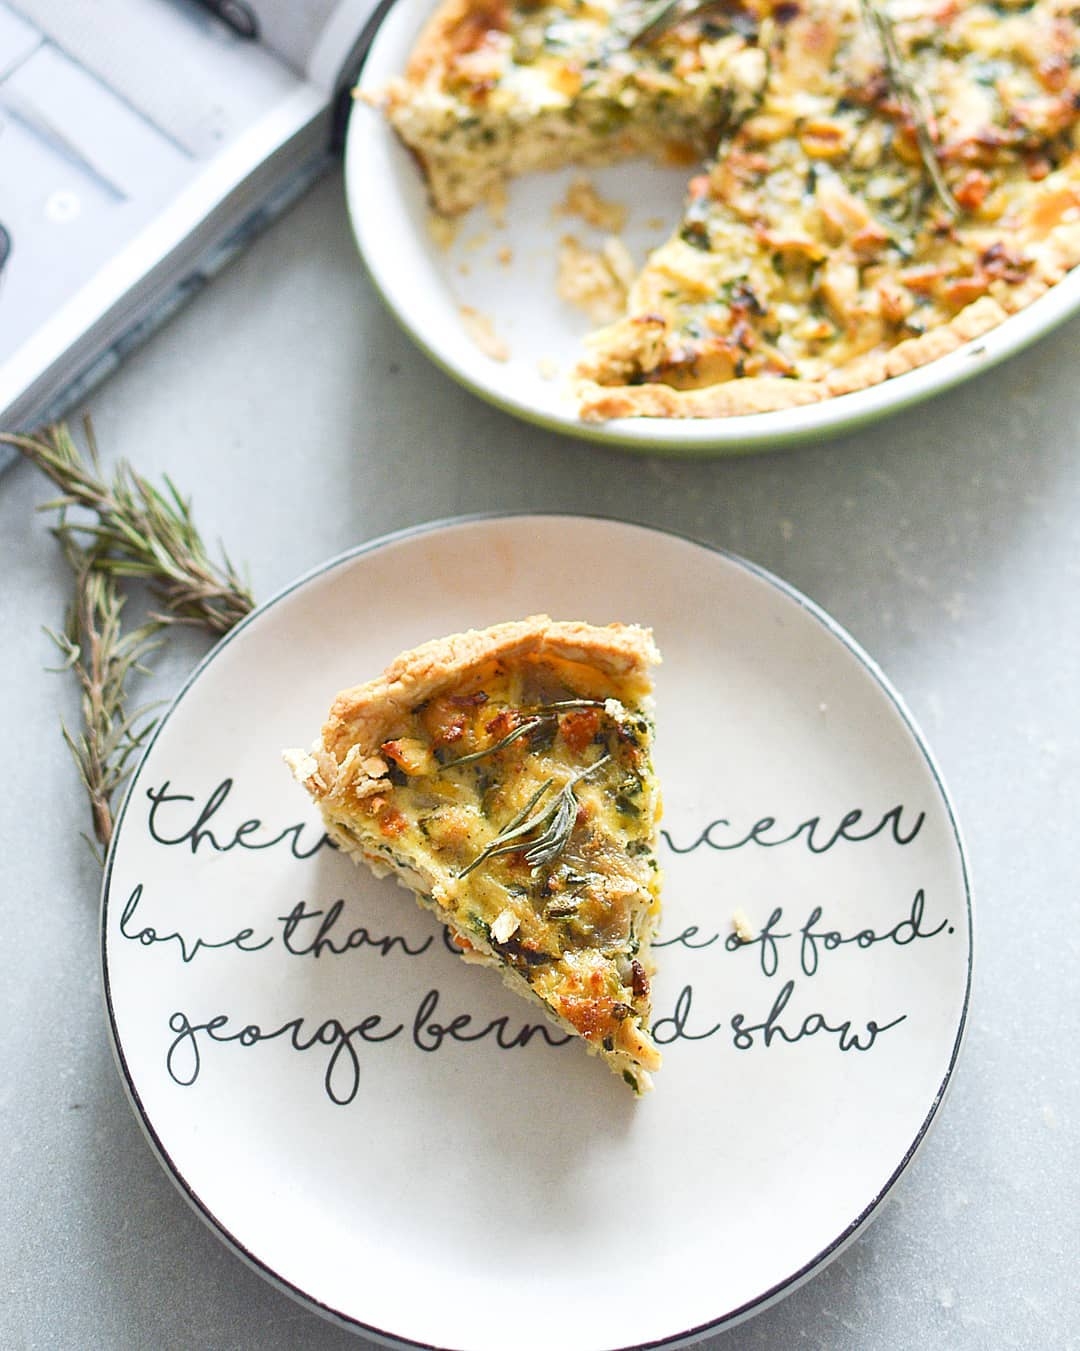
In the second photo, however, I wanted to highlight this gorgeous Spinach quiche which had to be the hero if the subject. So we kept the background clean and used mono-tones and let the slice of our quiche be the hero. The bright colours of the quiche shone through all the muted tones and the letters on the plate added the much-needed texture in our background.
Which leads us to the background and its importance in Flatlays
Choose a background that highlights your subject + Dont’s
When shooting Flatlays, pay attention to your background. Choose one that compliments your subject well especially in terms of color. For example, if your subject is dark, you could opt for contrast and do a lighter background or play with shades of dark is you want it to be moody and sultry. So it’s upto you how you want to play around.
Firstly, make sure your background is not shiny because it’ll steal all the glam from your subject and will also reflect and bleed if you are using flash
Secondly, choose a background that offers some kind of texture. Why? Because of ambience. The patina you are shooting upon adds oodles of character to your photograph and this is where so much go wrong. When people think flatlay they instantly think arrangement and angle and never the background. Plain, coloured chart paper makes your Flatlay look flat.
Thirdly choose something natural. Marble, cutting board, tea towels, washed linen, your ruffled bedsheet, a funky tile- they all make for fabulous backgrounds.
Composition and the rule of thirds
When it comes to a Flatlay, the composition is vital. And if you want to start with good compositions, try and apply the rule of thirds in your photos.
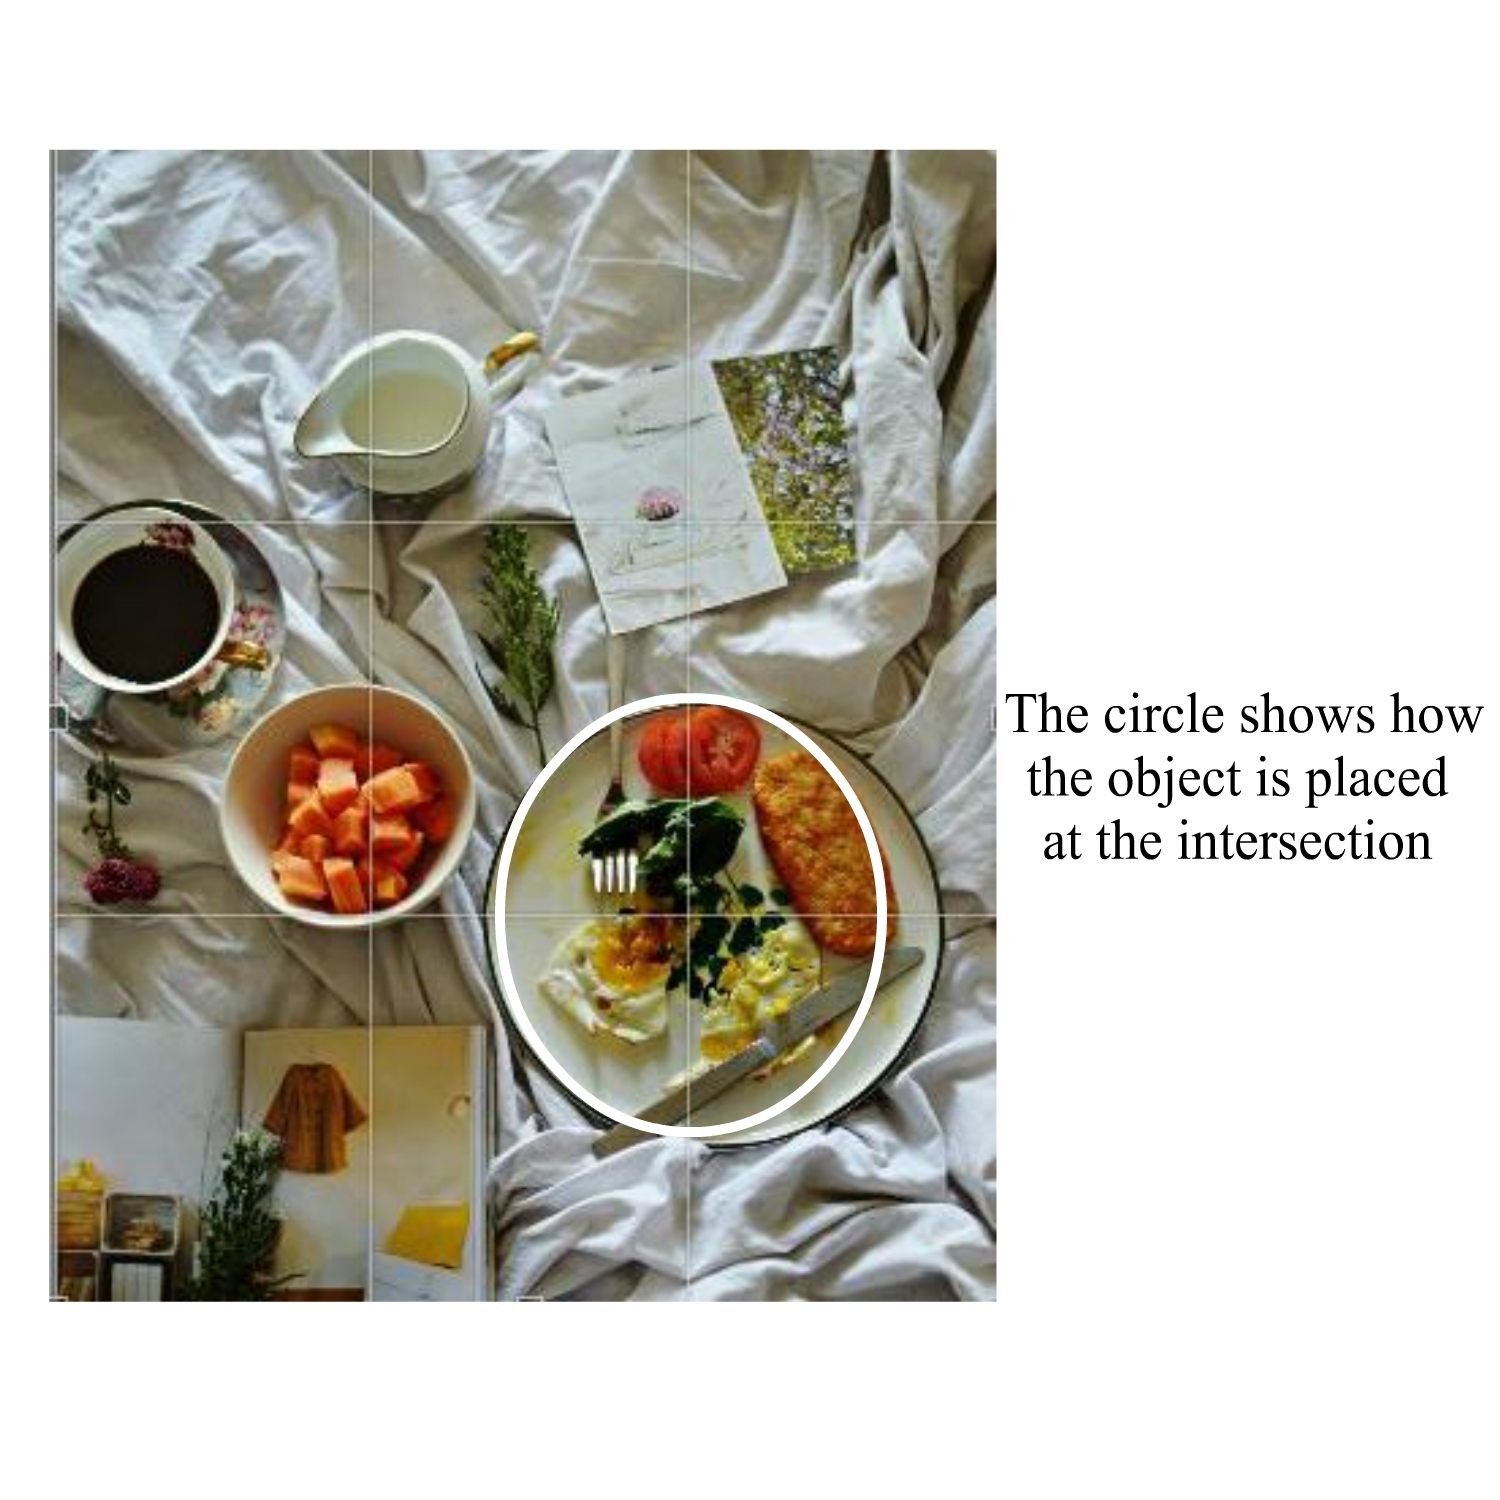
Rule of Thirds is a guideline that requires you to divide an image into nine equal parts by equally spaced horizontal and vertical lines. Next, keep your subject on the intersection of these lines. It’s supposed to give your photograph more energy; more tension.
See this photo for instance
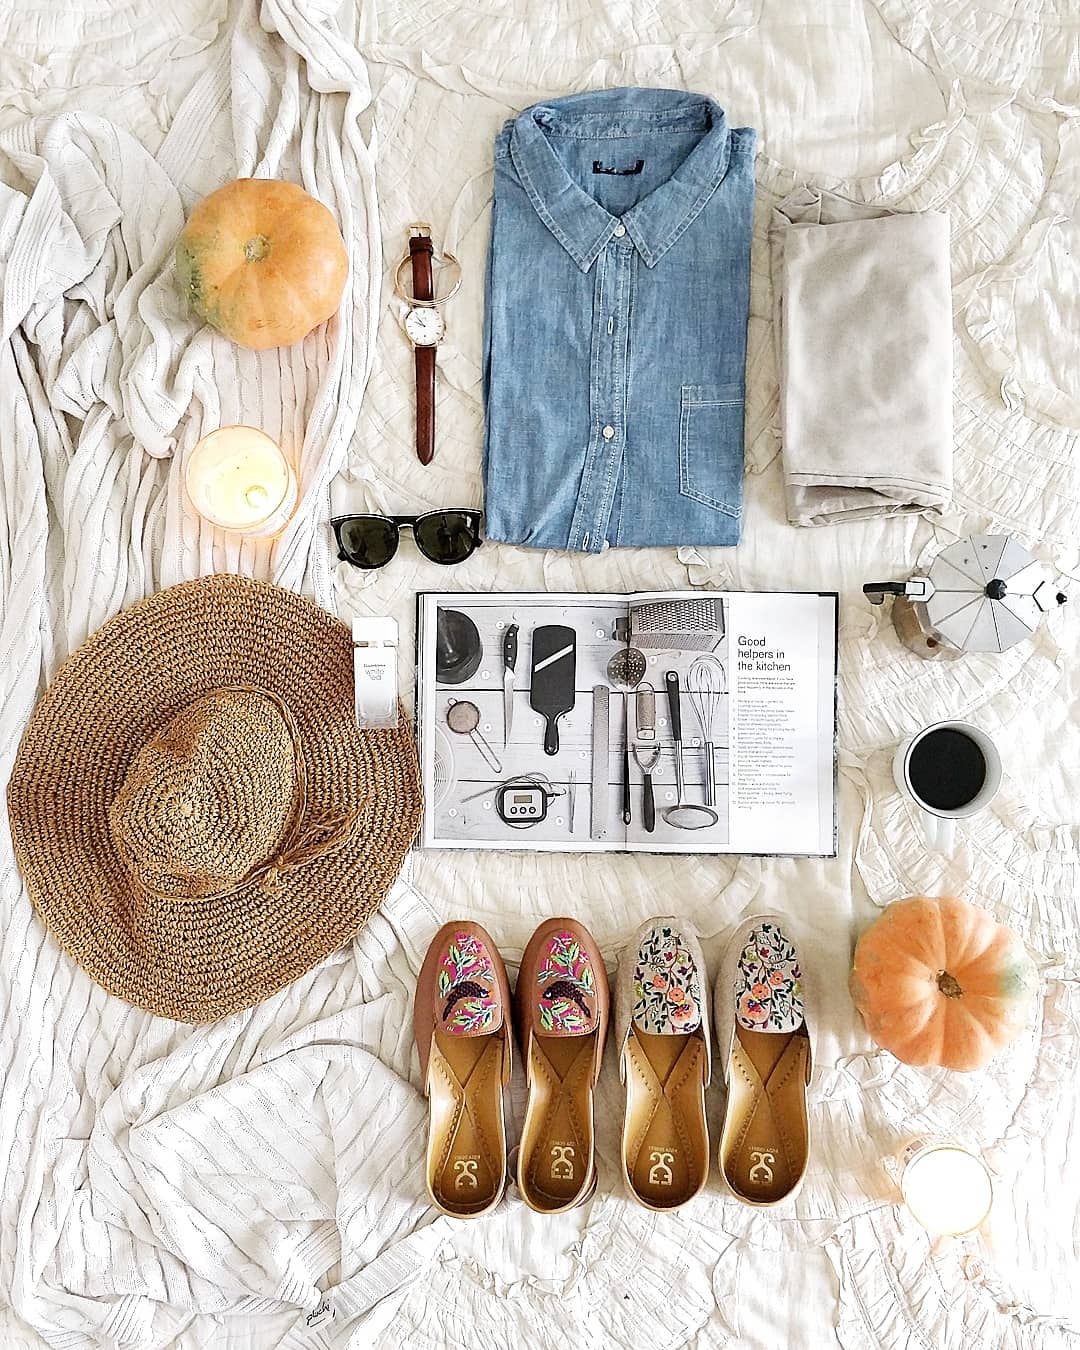
Add Depth & Volume with layers
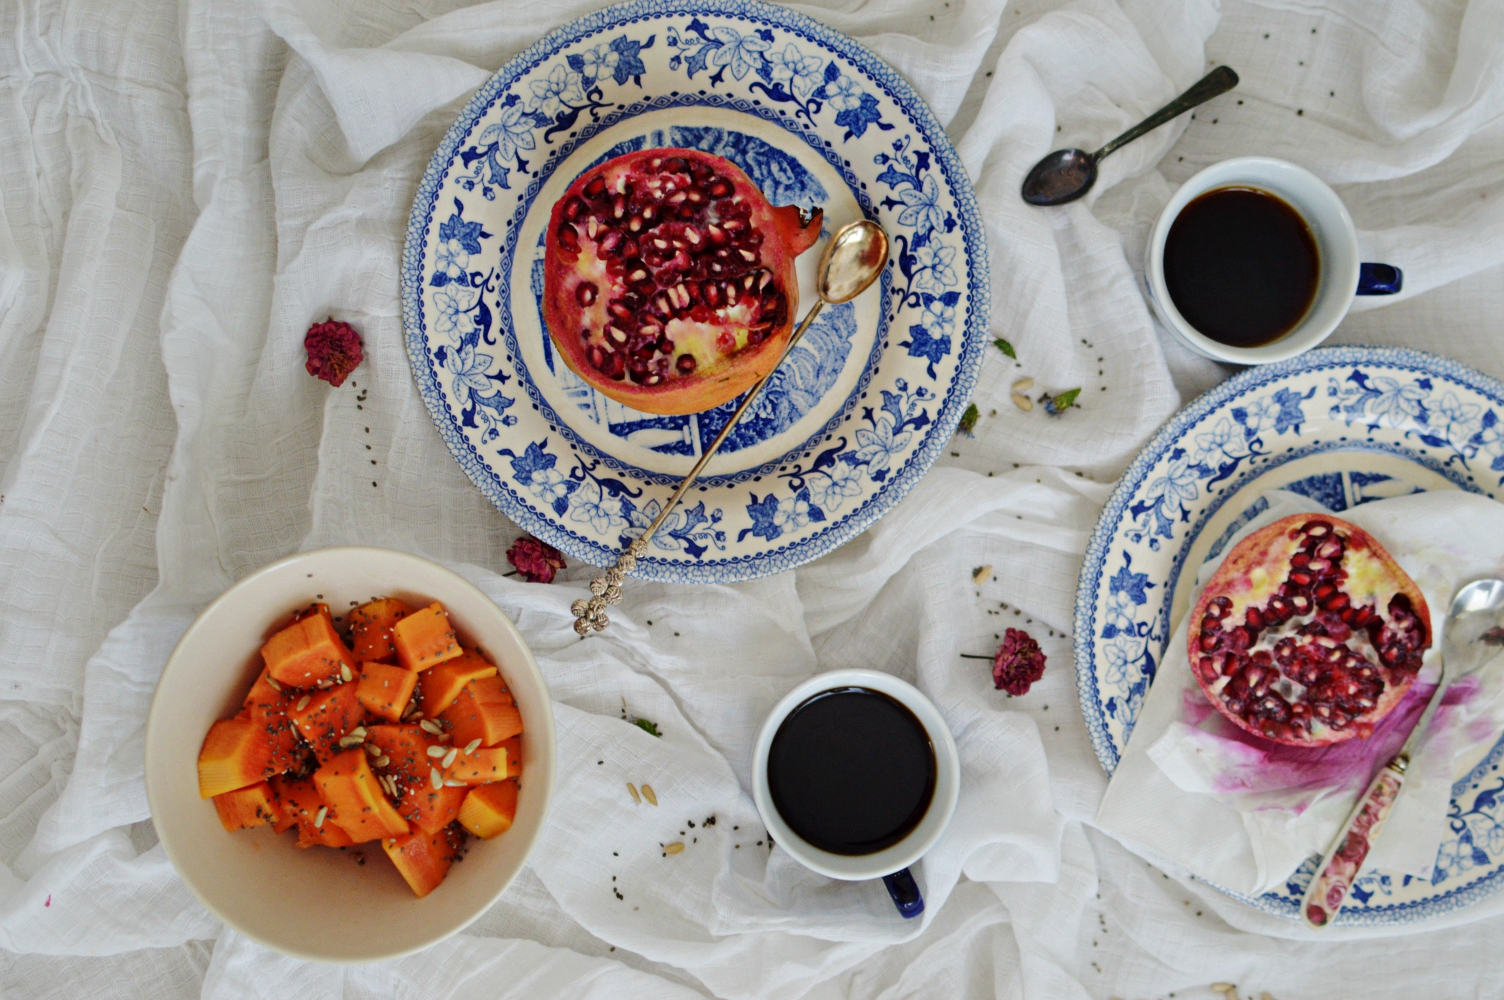
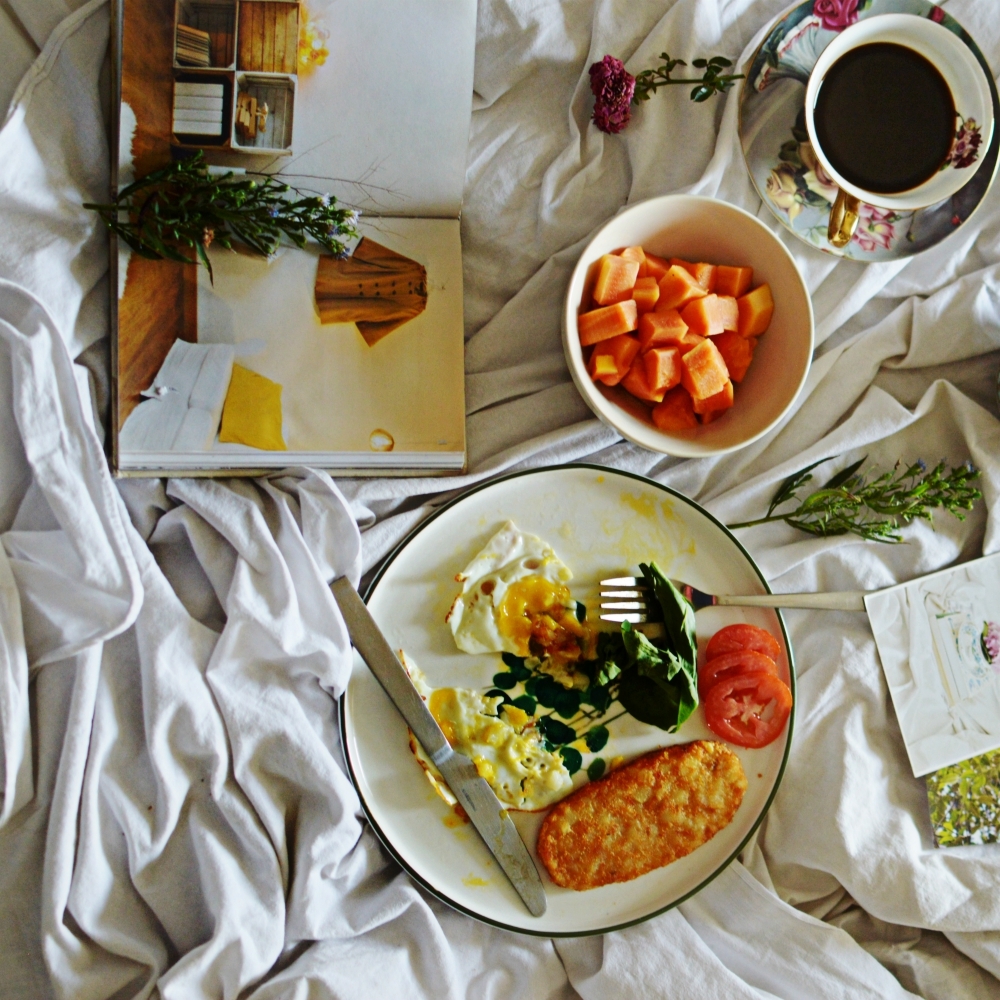
When it comes to Flatlay, depth is very important and for that, you need to think in layers. Just an over head shot of a few arranged things can hardly qualify as a good Flatlay photo. Instead, think how many elements can you seamlessly arrange in one singular photo wherein nothing clashes. Here’s an example. Let’s elevate a few simple breakfast fruit and make them as our subjects for the day, shall we?
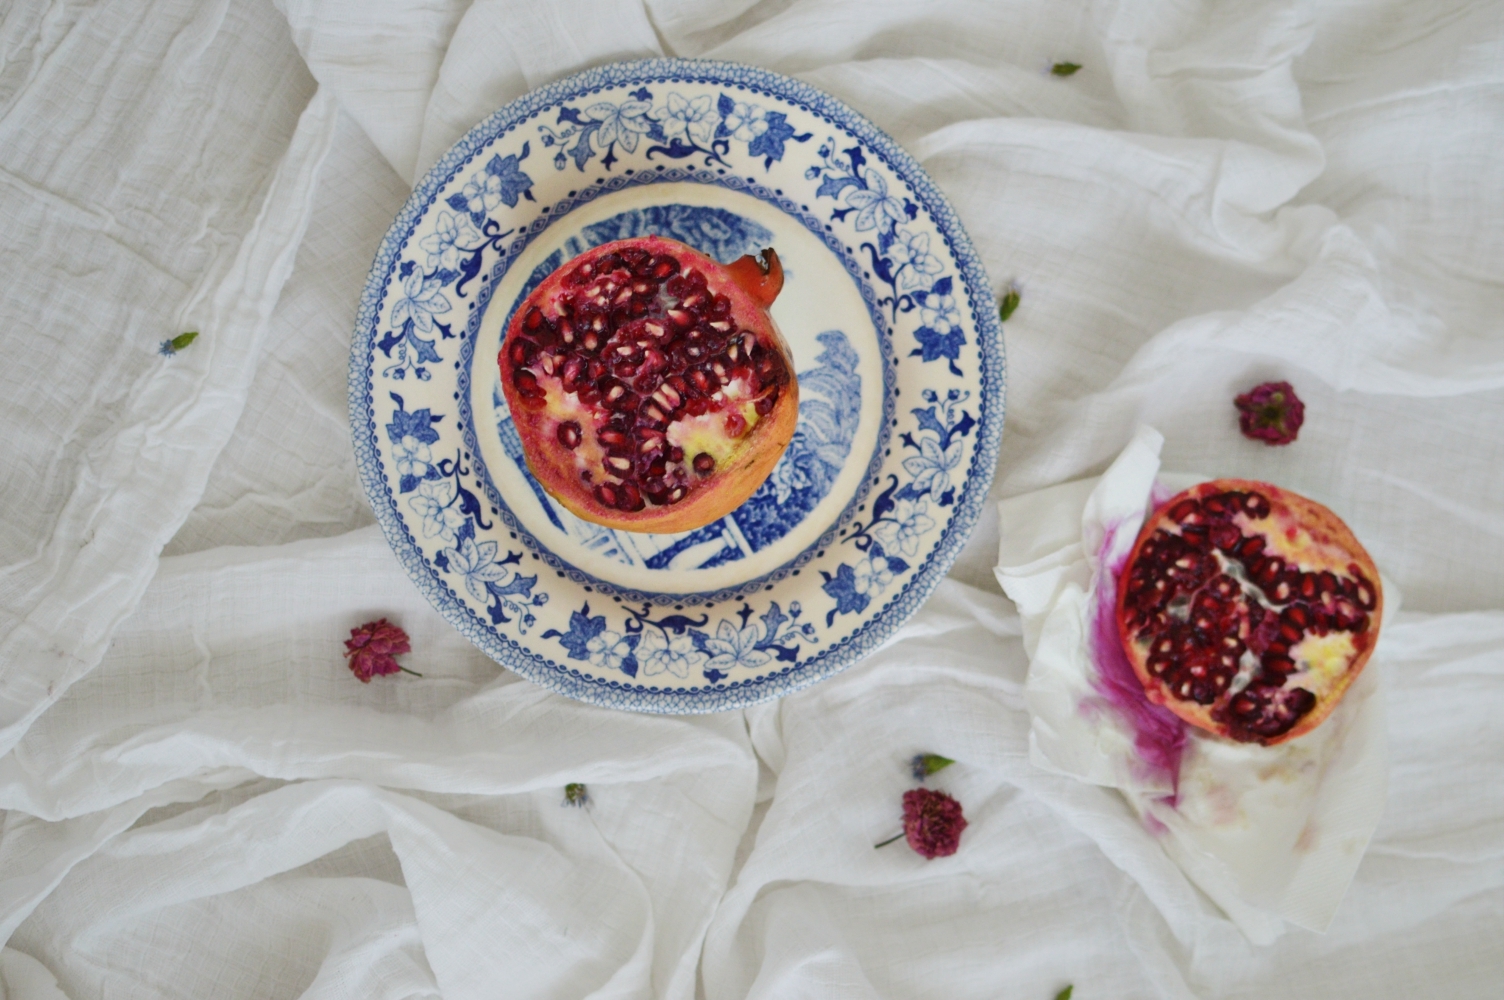
We start by placing the pomegranate on a beautiful plate, add it atop a ruffled linen background and add a few dried flowers in the same shade of the pomegranate to bring in harmony in the photo. But, it’s not very good is it?
Now here’s the thing. Toggle between the naked eye and the camera lens to see if the photo has a balance. Even if you place your subject according to the rule of thirds, your adjacent element and the space between it will determine the overall look of the photograph. So we start adding elements.
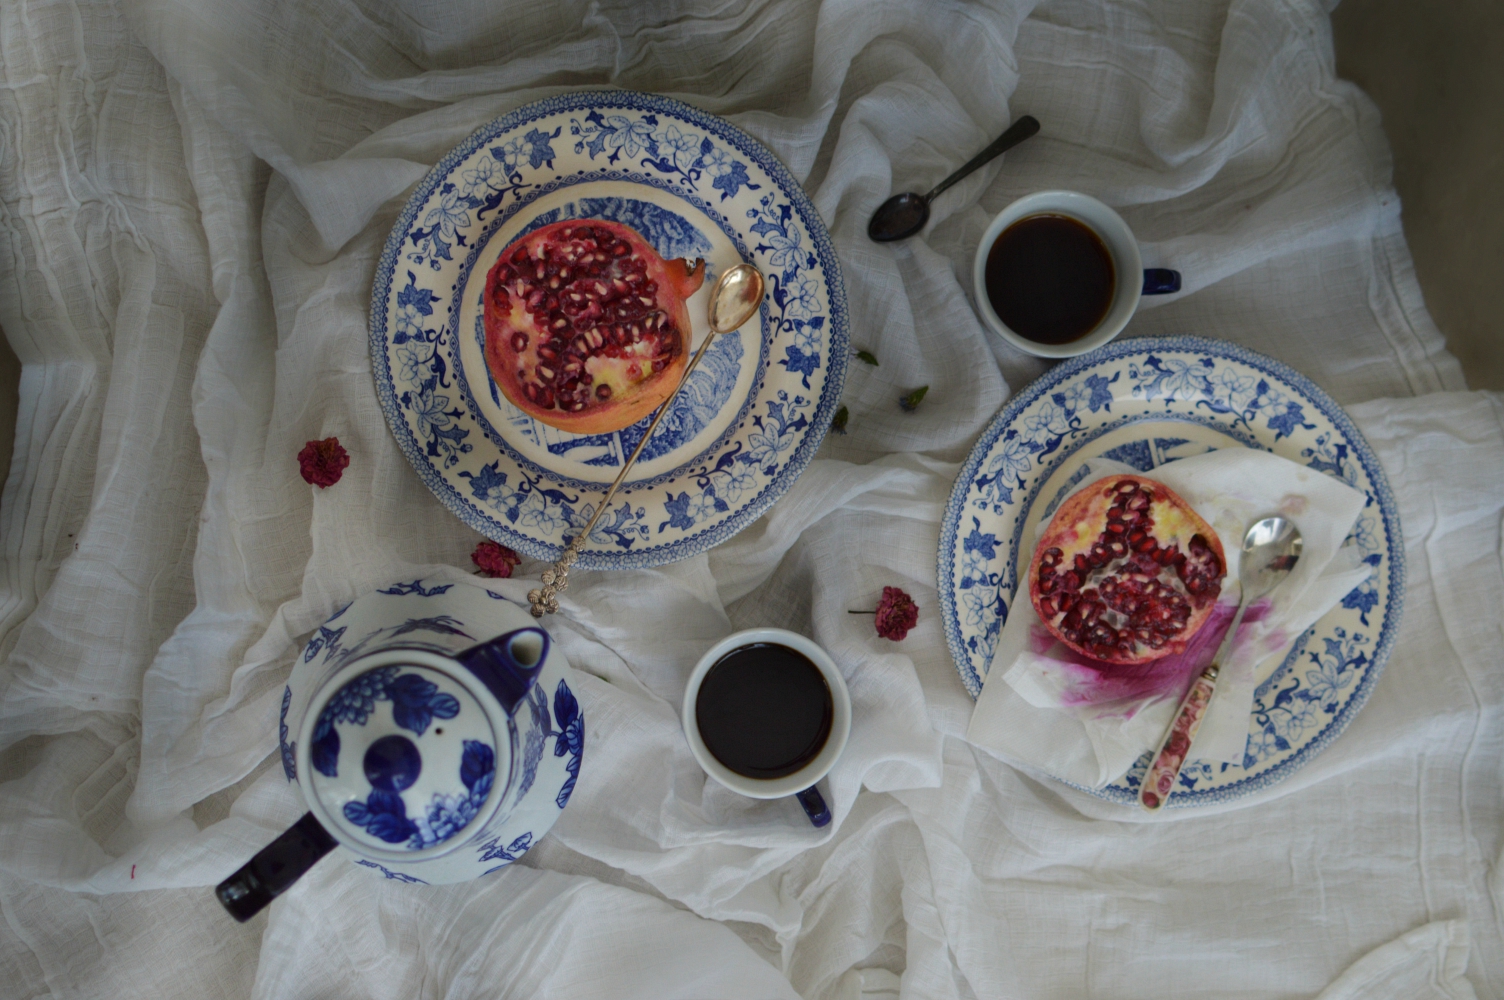
A teapot, cups of coffee, more flowers and vintage spoons. At this point, we also changed the shadow a bit but still not happy. It needs something else.
So we removed the teapot, added a bit of orange through papaya and bits of basil and sunflower seed. Blue and orange are on the opposite side of the colour wheel which makes them a great pair in Flatlays.
Now you might ask me, why not the teapot too? Given there is enough space for me to add that and the bowl of papaya right?
Because Distance between objects is crucial
Whether you choose to do a Flatlay that’s arranged or something carefully careless, that one thing you should always check for is the distance between your objects. There may be a rule somewhere- which I am not aware of- but this is more of an eye to camera thing. In the naked eye, you may find things to look okay but when you see through the lens- it’s a whole new story altogether. Some objects look beautiful jumbled up while some need that distance between each other. So gauge the distance when you are attempting a Flatlay. And it’s best done when seeing through Live-View.
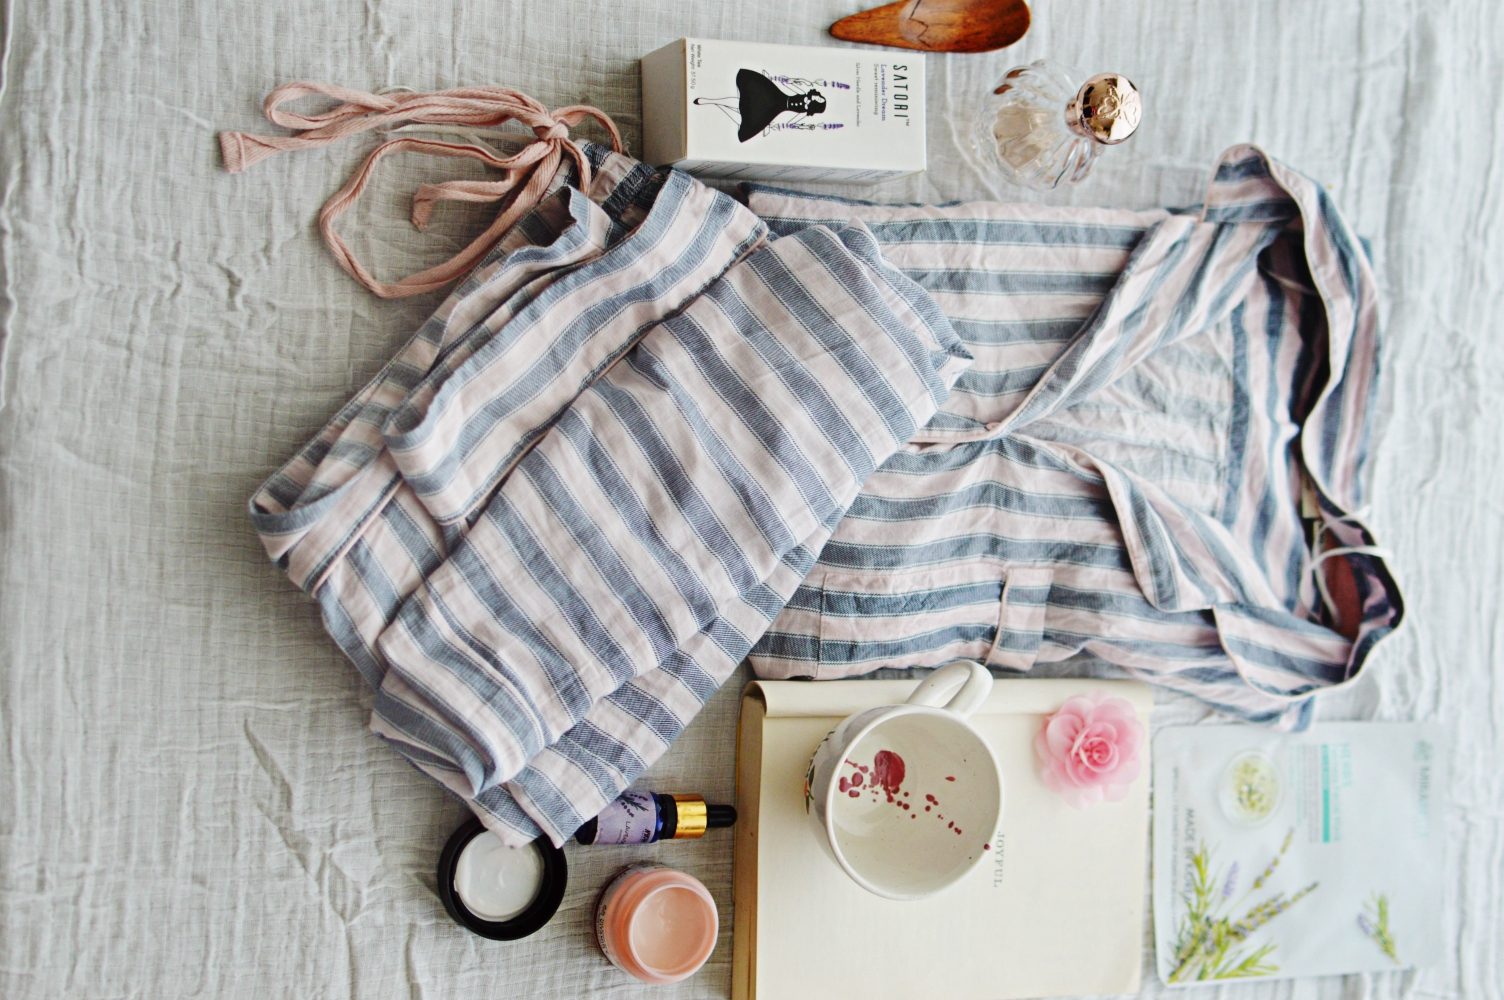
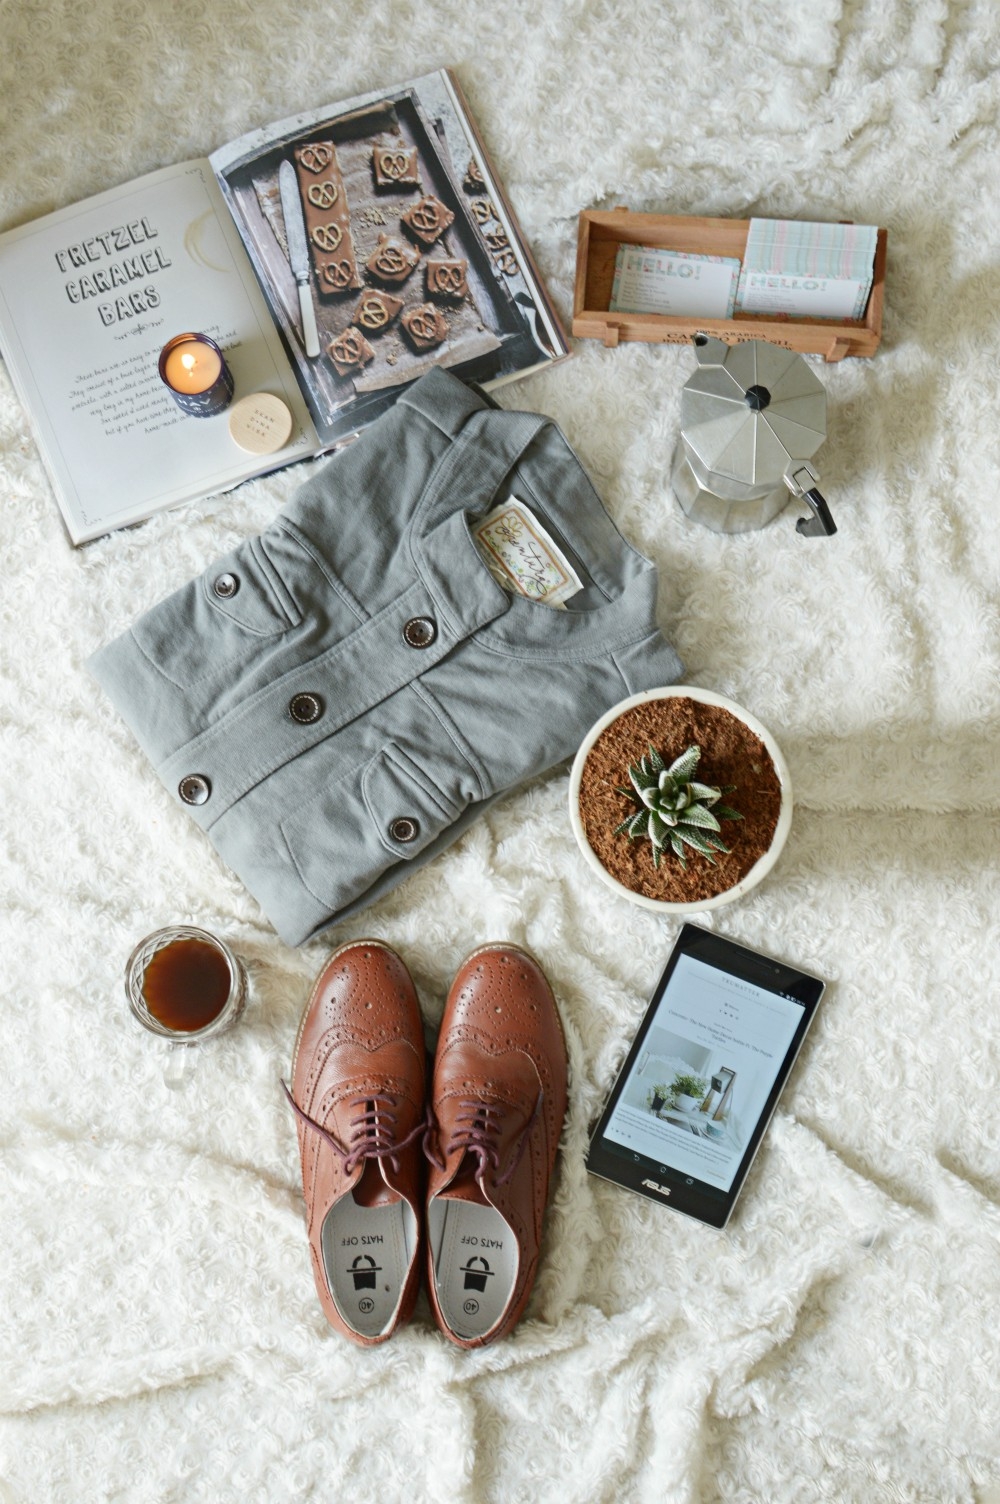
This for example is an arrange Flatlay and has about equal distnace from each other. There is also an unseen margin.
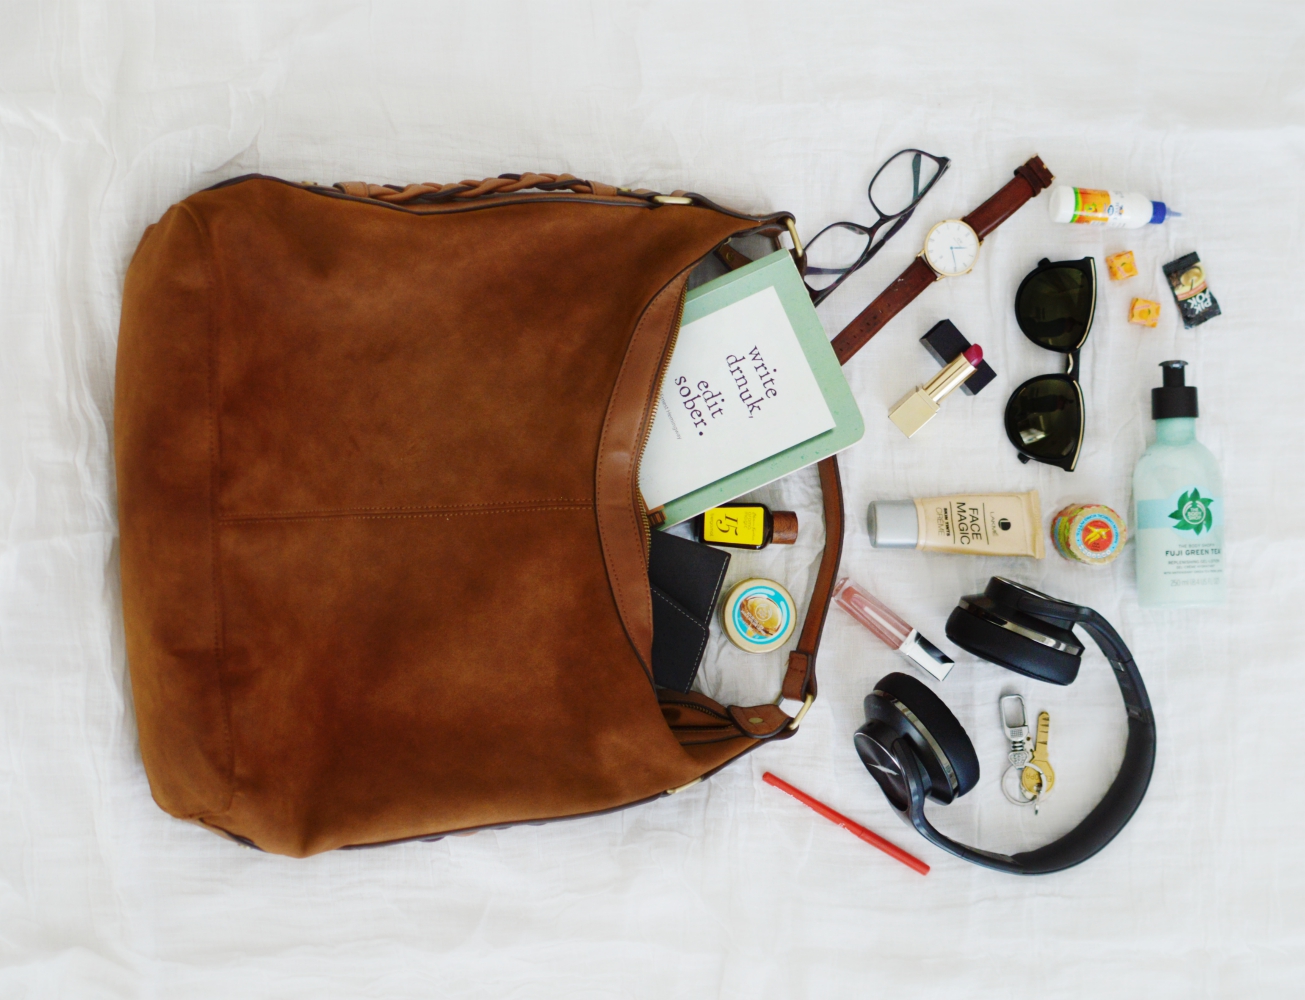
And this on the other hand has varied distances. So look through the lens and move objects while keeping an eye so that there is a balance in the photograph.
Oh, and just because it’s called Flatlay doesn’t mean everything has to lie flat. Objects of varying height can also come in the picture as long as you are seeing it at 90 degrees from top.
So yeah, there you have it. 5 super easy ways to ensure you have a great Flatlay photo every time!
I’ll go get myself at a 90 degree recline and get some tea pumping in my system and you go perfect that shot.
Bom Dia!
Hello,
I’m guessing this post is intended at a more advanced audience. However, I was wondering if you could provide basic tips on how to take the photograph itself – for example, if I were to use my phone and hold it vertically above the flatlay, I would most likely get an ugly shadow of my hand holding the camera, especially if the light source were directly above the subject. Do I then have to necessarily take the picture in broad daylight? Or do I use a tripod and hold it up like a stick with a phone at one end? In which case I get a shadow of the tripod and the phone? Or do I simply not worry about shadows during the picture-taking process, and just edit them out when I’m done? And how would this be different if I were to use a fancy DSLR camera?
Any advice would be helpful!
Thanks,
Gargi
Hi Gargi, yes, now that you tell me, I should have started from the basics. But I get your point. I’ll do a part duo with the basics then 🙂
Yay 🙂 – that’s great, thank you! I’m the same person as jie1enn on Instagram, by the way 🙂
yes yes got it 🙂